This post may contain affiliate sales links. Please read my disclosure policy.
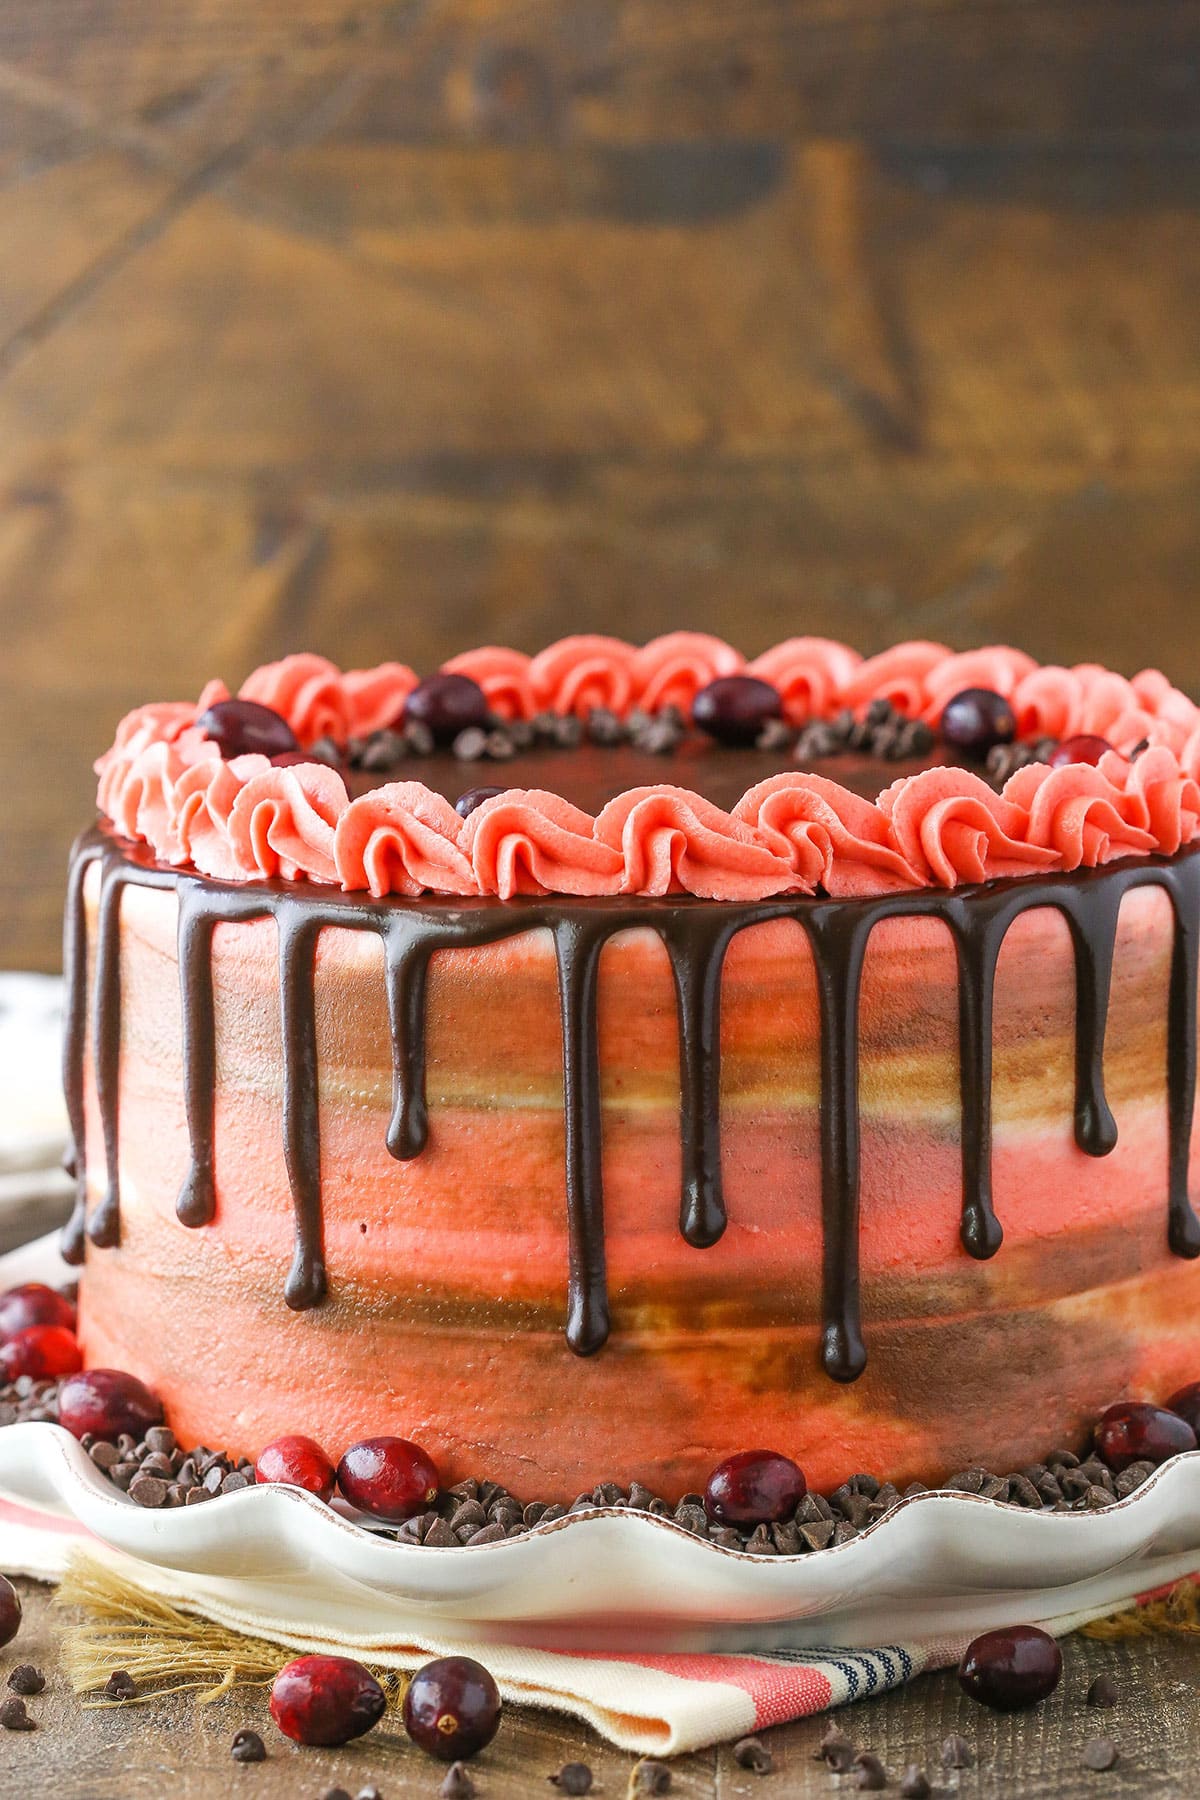
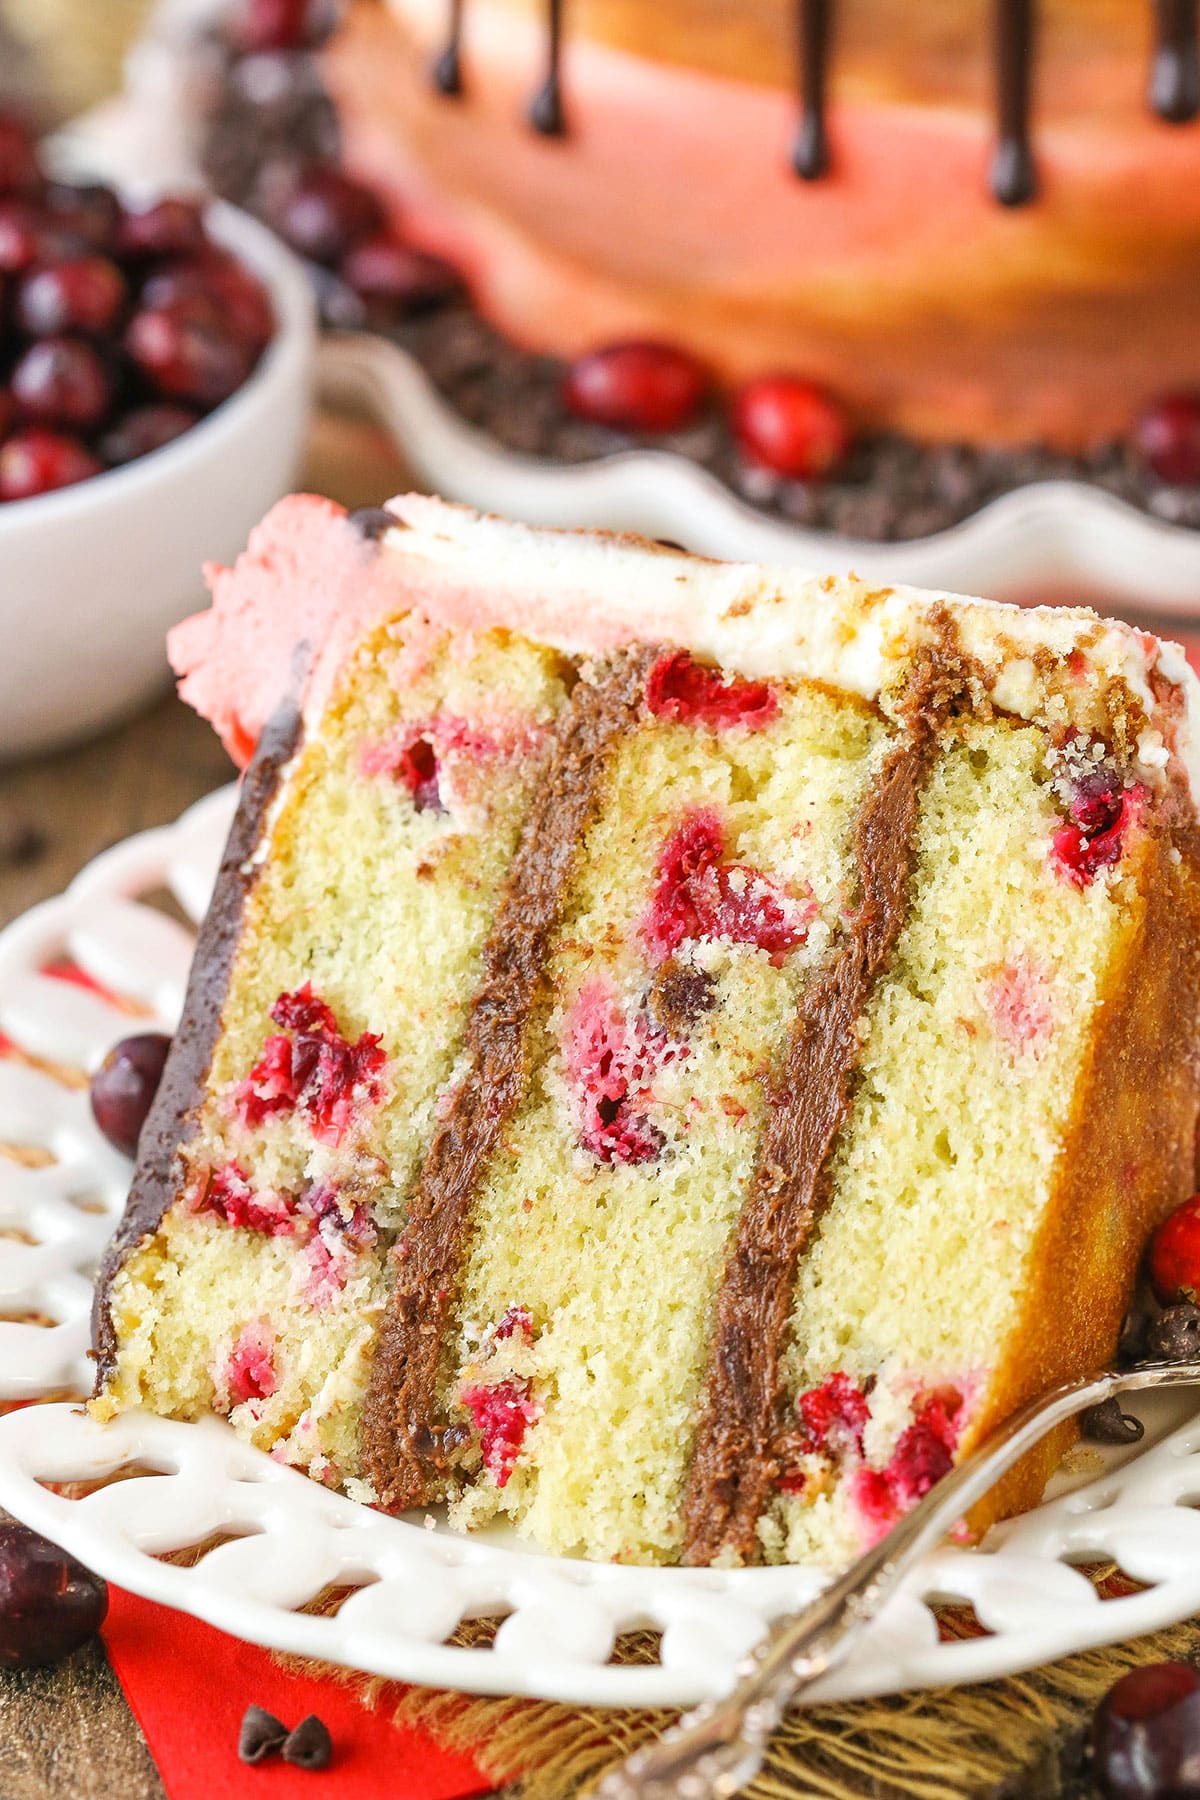
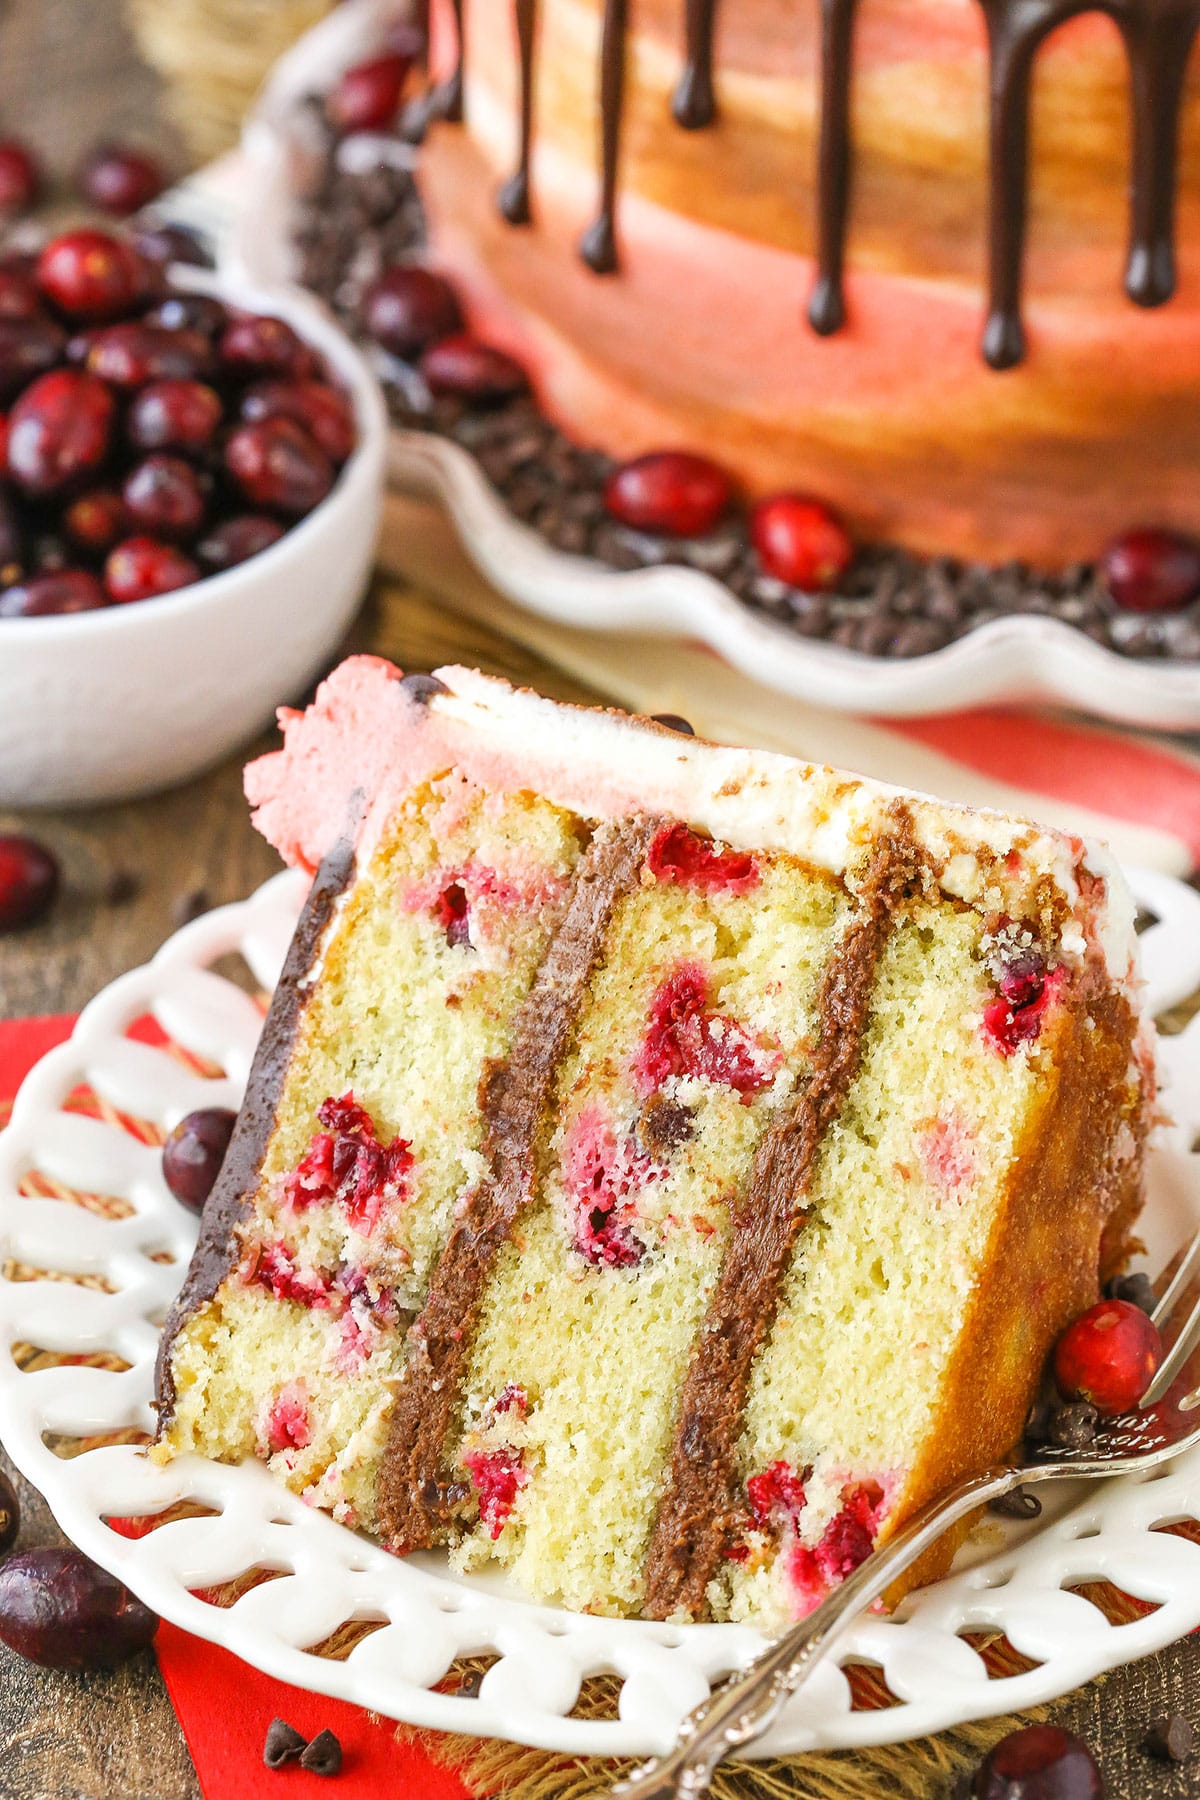
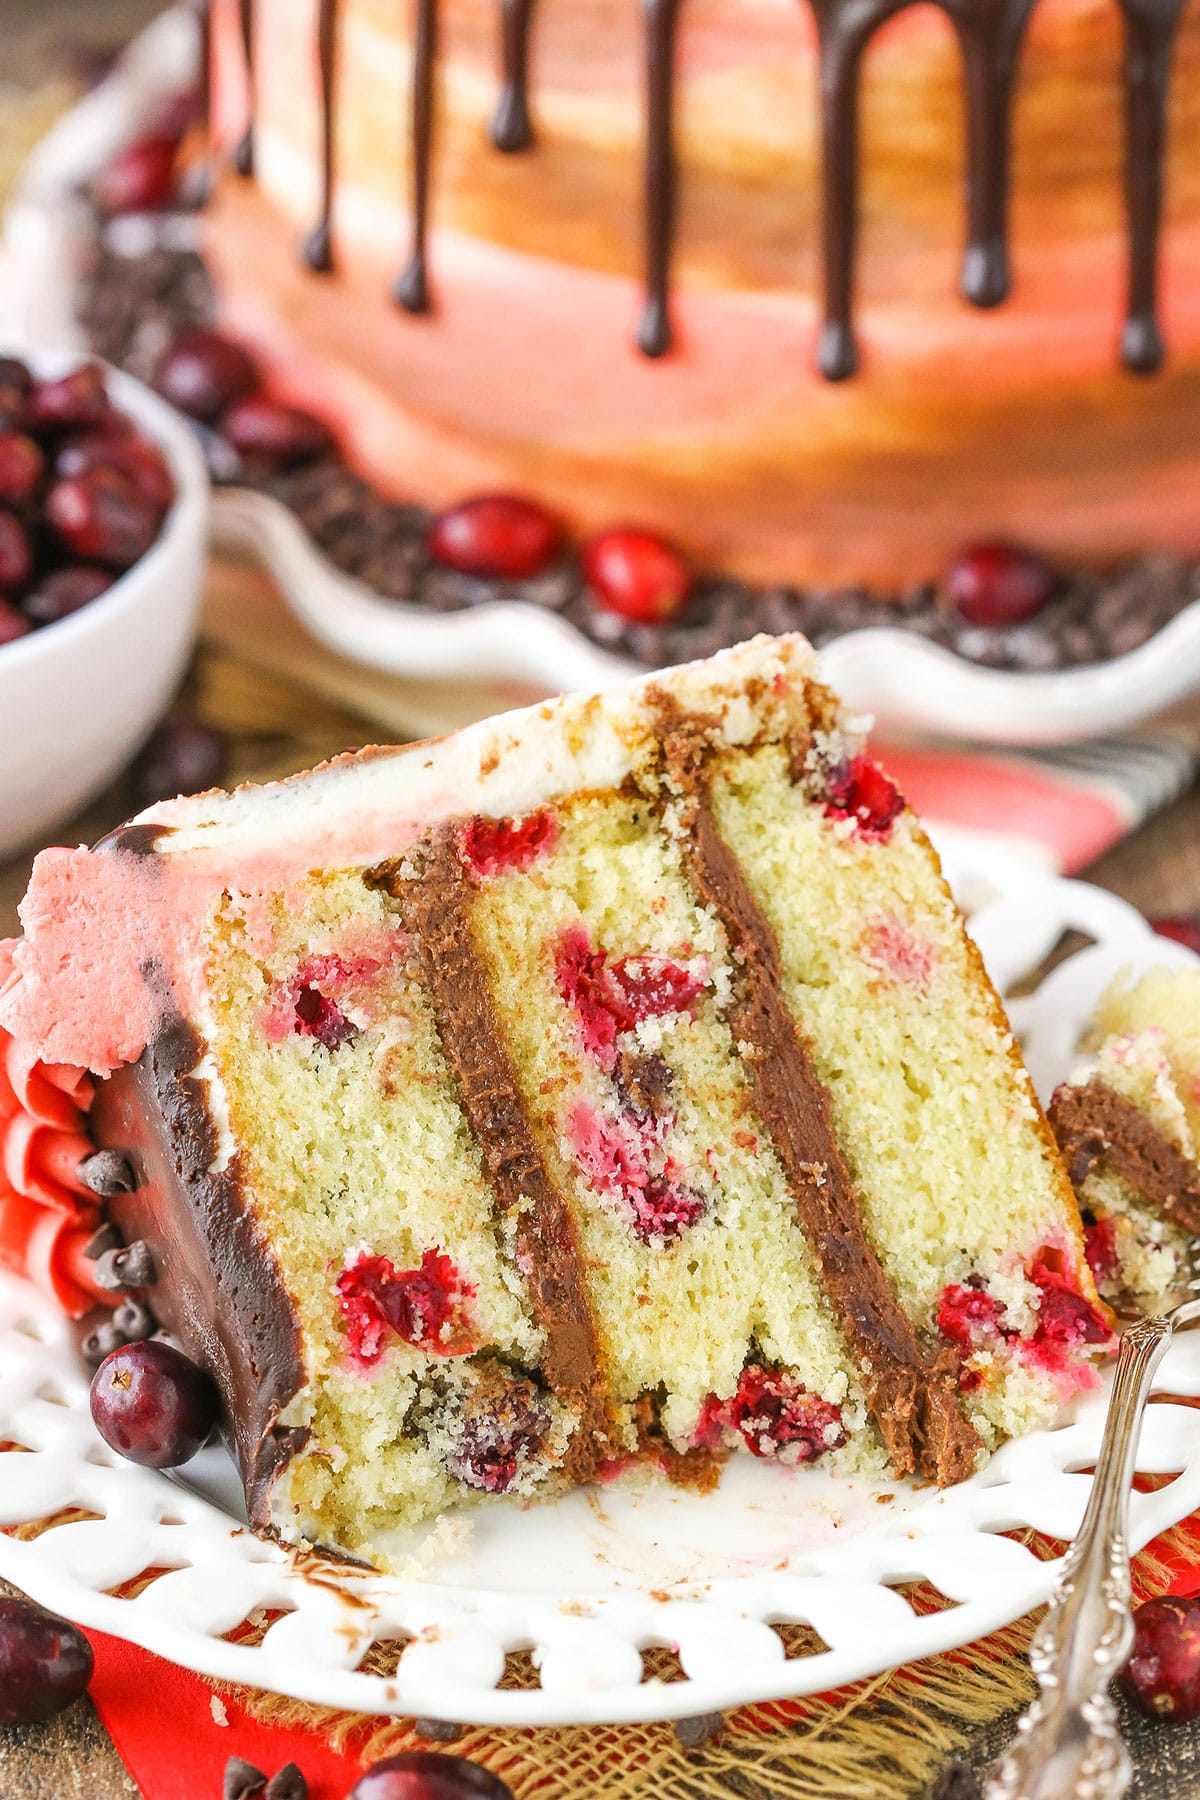
This Cranberry Fudge Layer Cake is made with a moist vanilla cake studded with fresh cranberries and filled with chocolate fudgy frosting! It’s a moist, delicious cake and great for the holidays!
So last year I made this Cranberry Fudge Swirl Cheesecake and totally fell in love. While I’m definitely a fan of white chocolate and cranberry together, I realized that regular chocolate and cranberry are just as tasty! The chocolate totally balances the tart of the cranberry and it’s now a flavor combo that I’m totally into.
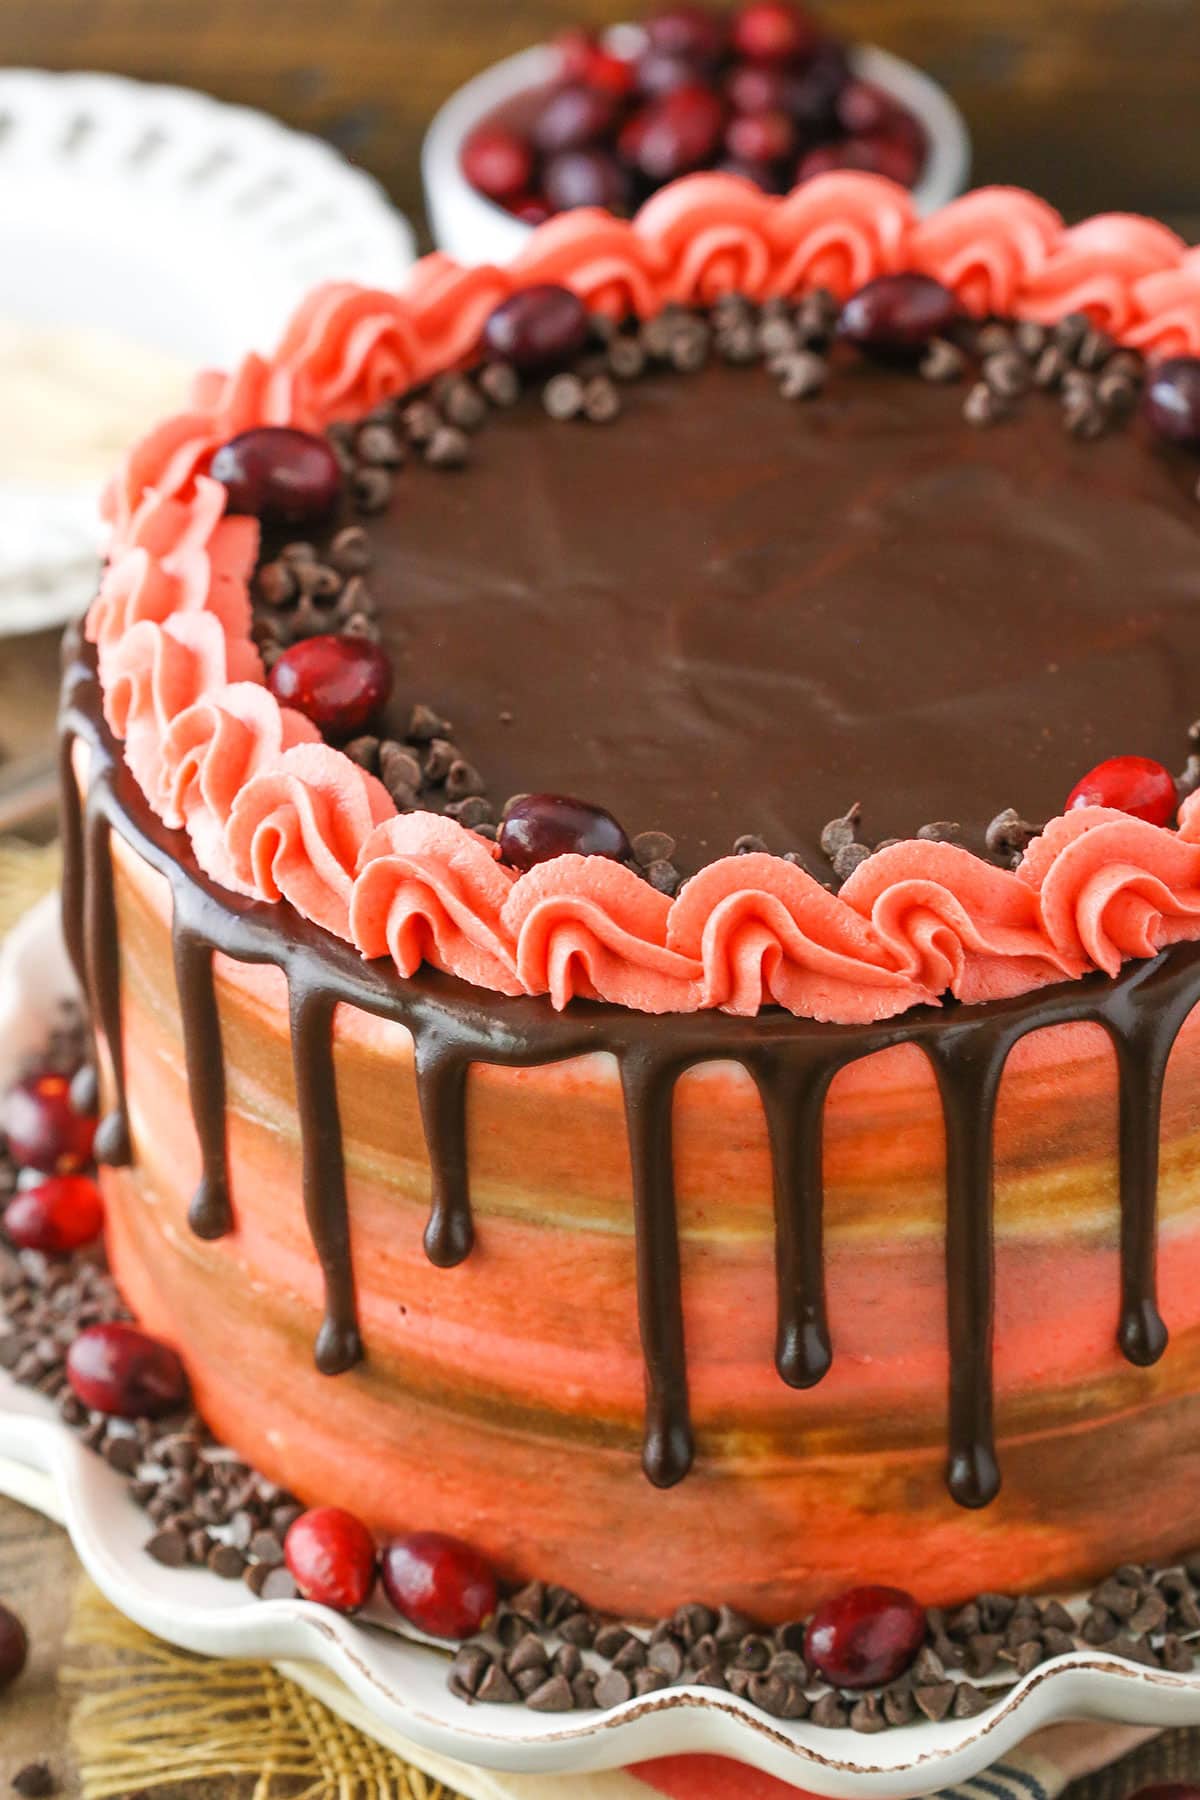
Naturally, I decided to make a Cranberry Fudge Layer Cake and I’ve been so excited to share it. It’s delicious on the inside and decorated so fun on the outside. Such a great cake for sharing this holiday.
How to make a Cranberry Fudge Cake
To get started, I used my Moist Vanilla Layer Cake as the base. I did make some changes though. First, you’ll cream the butter, sugar, oil and vanilla together. I use a little more oil and a little less butter in this cake. Oil often ramps up the moisture factor and I wanted to have that here. The flavor is a little different when you use more oil versus butter so it’s a bit of a trade off, but I liked the oil in this cake.
Next up, you’ll add the eggs, then alternate adding the dry and wet ingredients. I decided to use both milk and sour cream this time around. Not only does sour cream tend to lend more moisture to a cake, it also adds a bit of a tangy flavor. I love the way it compliments the cranberries in this cake!
This cake also uses a little cornstarch in with the flour. I recently learned that cornstarch can actually soften the proteins in flour, leading to a more tender cake. I tried it with this cake and while the different isn’t huge, there was a noticeable difference. You could always leave it out without making any other changes, but I’d definitely suggest trying it.
The final step is adding the fresh cranberries. I actually made this cake several times – largely to make sure I had just the right amount of cranberries. This is a cranberry cake, so I didn’t want any bites to be without. There’s plenty of cranberries to love in every bite of this cake!
How to decorate this Cranberry Fudge Cake
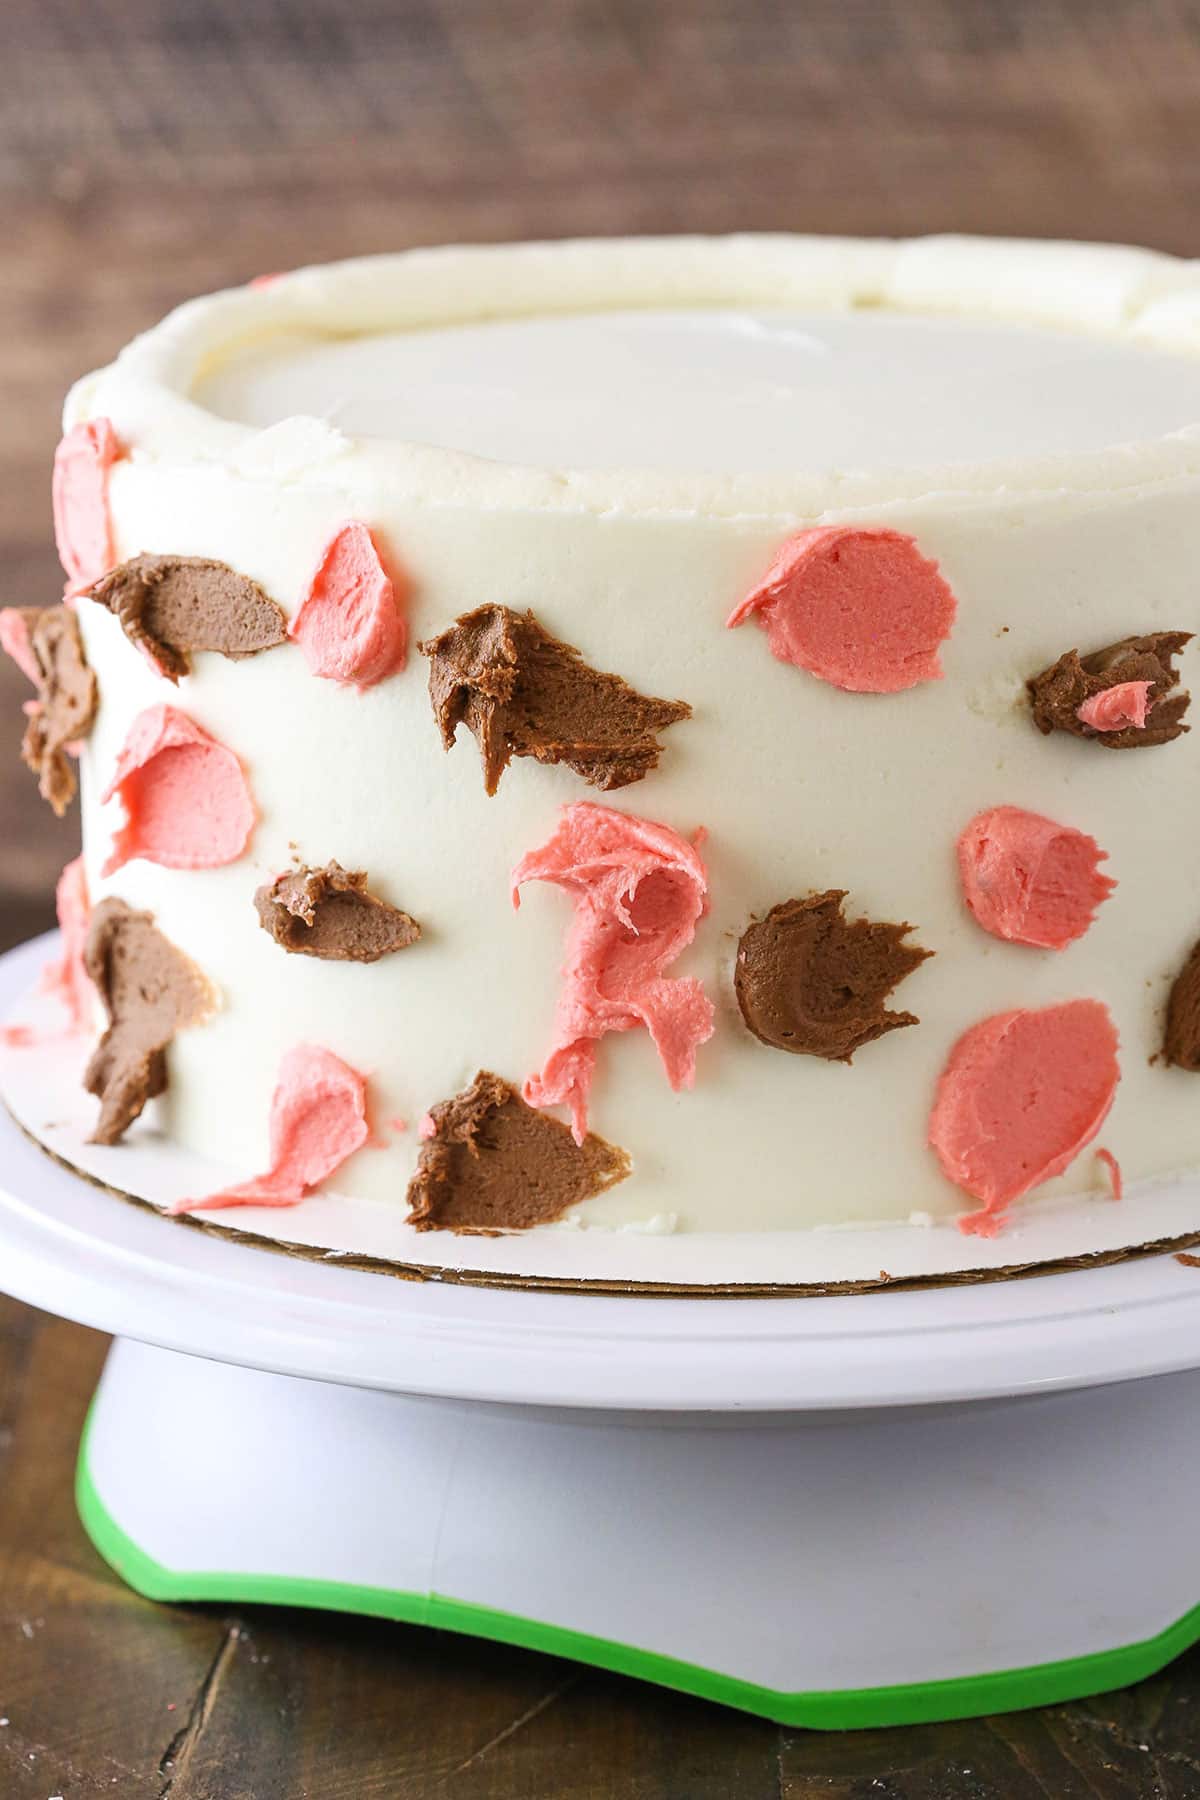
Once your cake is baked, it’s time to make the frosting. I wanted to do something fun with the outside decor so I made a vanilla frosting that could be used on the outside of the cake and colored some for the red frosting. I also added cocoa to part of it to make the chocolate frosting for the filling. Of course, if you wanted to keep it more simple, you could also make a completely chocolate frosting and use that all over the cake. I just love this festive look and it was something a little different.
The cake layers are layered with chocolate frosting between them, then the outside is frosted with the vanilla frosting in both white and red, and the remaining chocolate frosting. To create the same look as I have, you’ll frost the outside of the cake with the plain white vanilla frosting, then add little dots of red and chocolate frosting around it. If you’re familiar with my smooth frosting tutorial, you’d start getting things smooth on the sides with the icing smoother, add the dots of color, then finish smoothing out the sides, creating this fun effect. Finish off the cake with chocolate ganache drips and a piped border and you’ve got quite the stunner on your hands!
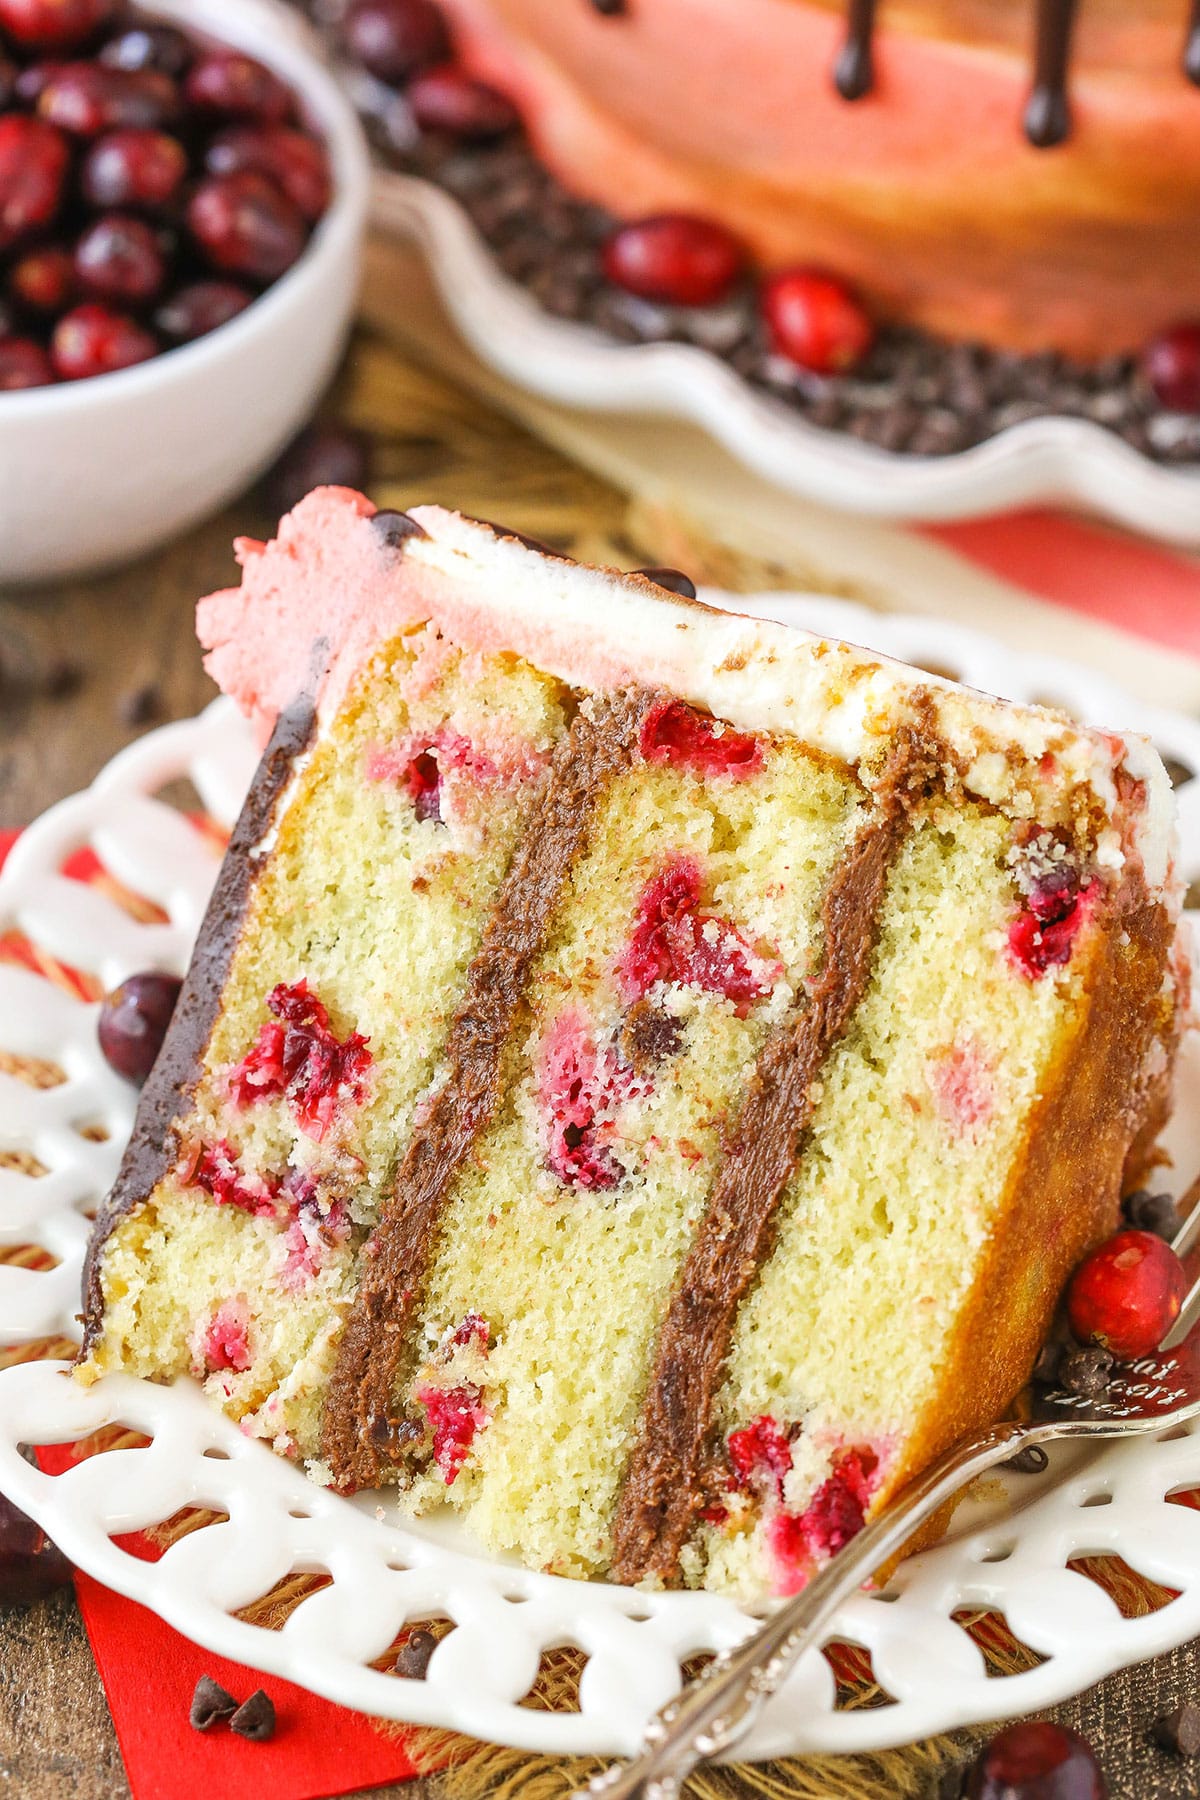
I’m such a big fan of this Cranberry Fudge Layer Cake! The cake flavor is amazing, it’s moist and it’s FULL of cranberries! Combined with the chocolate frosting between the layers, it’s delightful! Such a yummy way to enjoy cranberries this holiday season and great cake for celebrating the holidays!
You might also like:
Cranberry Fuge Swirl Cheesecake
Sparkling Cranberry White Chocolate Cake
Sparkling Cranberry White Chocolate Bundt Cake
White Chocolate Dipped Cranberry Oatmeal Cookies
Cranberry Orange Chocolate Chip Cheese Ball
Chocolate Toffee Cranberry Cookies
Cranberry Fudge Layer Cake
- Prep Time: 2 hours
- Cook Time: 30 minutes
- Total Time: 2 hours 30 minutes
- Yield: 12-14 slices
- Category: Dessert
- Method: Oven
- Cuisine: American
Description
This Cranberry Fudge Layer Cake is made with a moist vanilla cake studded with fresh cranberries and filled with chocolate fudgy frosting! It’s moist, delicious and great for the holidays!
Ingredients
Cranberry Cake
- 2 1/2 cups + 1 tbsp (333g) all purpose flour
- 2 tbsp cornstarch
- 1 tsp baking powder
- 1/2 tsp baking soda
- 1/2 tsp salt
- 1/2 cup (112g) unsalted butter, room temperature
- 2 cups (414g) sugar
- 1/2 cup vegetable oil
- 1 tbsp vanilla extract
- 4 large eggs
- 1 cup (240ml) milk
- 1/4 cup (58g) sour cream
- 2 3/4 cups (272g) fresh cranberries
Frosting
- 1 1/2 cups salted butter, room temperature
- 1 1/2 cups shortening
- 12 cups (1380g) powdered sugar
- 6–8 tbsp water or milk
- 1/2 cup + 2 tbsp natural unsweetened cocoa powder
- 2 tsp vanilla extract
Chocolate Ganache
- 6 oz (1 cup | 169g) semi sweet chocolate chips
- 1/2 cup heavy whipping cream
- Fresh cranberries, optional
- Mini chocolate chips, optional
Instructions
1. Prepare three 8 inch cake pans with parchment paper circles in the bottom and grease the sides. The cranberries in this cake have a tendency to stick in the corners of the pan, so grease them well. Preheat the oven to 350°F (176°C).
2. Combine 2 1/2 cups of flour (325g), cornstarch, baking powder, baking soda and salt in a medium sized bowl and set aside.
3. Add the butter, sugar, oil and vanilla extract to and large mixer bowl and beat together until light in color and fluffy, about 2-3 minutes. Do not skimp on the creaming time.
4. Add the eggs one at a time, mixing until mostly combined after each. Scrape down the sides of the bowl as needed to be sure all ingredients are well incorporated.
5. Add half of the dry ingredients to the batter and mix until mostly combined.
6. Add the milk and sour cream and mix until well combined, but don’t over mix.
7. Add the remaining dry ingredients and mix until well combined and smooth. Scrape down the sides of the bowl as needed to be sure all ingredients are well incorporated. Do not over mix the batter.
8. Add the cranberries and remaining tablespoon (8g) of flour to a bowl and stir to coat the cranberries in flour.
9. Add the cranberries to the batter and gently stir to combine.
10. Divide the batter evenly between the cakes pans and bake for 28-32 minutes, or until a toothpick comes out with a few crumbs.
11. Remove the cakes from the oven and allow to cool for about 2-3 minutes, then remove to cooling racks to cool completely.
12. To make the frosting, beat the butter and shortening together until smooth.
13. Slowly add half of the powdered sugar and mix until smooth.
14. Add 3 tablespoons of water or milk and mix until smooth.
15. Slowly add the remaining powdered sugar and mix until smooth. Frosting will be very thick.
16. Remove about 2 1/2 cups of frosting for the chocolate frosting and add 3 tablespoons of water or milk. Mix until combined.
17. Add the cocoa powder and mix until well combined. Add additional milk or water, if needed.
18. For the remainder of the frosting, add the vanilla extract and another 2-3 tablespoons of water or milk, until your frosting is the right consistency.
19. Remove about 3/4 cup of the vanilla frosting and set the rest aside. Add some pink and red gel icing color to the 3/4 cup of frosting to get a nice shade of pink/red.
20. To put the cake together, use a large serrated knife to remove the domes from the top of the cakes (if needed) so that they’re flat. These cakes don’t have a large dome, but I often like to make sure they’re completely flat. See my tips on how to level a cake and how to stack a cake.
21. Place the first cake on a serving plate or a cardboard cake round.
22. Spread about 1 cup of chocolate frosting evenly on top of the cake.
23. Add the second layer of cake and another cup of chocolate frosting.
24. Top the cake with the remaining layer and partially frost the outside of the cake with white vanilla frosting. Refer to my tutorial for frosting a smooth cake, if needed. After the sides of the cake are mostly frosted, but not completely finished, move to the next step.
25. Place some dots of chocolate frosting and the pink/red frosting around the outside of the cake (see photo in post above), then use an icing smoother or offset spatula to spread it around the outside of the cake. It should naturally blend the three colors together.
26. Finish frosting the top of the cake, then make the chocolate ganache (see my tips on making chocolate ganache).
27. Place the chocolate chips in a small bowl. Heat the heavy whipping cream until it begins to boil, then pour over the chocolate chips.
28. Allow the chocolate and cream to sit for about a minute, then whisk until smooth.
29. Drizzle the chocolate around the sides of the cake, creating drips, then fill in the center of the top of the cake. I like to use a squeeze bottle for creating the drips, but a piping bag and tip would work as well. See my tips on making a chocolate drip cake.
30. Pipe a border around the top edge of the cake using the remaining pink/red frosting.
31. To finish off the cake, add some fresh cranberries and mini chocolate chips, if desired.
Notes
If you want to just use a chocolate frosting over the entire cake, reduce the powdered sugar to 11 cups (1265g) and increase the cocoa to 1 1/2 cups (171g). When making the frosting, at step 15, add additional water or milk to thin out the frosting a bit (3-4 tablespoons), then add the cocoa powder and vanilla extract and mix until well combined and smooth. Add additional water or milk, if needed.
Nutrition
- Serving Size: 1 Slice
- Calories: 1182
- Sugar: 121.6 g
- Sodium: 323.1 mg
- Fat: 66.2 g
- Carbohydrates: 146.1 g
- Protein: 8.3 g
- Cholesterol: 136.6 mg
Enjoy!





Hi, can i use dried cranberries in the recipe. I dont have access to fresh ones in my country.
I have never tried dried fruit in cake. I would think they would be a little chewy and give you a different texture, but you can try it.
Could you use another fruit other than cranberry?
Yes, I would think that would be fine. Raspberries might be a good option.
Lindsay, I’m making your buttercream from Simply Beautiful Homemade Cakes. I usually make the frosting and ice the cake the same day; however, the frosting I’m making right now won’t be used until Friday. I’m storing it in an airtight container. Do I need to refrigerate it? Thanks ????
It’s best to store it in the fridge and then bring it to room temperature before using it. I hope you enjoy it!
What piping tip did you use?
Ateco 844
Hello again Lindsay, you had the link to the pastry tips and the icing smoother tool ..could you also please share which pastry bags do you use?
Hello Chandana! Which frosting bag to use is not vital to frosting a cake as long as it is good quality and durable. There are two types of frosting bags, reusable, and disposable. Speaking from experience I use the disposable frosting bags from Wilton because of their durability, easy clean-up and because they can be found at several common grocery stores, but a reusable one is just as good. It’s really important to just find one that won’t burst during frosting. Whatever works for you is the main point though, because every baker is different. ????????????
Happy Baking
-Abby
You could really use any large piping bag, but I tend to use Wilton ones. I have both disposable and reusable ones – it just depends on your preference as far as clean up. 🙂
Hello Lindsay,
Another beautiful post. I have never baked with fresh cranberries, so will surely give it a try. I don’t have 8 inch pans, can I use 9 inch?
Love your “frosting a smooth cake” tutorial. I have ordered the supplies you have called out and am going to try frosting per your directions. Wish me luck!!
Nine inch pans should be fine, it just won’t be as tall of a cake or need to bake as long. I hope you find the tutorial helpful – I actually just added a new video to it today. 🙂