This post may contain affiliate sales links. Please read my disclosure policy.
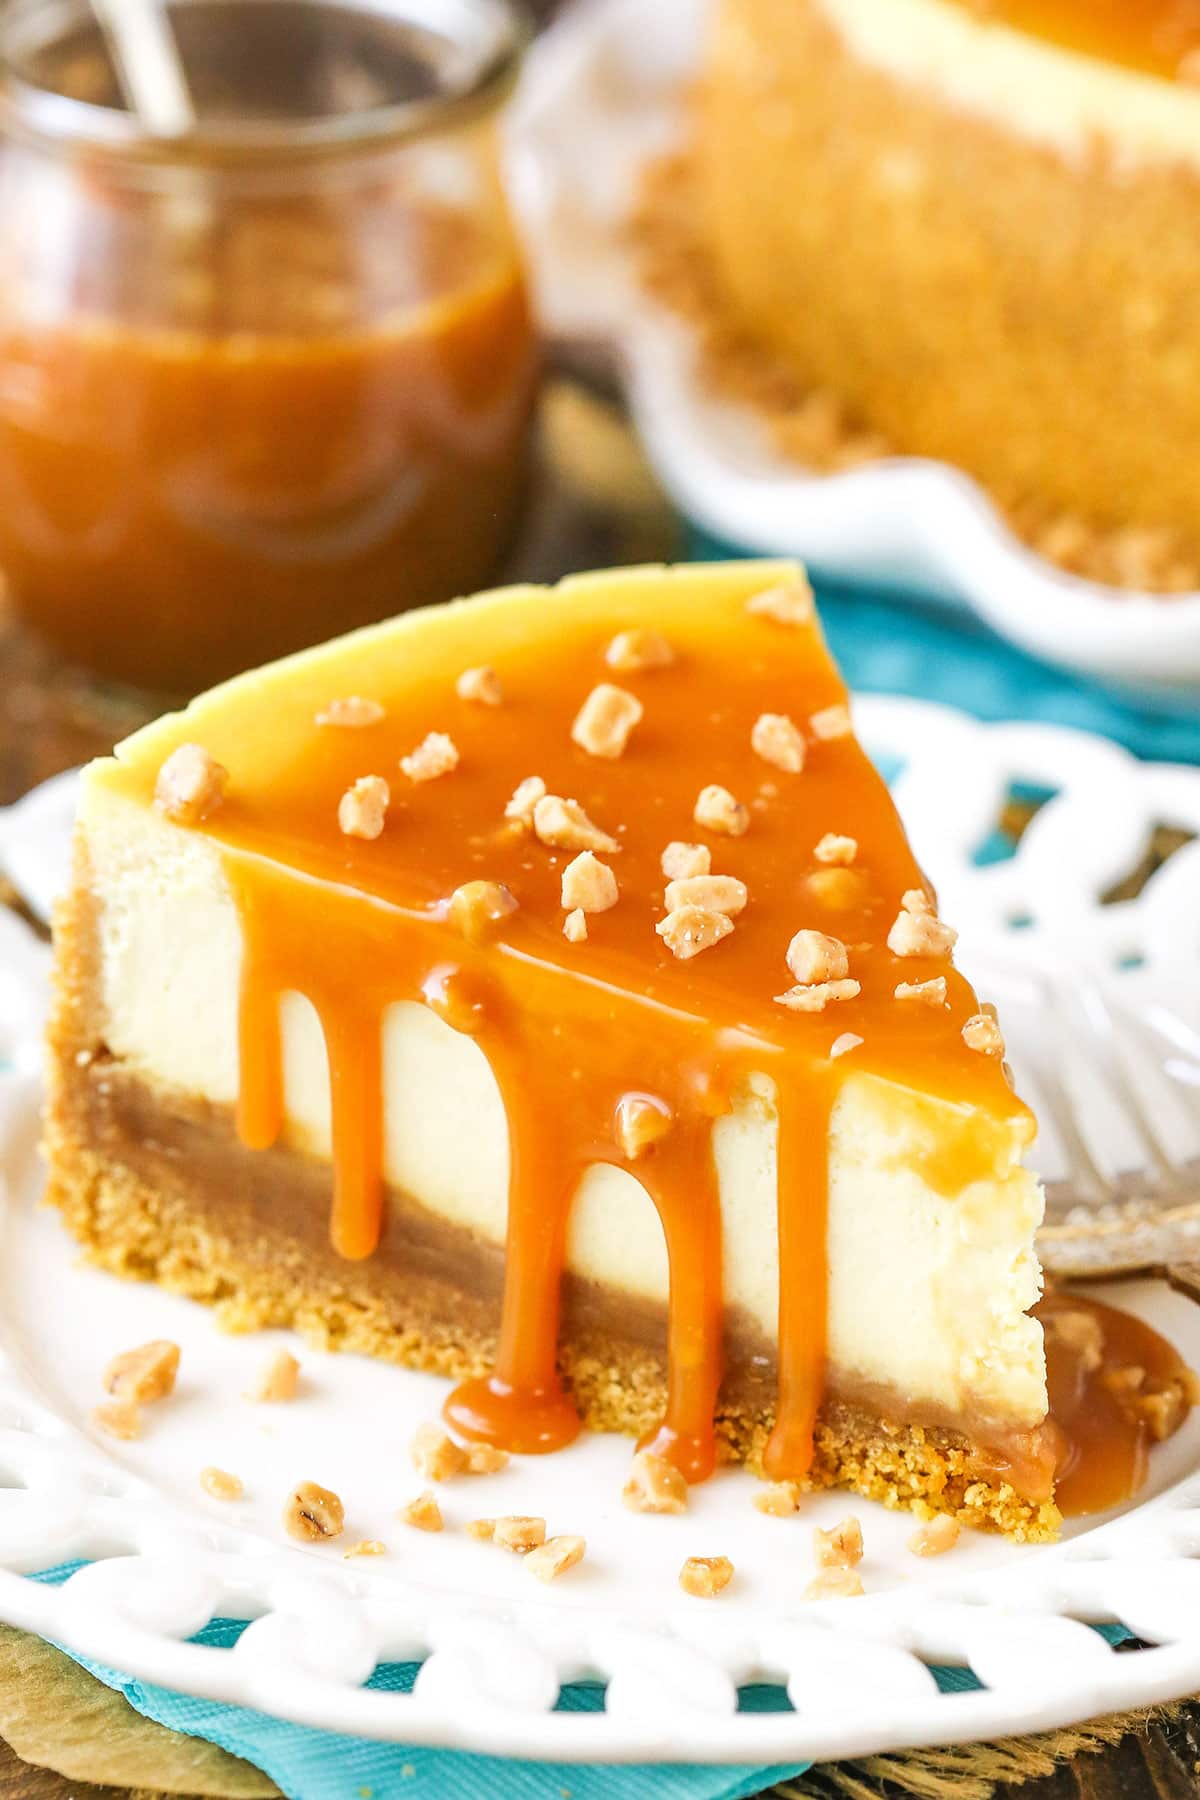
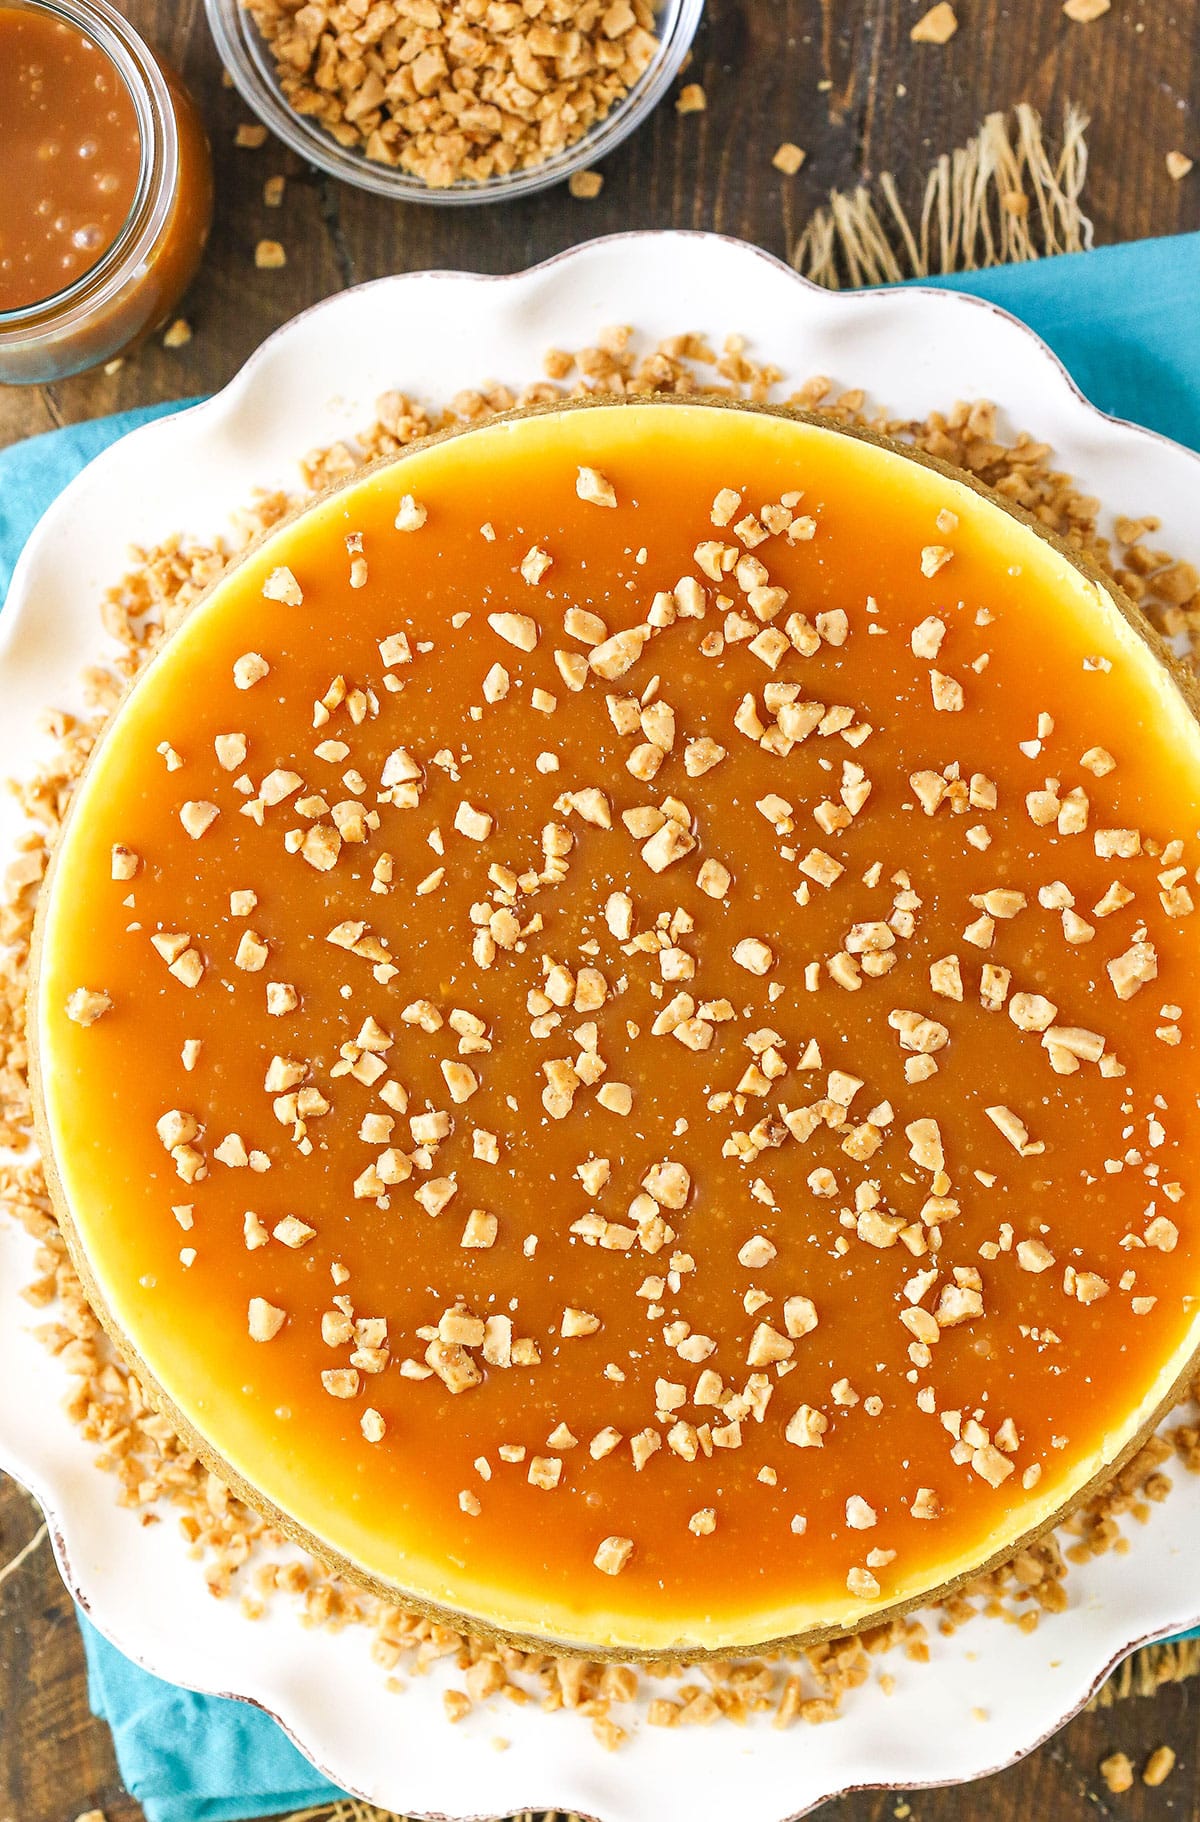
This delicious Salted Caramel Cheesecake is the best you’ll ever have! Caramel sauce is drizzled on top and layered inside the smooth and creamy cheesecake! It’s caramel cheesecake heaven!
Why You’ll Love this Salted Caramel Cheesecake
This cheesecake is truly a combination of two of my very favorite things – caramel and cheesecake. When it came time to create a caramel cheesecake recipe, a simple cheesecake with some caramel drizzled on top just wasn’t enough. I developed this cheesecake recipe to have ALL the caramel sauce. Here’s why you’ll love it.
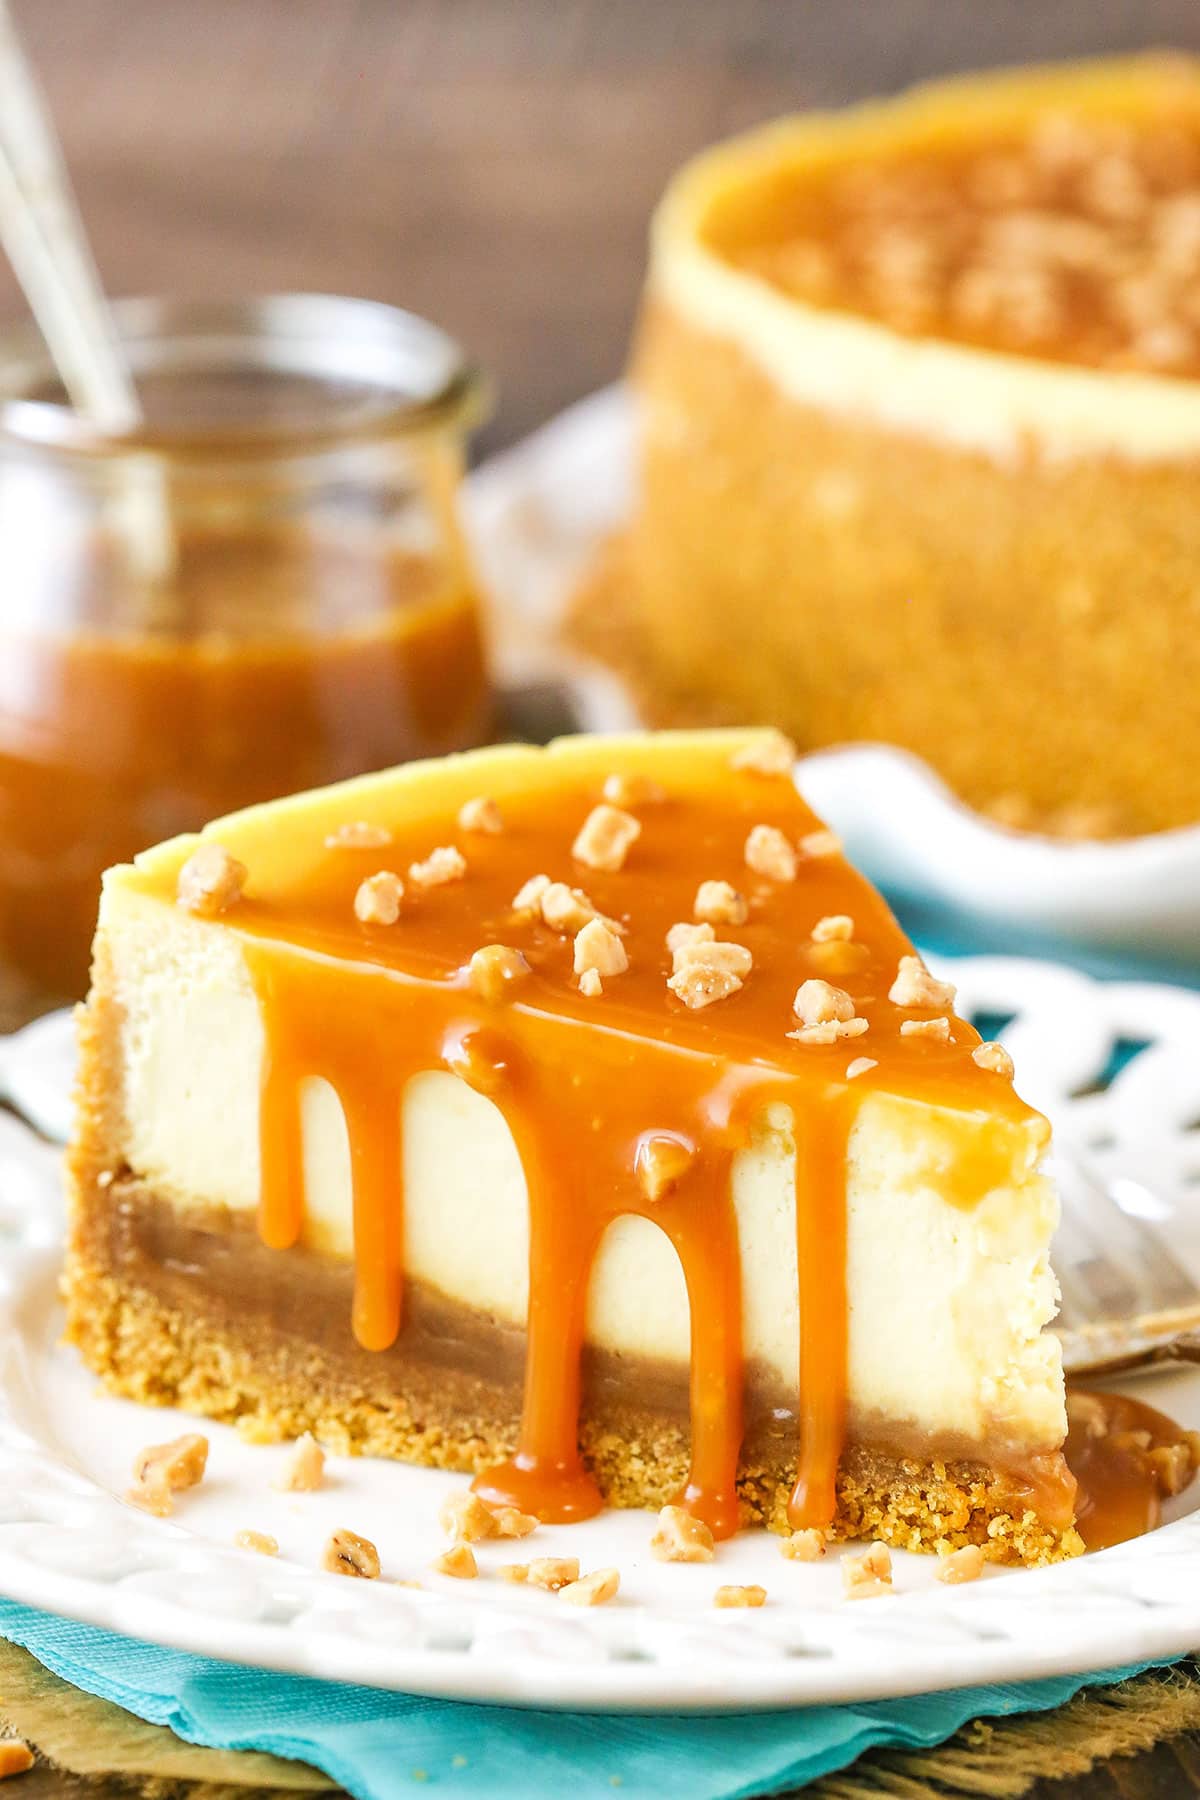
- So much caramel flavor. Sweet, salty, buttery caramel is not simply a topping; it’s the main flavor of the entire cheesecake from the crust to the toffee bits on top. To make this wonderful caramel cheesecake come true, I started with my Homemade Caramel Sauce and thickened it up a bit. It’s layered in the filling, it’s on top, it’s in the flavor of the brown sugar in the crust and filling. It’s all over!
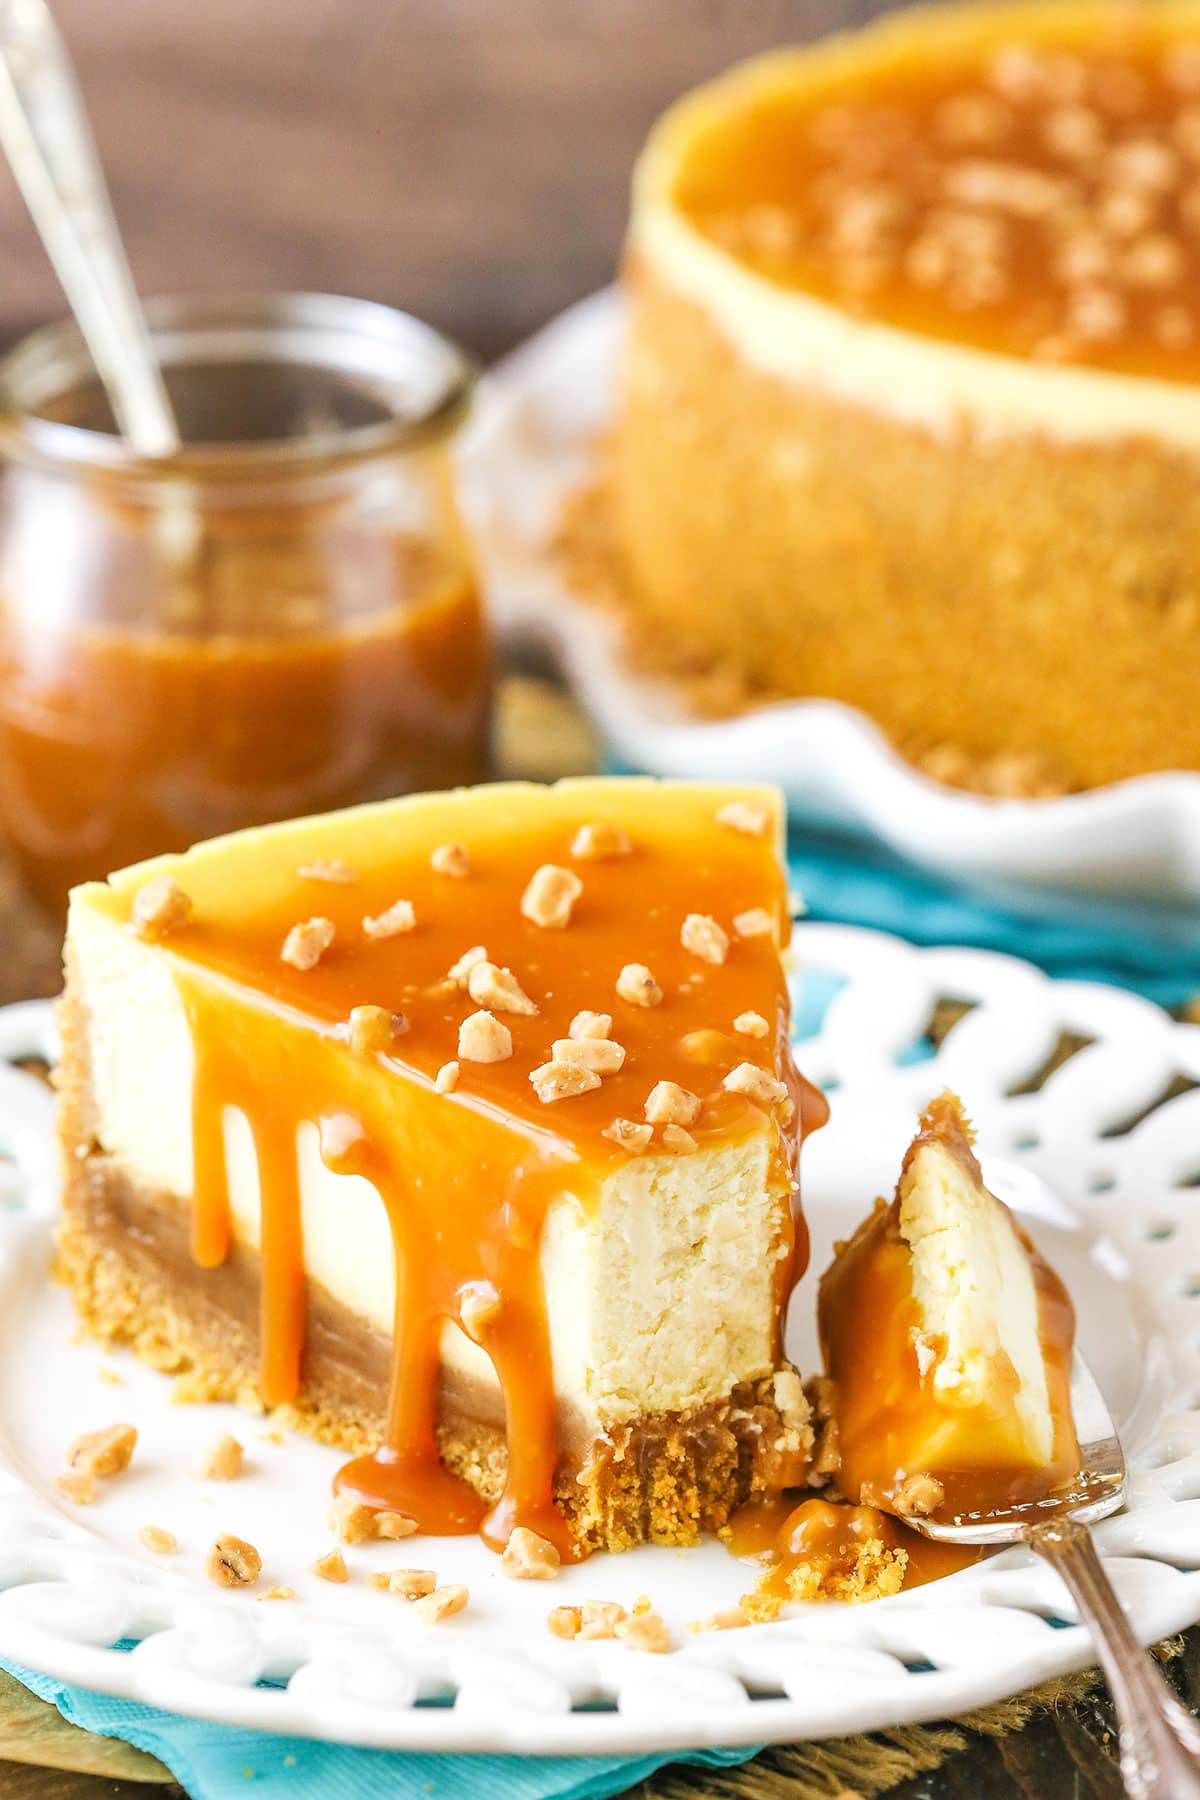
- Melts in your mouth. The final cheesecake is AMAZING! It’s so incredibly smooth and creamy! It’s buttery with hints of vanilla and a deep, rich caramel flavor. It just melts in your mouth.
- Show-stopper. Get ready for the oohs and aahs when you place this fancy, decadent dessert on the table! Whether you are throwing a shower, celebrating a birthday or getting into the holiday spirit, this cheesecake will make it a memorable and delicious occasion.
- Make ahead. Cheesecakes are one of the best desserts for making ahead. They hold up beautifully in the fridge for several days, and reduce prep time on the actual day you plan to serve them.
Looking for more cheesecakes to try? This classic cheesecake recipe is easy to make and turns out perfect every time. It’s a great base to dress however you like.
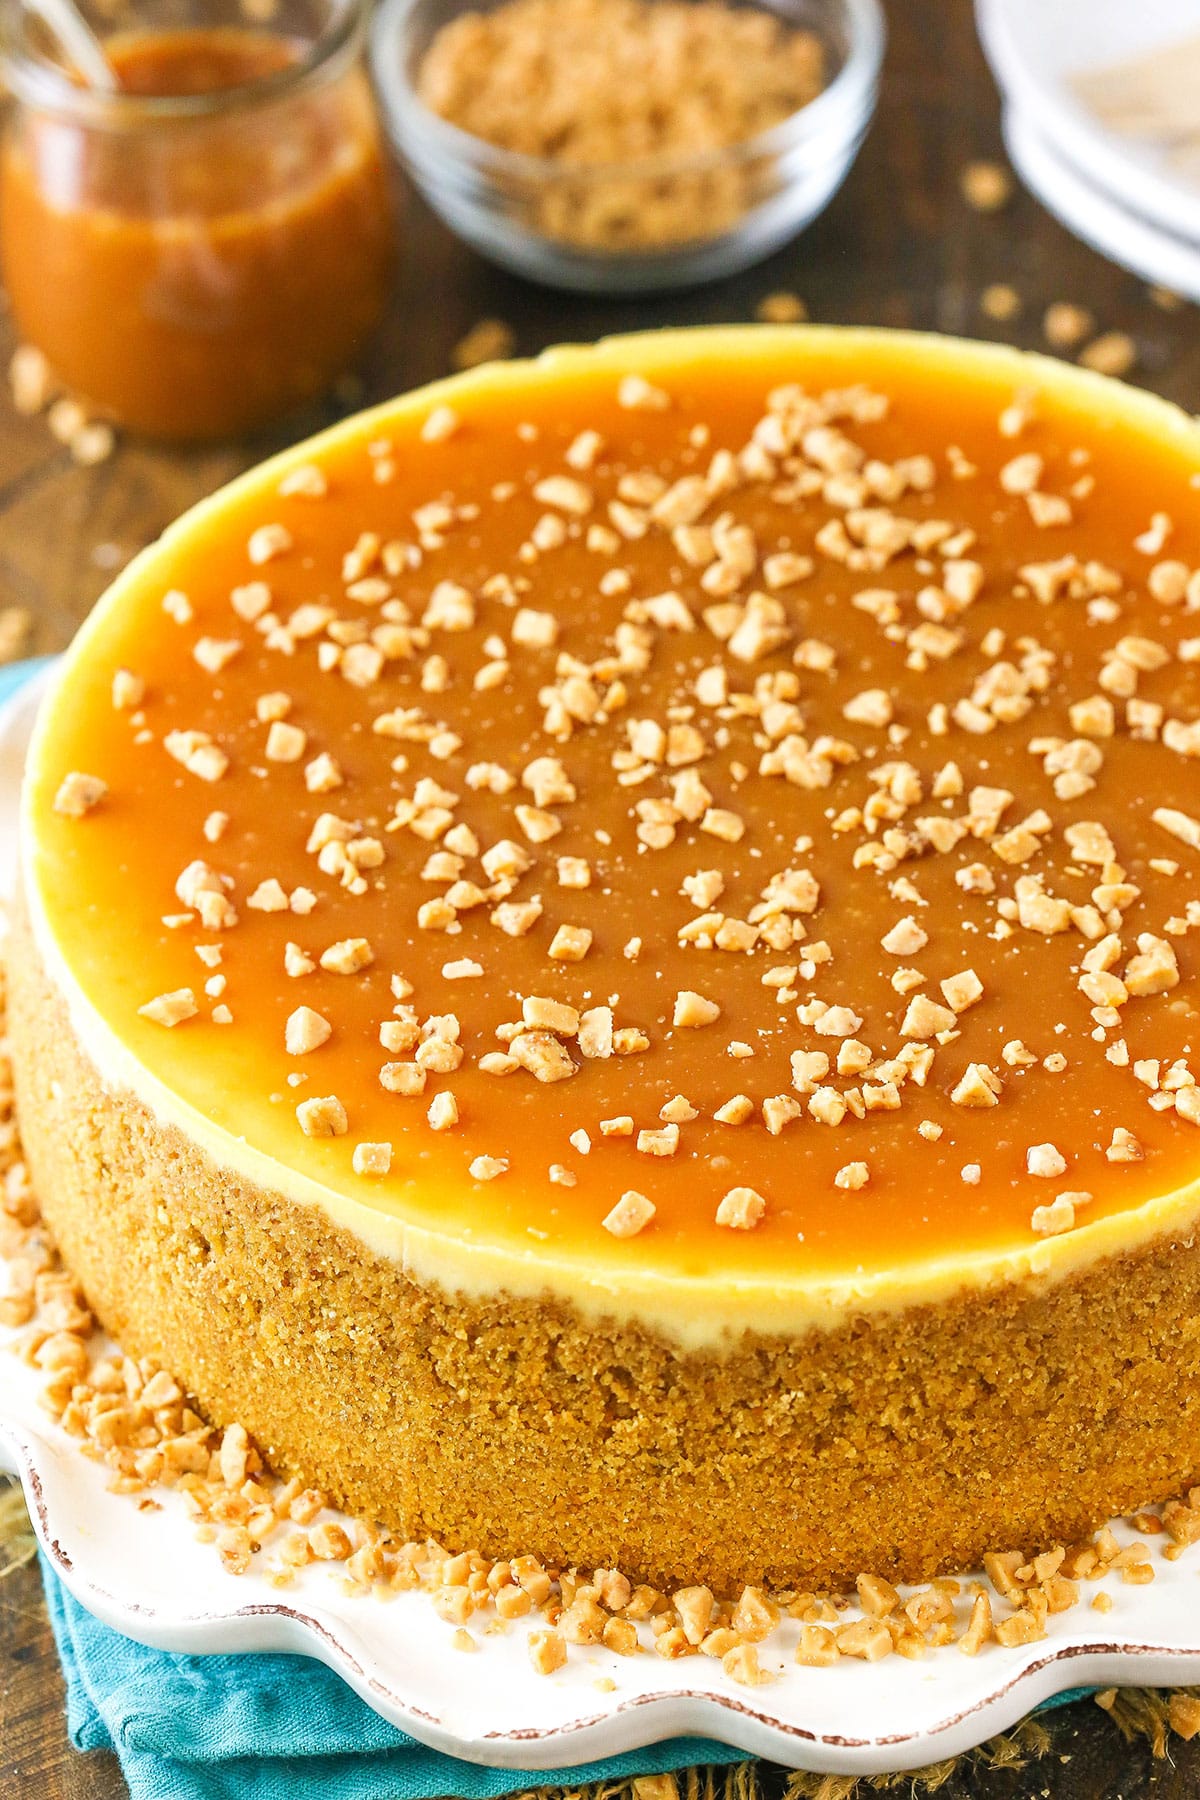
What You’ll Need to Make Salted Caramel Cheesecake
You’ll want to select quality ingredients to ensure the best cheesecake results. Here are a few tips to keep in mind before making your shopping list. Check out the recipe card toward the bottom of this post for full ingredient amounts.
Caramel Sauce
- Sugar – The first ingredient for the caramel is granulated sugar, which gets melted down. The melting process brings out the rich, caramel flavors of the sugar.
- Salted butter – Just a little butter makes the most amazing caramel sauce with a smooth and buttery flavor. This MUST be at least room temperature, if not warmer. Note that the salted butter adds salt to the sauce, but if you want a really salty caramel, feel free to add up to another teaspoon of salt at the end.
- Heavy whipping cream – This also MUST be at least room temperature, if not warmer. I don’t recommend substituting this with something else. The high fat content helps to give a rich, smooth sauce. Using another type of milk can thin out your sauce.
- All-purpose flour – It’s not a typical ingredient for caramel sauce, but it is added to a portion of the sauce for when it’s baked within the cheesecake. Without the flour, the caramel sauce would just dissolve into the cheesecake as it bakes. With the flour, the sauce remains a delicious, thick layer of caramel within the cheesecake. Be sure to sift it, so that you don’t end up with lumps.
Crust
- Graham cracker crumbs – I used a classic graham cracker crust with a little bit of brown sugar for the crust. If you don’t like graham crackers, you could substitute other cookies like Nilla Wafers or your favorite shortbread cookies, you just may need to adjust the amount of butter depending on what you use.
- Salted butter – Don’t forget to melt the butter before mixing it into the graham crumbs to hold everything together.
- Light brown sugar – Brown sugar contains molasses, which provides a little extra sweet caramel flavor and moisture.
Filling & Topping
- Cream cheese – You’ll want to use full-fat brick-style cream cheese. Bring it to room temperature before mixing it to prevent lumps. I don’t recommend light or whipped cream cheese.
- Light brown sugar – When it comes to the cheesecake filling, we’re going to use brown sugar again to increase the caramel flavor.
- Flour – A little starch prevents the egg proteins from over-coagulating, giving you a creamier texture and helping you prevent any cracks.
- Sour cream – I love the rich, creamy flavor sour cream adds to cheesecake. I recommend full-fat sour cream for the best results. If you really want to substitute it, plain greek yogurt would work.
- Vanilla extract – Vanilla compliments caramel perfectly and adds depth of flavor to the filling.
- Eggs – I always recommend using large eggs when baking. Bring them to room temperature before adding them to the mixture.
- Toffee bits – Totally optional topping but I can’t get enough of the sweet crunchy texture they add.
How to Make Salted Caramel Cheesecake
Making the perfect cheesecake takes time and patience, but it’s worth every second! These step-by-step directions will give you a quick overview of what to do. More comprehensive directions can be found in the recipe card below.
To Make the Salted Caramel Sauce
- Add sugar to saucepan. Pour the sugar into an even layer in a large saucepan.
- Melt the sugar. Heat on medium heat, stirring the sugar until melted.
- Cook. Once the sugar has melted, stop stirring and allow it to cook until the sugar has turned to a little darker amber color, if needed. Don’t let it get too dark, or it’ll burn. Remove the caramel from the heat.
- Mix in the butter. Add the salted butter and whisk until fully melted and combined.
- Slowly add the cream. Slowly pour the heavy whipping cream into the caramel and whisk until well incorporated and smooth.
- Reserve some sauce. Set about 1 1/2 cups of caramel sauce aside for topping.
- Whisk in the flour. While stirring with a whisk, slowly add sifted flour to the remaining caramel sauce. Whisk until fully incorporated.
To Make the Cheesecake Crust
- Prepare to bake. Once the caramel sauce is made and cooling, it’s time to make the crust. Preheat the oven to 325°F (163°C). Line a 9-inch (23cm) springform pan with parchment paper in the bottom and grease the sides.
- Combine crust ingredients. In a small bowl, combine the crust ingredients until well combined and all the crumbs are moistened.
- Press into the pan. Press the mixture into the bottom and up the sides of the springform pan.
- Bake and cool. Bake the crust for 8-10 minutes, then set aside to cool.
- Prepare for the water bath. Cover the outsides of the pan with aluminum foil so that water from the water bath cannot get in (see how I prepare my pan for a water bath). Set prepared pan aside.
- Adjust oven temperature. Reduce oven temperature to 300°F (148°C).
- Add caramel sauce layer. Pour the thickened caramel sauce made with flour into the bottom of the crust, and spread into an even layer.
To Make the Cheesecake Filing
- Combine the cream cheese, brown sugar and flour. Beat the cream cheese, brown sugar and flour in a large mixer bowl on low speed until well combined and smooth. Scrape down the sides of the bowl.
- Add sour cream and vanilla. Add the sour cream and vanilla extract, and mix on low speed until well combined.
- Add eggs. Add the eggs one at a time, mixing slowly to combine after each addition. Scrape down the sides of the bowl as needed to make sure everything is well combined.
- Fill the pan. Pour the cheesecake batter into the crust, over the caramel.
- Create water bath. Place the springform pan inside another larger pan. Fill the outside pan with enough warm water to go about halfway up the sides of the springform pan. The water should not go above the top edge of the aluminum foil on the springform pan.
- Bake. Bake for 1 hour 45 minutes. The center should be set, but still jiggly.
- Cool in oven. Turn off the oven and leave the door closed for 30 minutes. The cheesecake will continue to cook, but slowly begin to cool as well.
- Cool with oven door cracked. Then, crack the door of the oven for 30 minutes to allow the cheesecake to continue to cool slowly. This process helps prevent cracking.
- Remove from oven and water bath. Remove the cheesecake from the oven and remove the water bath and wrapping.
- Cool in refrigerator. Refrigerate the cheesecake until completely cool and firm, 5-6 hours.
Assemble the Cheesecake
- Place on serving dish. When the cheesecake is completely cool and firm, remove it from the springform pan and place on a serving dish.
- Cover with caramel sauce. Us the remaining caramel sauce to add a layer of caramel sauce on top of the cheesecake and sprinkle with toffee bits, if desired.
- Drizzle and serve. Serve cheesecake slices with an extra drizzle of caramel sauce.
- Storage. Cheesecake tastes best when eaten within 3-4 days. Store leftover cheesecake in the fridge.
Tips for Success
Baking a cheesecake requires a lot of patience and attention to details. Reading through these tips will help you navigate common mistakes without a hitch so that your Salted Caramel Cheesecake turns out perfectly.
- Take your time. When melting the sugar for the caramel sauce, be patient. You don’t want to burn it, so keep the heat around medium and let it melt slowly.
- Use room temperature ingredients. When all of the cheesecake ingredients are room temperature, it’s much easier to blend them together and prevent lumps from forming in the batter. You also need room temperature (or warmer) ingredients for the caramel sauce. Be sure to see my notes on that throughout the post.
- Mix the filling slowly. Don’t be tempted to speed up the process of making the filling by increasing the speed on your mixer. Tap into your patience and make sure to use low speed to reduce the amount of air added to the batter, which can cause cracks.
- Bake the cheesecake in a water bath. You may be wondering how to bake a cheesecake in a water bath. They can definitely be a pain, but with all the work that goes into a cheesecake, it’d be a shame not to use one. Without it your cheesecake is likely to brown too much on the edges, fall in the middle and crack. Why do so much work and not have a beautiful result? If you need a little help with how to set up your water bath, check out my tutorial for a leak-proof water bath. Here are two of my most important water bath tips:
- Cool slowly. To prevent cracking, the cheesecake needs to cool slowly. Turn off the oven and leave the door closed for another 30 minutes. The cheesecake will continue to cook, as it slowly begins to cool. Then, crack the door of the oven, and set a timer for another 30 minutes. Your patience with the cooling process will result in a very creamy finished product.
Frequently Asked Questions
Can I use store-bought caramel sauce in the cheesecake?
You could use it on top of the cheesecake, although the homemade sauce really is better. But for inside the cheesecake, you really do need the homemade version. I made this caramel sauce a little thicker so that it doesn’t just dissolve inside the cheesecake while it bakes. Store-bought sauces are often quite thin and won’t hold up as well inside the cheesecake
Do I need to use the flour in the caramel sauce?
Yes! Without it, the caramel sauce will just dissolve into the cheesecake. The thicker caramel sauce and the flour work together to keep the caramel sauce where you put it inside the cheesecake.
Why did my caramel sauce get rock hard?
It’s super important that your butter and cream are at least room temperature, if not warmer, when you add them to the melted sugar. Room temperature generally means 70°F, but not everyone keeps their home that warm, which would mean your butter and cream may be too cool. If they are too cool, the dramatic temperature difference will cause the melted caramelized sugar to seize and end up rock hard. If that happens, if theory, you can save it and try to melt it. In practice, that’s hard to do and can be frustrating, so you may just want to start over. To be sure this doesn’t happen and that your butter and cream are not too cool, feel free to warm up your cream in the microwave and even melt your butter a bit.
Why does my caramel sauce taste burnt?
This happens when the sugar cooks for too long before you add the butter and cream. Watch it closely and be sure to keep stirring it while all the sugar chunks melt to help make sure all the sugar melts before it burns. It also helps to not crank up the heat on your stove to try to melt it faster. That doesn’t help and can actually cause the parts of the sugar that are already fully melted to burn before the rest of the sugar is fully melted. Be careful and take your time for best results.
Do I have to use a water bath?
I highly recommend it. Have you ever seen a cheesecake with a massive crack down the middle? That’s likely because a water bath wasn’t used. Water baths help the cheesecake bake more evenly so that you don’t end up with cracks in y our cheesecake. It also helps prevent the cheesecake from over-browning and falling in the center while it cools. You’re putting a lot of work into this cheesecake. Don’t skip this step and end up disappointed. Not sure how to set up a water bath? I’ve got you covered with my tutorial for how to set up a water bath. There are 3 different methods you could use.
More Amazing Cheesecakes
- Turtle Cheesecake
- Caramel Chocolate Chip Cheesecake
- Cinnamon Roll Cheesecake
- Caramel Apple Blondie Cheesecake
- Pecan Praline Cheesecake
- Creme Brûlée Cheesecake
- Caramel Apple Cheesecake
- Bananas Foster Cheesecake
Watch How to Make Salted Caramel Cheesecake
Print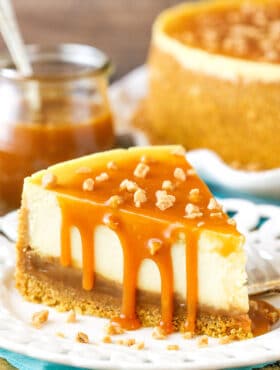
Easy Salted Caramel Cheesecake
- Prep Time: 1 hour
- Chill Time: 5 hours
- Cook Time: 2 hours 55 minutes
- Total Time: 8 hours 55 minutes
- Yield: 12-14 slices
- Category: Dessert
- Method: Oven
- Cuisine: American
Description
This delicious Salted Caramel Cheesecake is the best you’ll ever have! Caramel sauce is drizzled on top and layered inside the smooth and creamy cheesecake! It’s caramel cheesecake heaven!
Ingredients
Caramel Sauce
- 2 1/2 cups (518g) sugar
- 10 tbsp (140g) salted butter, room temperature
- 1 1/4 cups (300ml) heavy whipping cream, room temperature
- 6 tbsp (49g) all purpose flour, sifted
Crust
- 2 cups (268g) graham cracker crumbs
- 1/2 cup (112g) salted butter, melted
- 3 tbsp (42g) packed light brown sugar
Filling
- 24 oz (678g) cream cheese, room temperature
- 3/4 cup (168g) packed light brown sugar
- 3 tbsp (24g) all purpose flour
- 1 cup (230g) sour cream
- 1 1/2 tbsp vanilla extract
- 4 large eggs, room temperature
- Toffee bits
Instructions
Make the caramel sauce:
- Pour the sugar into an even layer in a large saucepan. Heat over medium heat, stirring the sugar most of the time, until melted. The sugar will clump up at first, but will eventually completely melt. This should take about 10 minutes.
- Once the sugar has melted, stop stirring and allow to cook until the sugar has turned to a little darker amber color, if needed. You may notice a nutty aroma. The change in color will happen quickly, so don’t let it go too long or get too dark, or it’ll burn. Remove the caramel from the heat.
- Add the butter and whisk vigorously until combined. The mixture will bubble up quite a bit, but keep whisking until all the butter has melted and is combined.
- Slowly pour the heavy cream into the caramel and whisk until incorporated. It helps to add just a bit at a time until the caramel starts to thin out, then you can add the rest. Whisk until well incorporated and smooth.
- Set about 1 1/2 cups of caramel sauce aside for topping. While stirring with a whisk, slowly add sifted flour to the remaining caramel sauce to prevent lumps. Whisk until fully incorporated.
Make the crust:
- Preheat oven to 325°F (163°C). Line a 9-inch (23cm) springform pan with parchment paper in the bottom and grease the sides.
- Combine the crust ingredients in a small bowl. Press the mixture into the bottom and up the sides of the springform pan.
- Bake the crust for 10 minutes, then set aside to cool.
- Cover the outsides of the pan with aluminum foil so that water from the water bath cannot get in (see how I prepare my pan for a water bath). Set prepared pan aside.
- Reduce oven temperature to 300°F (148°C).
- Pour the caramel sauce with the flour into the bottom of the crust and spread into an even layer.
Make the cheesecake filling:
- Beat the cream cheese, brown sugar and flour in a large mixer bowl on low speed until well combined and smooth. Be sure to use low speed to reduce the amount of air added to the batter, which can cause cracks. Scrape down the sides of the bowl.
- Add the sour cream and vanilla extract and mix on low speed until well combined.
- Add the eggs one at a time, mixing slowly to combine after each addition. Scrape down the sides of the bowl as needed to make sure everything is well combined.
- Pour the cheesecake batter into the crust, over the caramel.
- Place the springform pan inside another larger pan. Fill the outside pan with enough warm water to go about halfway up the sides of the springform pan. The water should not go above the top edge of the aluminum foil on the springform pan.
- Bake for 1 hour 45 minutes. The center should be set, but still jiggly.
- Turn off the oven and leave the door closed for 30 minutes. The cheesecake will continue to cook, but slowly begin to cool as well.
- Crack the door of the oven for 30 minutes to allow the cheesecake to continue to cool slowly. This process helps prevent cracking.
- Remove the cheesecake from the oven and remove the water bath and wrapping.
- Refrigerate cheesecake until completely cool and firm, 5-6 hours.
Finish the cheesecake:
- When the cheesecake is cool and firm, remove it from the springform pan and place on a serving dish.
- Prior to serving, pour 1/2 a cup of the remaining caramel sauce over the cheesecake and sprinkle with some toffee bits. Serve cheesecake slices with the remaining caramel sauce, for drizzling.
- Store cheesecake in the fridge in an air-tight container or covered with wrap. Cheesecake is best if eaten within 4-5 days.
Nutrition
- Serving Size: 1 slice
- Calories: 632
- Sugar: 55.7 g
- Sodium: 453.8 mg
- Fat: 34.7 g
- Carbohydrates: 72.5 g
- Protein: 9.1 g
- Cholesterol: 148.4 mg
Enjoy!





I have a 9 1/5″ springform pan and a 10″ cake pan. The 10″ cake pan fits tightly in the pan I plan to put water in. Does that work OK or does there need to be a little space between the sides of the 10″ and the pan with the water?
Well, you need to have space for water between the two pans. If there’s not space, then it may not work well.
Hi Lindsay:
Looking forward to making this. I couldn’t find just toffee bits in my area but can find Heath English Toffee bits. Im sure there is a difference but wanted to ask if those are an acceptable substitute or should i keep searching for plain toffee bits. Thank you!
Yes, they actually sound like the ones I use. They should be perfect.
Can I use gluten free flour instead. How much would I use compared to the amount called for in recipe. Gluten free is lighter that all purpose flour. AP flour weighs per cup 120 g-130 g depending on what the recipe calls for. Gluten free AP weghs 140 g.per cup. I use Cup4Cup which to me is really not cup4cup when the weights are different. I noticed also that not weighing or using 120 g the cake or cupcake are smaller.
I haven’t really used gluten free flour, so I’d use your best judgement on it. You could also try cornstarch in half the amount.
Wow.. this was my very first time making a cheesecake and I was NERVOUS!! My boyfriend LOVES cheesecake so I made this for his birthday. Everyone raved about how good it was and that it was better than store bought! I was amazed at how easy it was (thanks to your recipe!!). I can’t wait to make another!! I did about half the amount of caramel in the crust as the recipe called for, and only drizzled a bit on the top because I was nervous about the sweeteness level.. it turned out spectacular. Though, next time I may go all out with the caramel!! I have never had homemade caramel. Wowwwww! Little tip though, be patient with the caramel.. I was not and had to strain out little chunks. But 10/10 Sooooo good!
Great to hear that! So glad you enjoyed it!
This cheesecake is sooo yummy, rich, and absolutely delicious! The recipe isn’t difficult to follow, is a little time consuming, but definitely worth it.
I’m so glad you enjoyed it!
This was such a good recipe! I loved that there was a caramel layer on the crust and on top. I found a bag of crushed heath pieces at the grocery store to put on top and those added the extra little crunch it needed! I followed the instructions exactly and it turned out amazing. It was definitely a crowd-pleaser on Christmas and a couple people said it was the best cheesecake they’d ever had. Thanks for the great recipe and detailed instructions!!
So glad you enjoyed it!
I found the water bath a real hassle, because i have nothing that is s little bigger than my spring form and I can also not get any of those bags where I live. If anyone is in the same boat: I put the cake on the wire rack in the oven and put my baking tray, filled with water, right underneath it. The steam from the water is still there, even if the water doesn’t touch the tin. It didn’t matter though. It still turned out! This is hands down one of the best cakes I’ve ever tasted and although it seems to have lots of steps, it’s fairly easy to make. I really appreciate the detailed instructions! Thank you!
I’m so glad you enjoyed it!
Easy needs to be taken out of the title
Made this for Thanksgiving. My first ever attempt at cheesecake and everyone loved it! Will absolutely be making this again. Thank you so much for all the clear directions! I didn’t realize I had a 10 inch springform instead of a 9 inch so I didn’t have a large dish for the water bath. I cooked it for an hour and fifteen minutes and did the tray of water underneath trick. It still came out beautifully for my first time and the family was very impressed!
Awesome! I’m so glad to hear you were happy with it!
What am I doing wrong? My caramel looks beautiful but it tastes burnt 😫. I’ve mutilated a whisk, am probably going to feel like I worked out tomorrow morning and only have burnt caramel to show for it. Would doing it in a double boiler help?
I’m so sorry you’re having trouble with it. Did you watch the video? There’s also a video on my caramel sauce post that’s just for how to make the caramel. It sounds like you’re just cooking the sugar a little bit too long before adding the butter and cream.
The video linked to this recipe is for your lemon cheesecake
Where are you seeing a lemon cheesecake video? I just looked and the video I see above the recipe card is for this salted caramel cheesecake.
Recipe would be better without flour or with less flour and with a shorter cook time. I cooked as directed for 1 hour and 35 min. Did not leave oven shut for cooling. Cheesecake was completely browned on top and to dry. Would be great recipe otherwise.
The flour in the cheesecake has nothing to do with your result. Are you sure that you reduced the oven temperature to 300° after baking the crust at 325°? Because if you forgot to turn it down, it could certainly bake your cheesecake more quickly and give you that result. And did you use the water bath? Because without the water bath, you would also get a browned and dry cheesecake.
My oven does this too, so I added tin foil to the top after about 2/3 of the baking time. This stops the outside of the cake cooking/burning, while the inside keeps baking. This has really helped me!
Between the crust and the caramel, I was left over with 1.25 cups of batter. Guess it’s time to make a mini cake!
WHAT AM I DOING WRONG?!
Burnt the caramel not once, but twice. It just turns to rock candy and never melts 😠
I’m sorry you’re having trouble with it. The temperature of the butter and cream makes a huge difference. They need to be at least room temperature, if not a little warmer. If your home tends to be a little on the cool side, you may want them a little warmer. You could even warm them up in the microwave so that you know they aren’t too cold. If they are too cold, it’ll do exactly what you saw, which is turn the melted sugar into a rock.
Would it be possible to use the caramel sauce recipe that calls for water/boil method instead of the one shown?
I haven’t tested it, but my guess is that it should work just fine. You just need to make enough of it – probably 2 1/2 recipes worth.
Can u use already made caramel fir sundaes
I haven’t tried it. I’d it’s a fairly thin sauce, it may not work as well.