This post may contain affiliate sales links. Please read my disclosure policy.
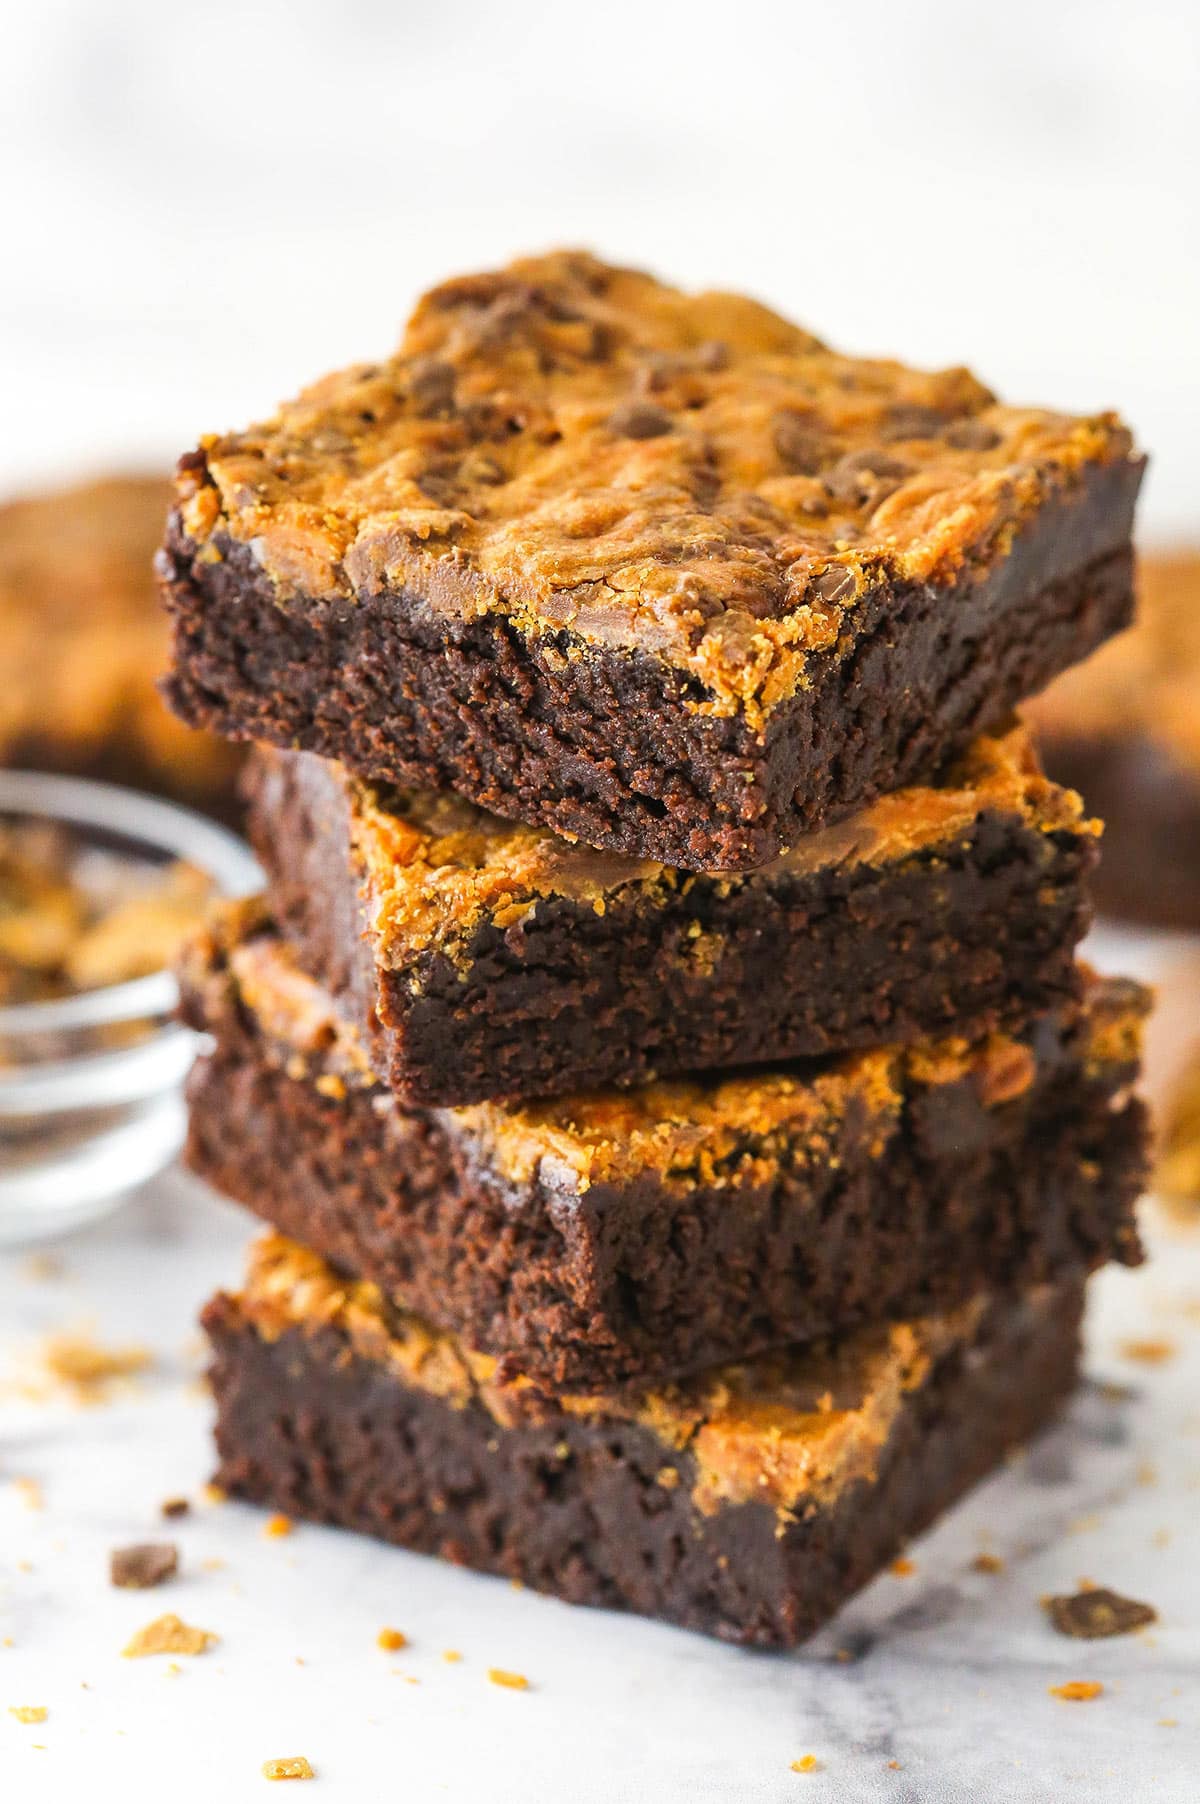
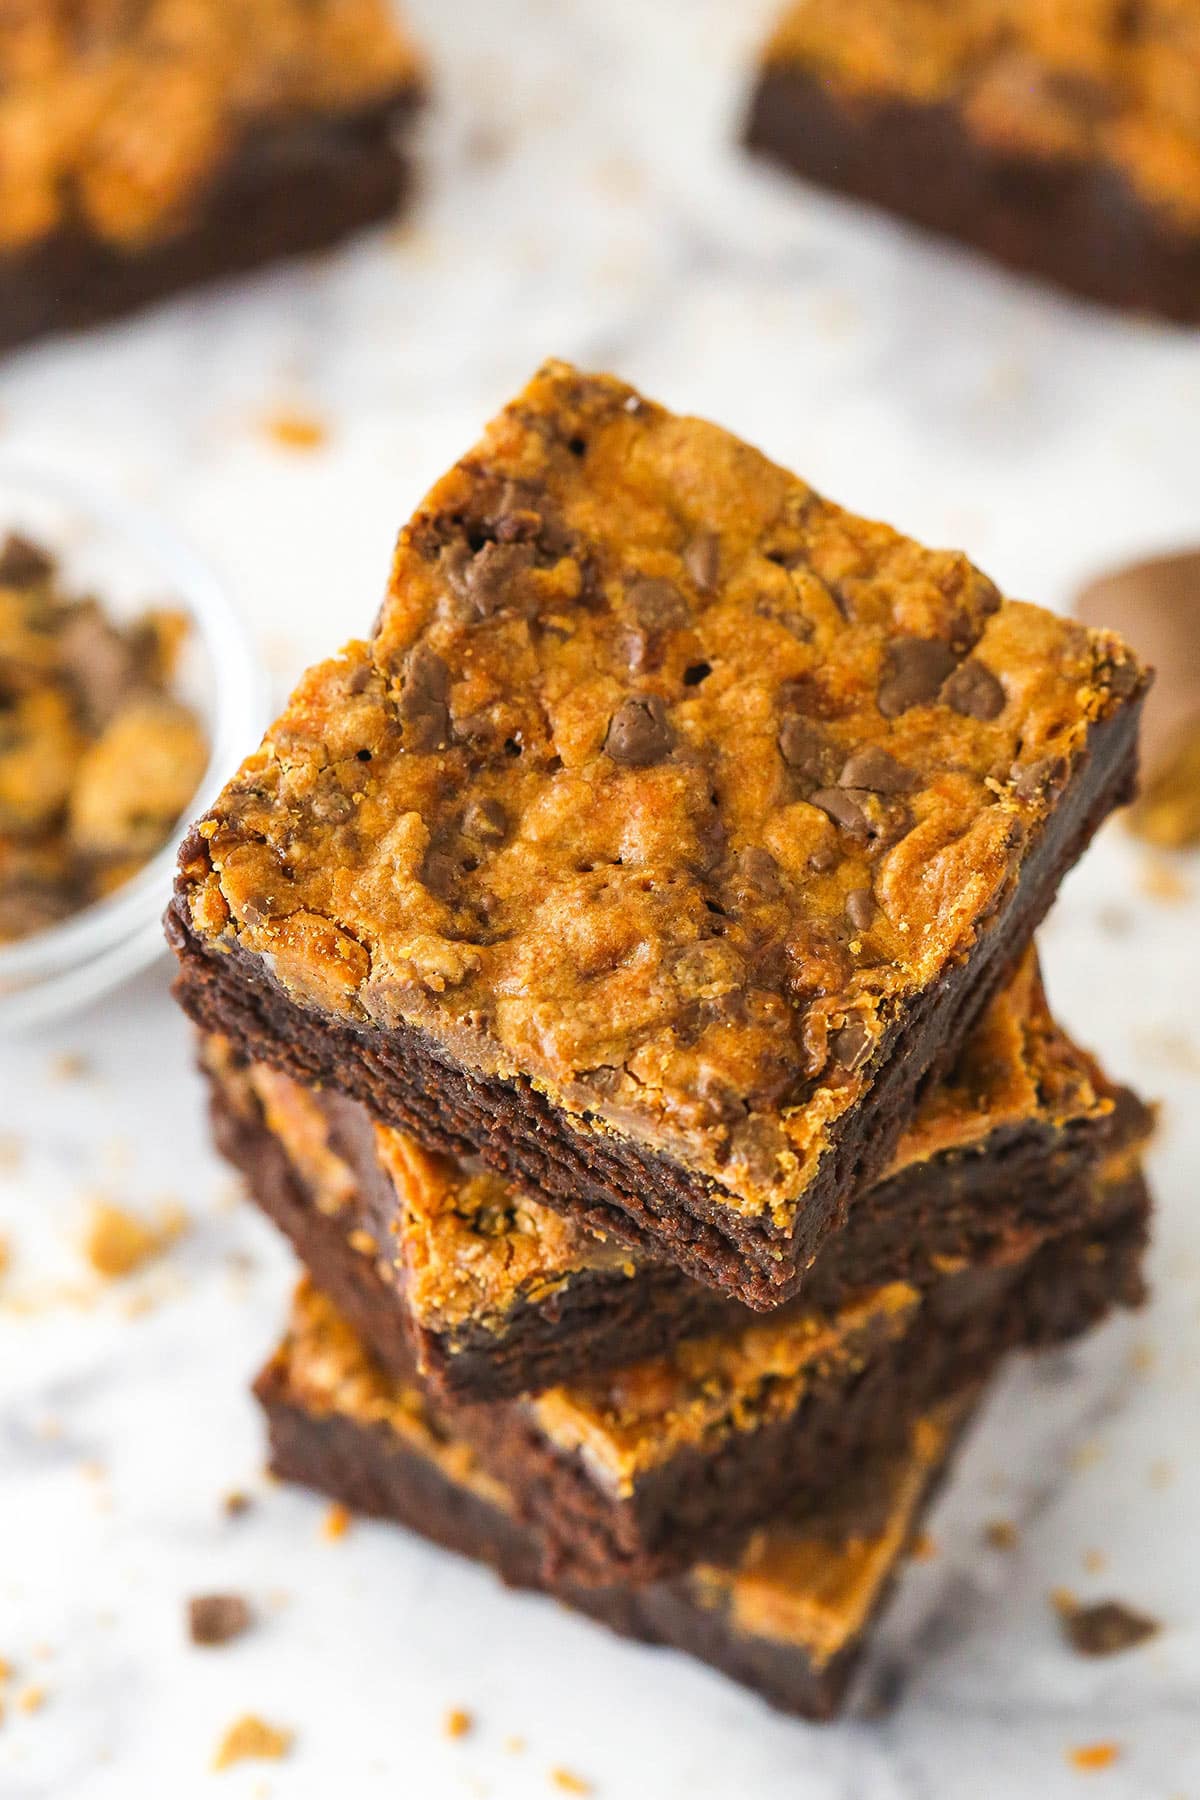
These Butterfinger brownies are some of the best brownies ever. The brownies themselves are so chocolaty and strike the perfect balance between fudgy and cakey. Top them off with the subtle peanut butter flavor of crunchy Butterfingers and you’ve got yourself one dreamy dessert.
Why You’ll Love These Butterfinger Brownies
This brownie recipe is based on some brownies I tried at a local sandwich shop a while back. They were super popular and so good! The restaurant is closed now, which is such a bummer, but the idea of these amazing brownies lives on. They are such a simple idea and yet they’re so good. Here’s why you’ll love them.
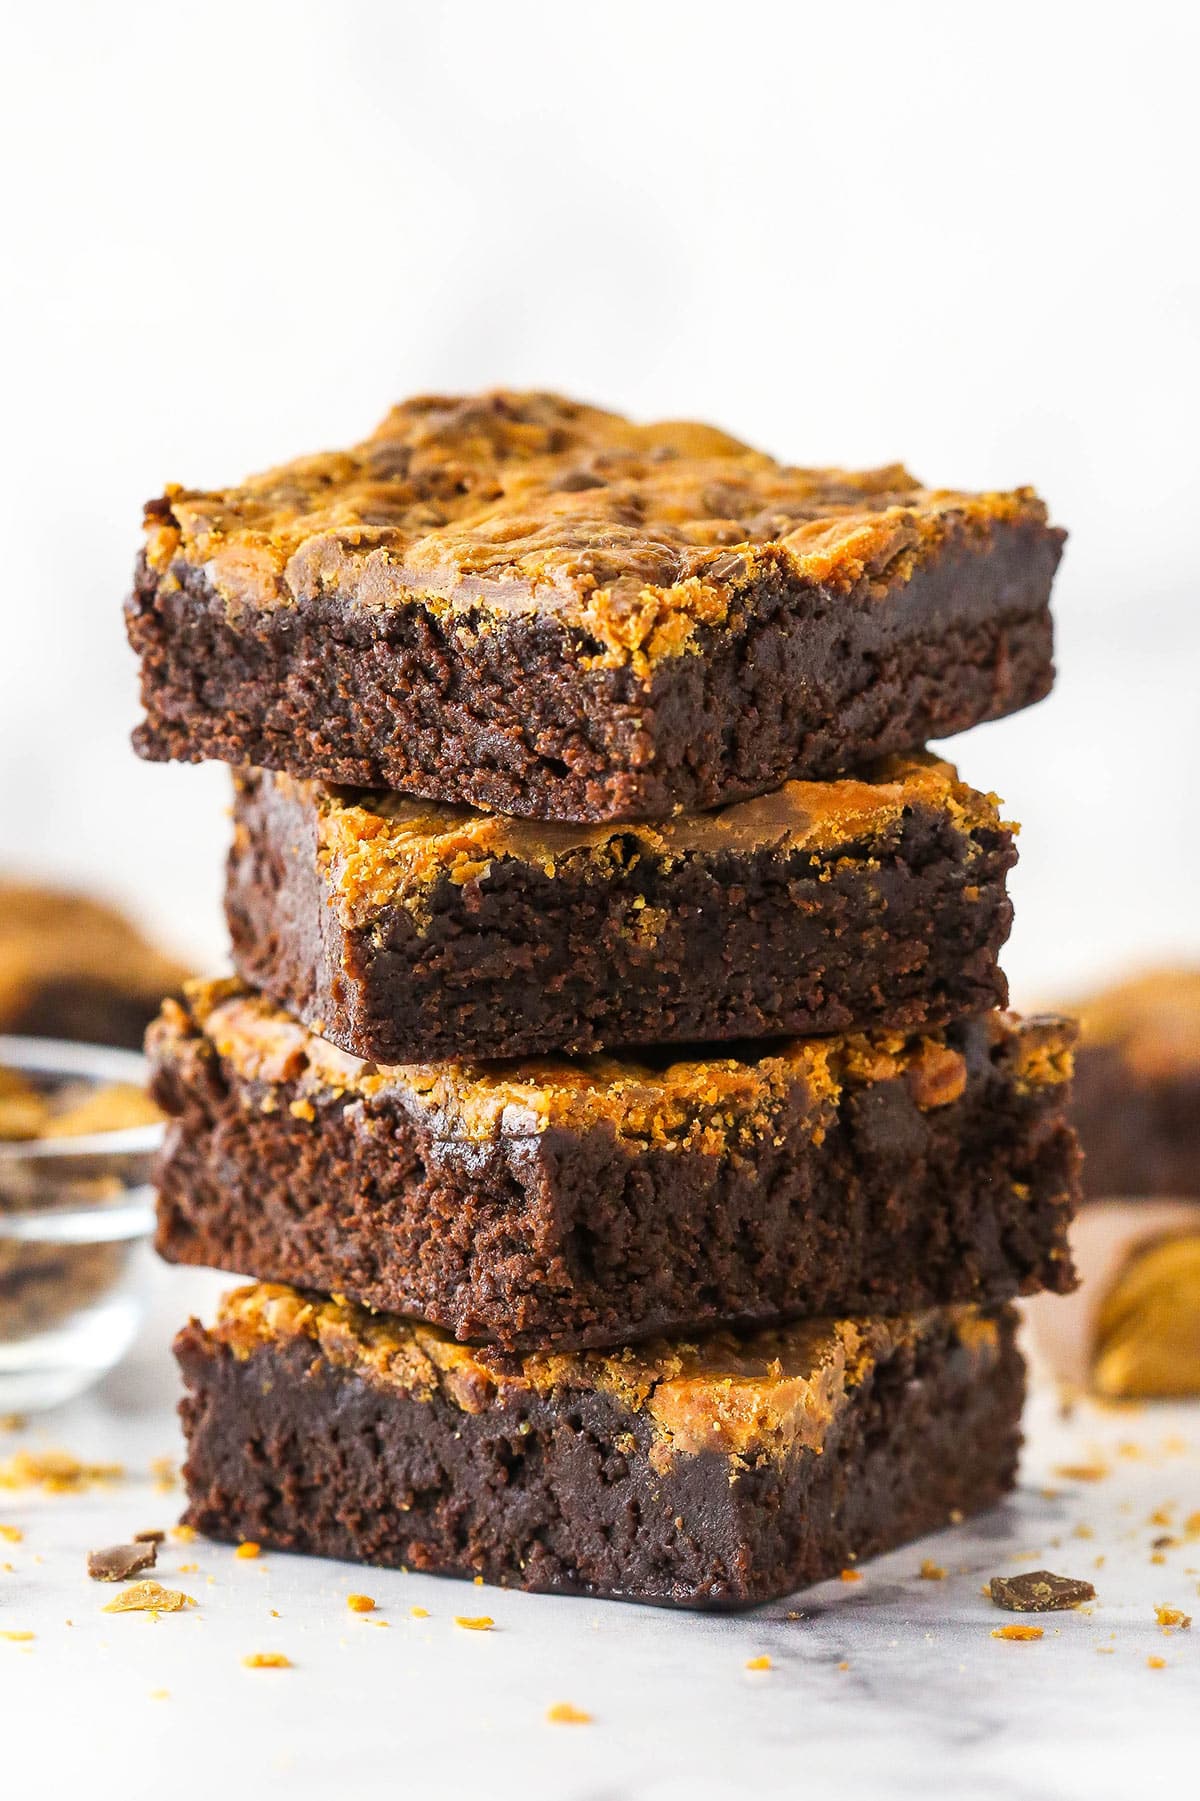
- Texture. These brownies are moist and dense, but not too dense. They are the perfect middle ground between fudgy and cakey. Just in case that’s not enough to intrigue you, imagine that perfect bite but with the added crunch of Butterfingers on the top. Addicting!
- Peanut butter-chocolate combo. Peanut butter-chocolate is one of the most well-loved flavor combos out there and these brownies do it so well. The rich chocolate flavor of the brownies themselves is complimented beautifully by the sweet, subtle peanut butter flavor of the Butterfingers.
- Quick and easy. I love that you can make this brownie batter with nothing more than 1 bowl and a whisk if you want to. Then all you have to do is pour the batter into a baking pan, top it with some crushed Butterfingers, and bake. It’s as simple as that.
What You’ll Need
Here’s what you’ll need to make these easy Butterfinger brownies. Don’t forget to scroll to the recipe card below for precise measurements.
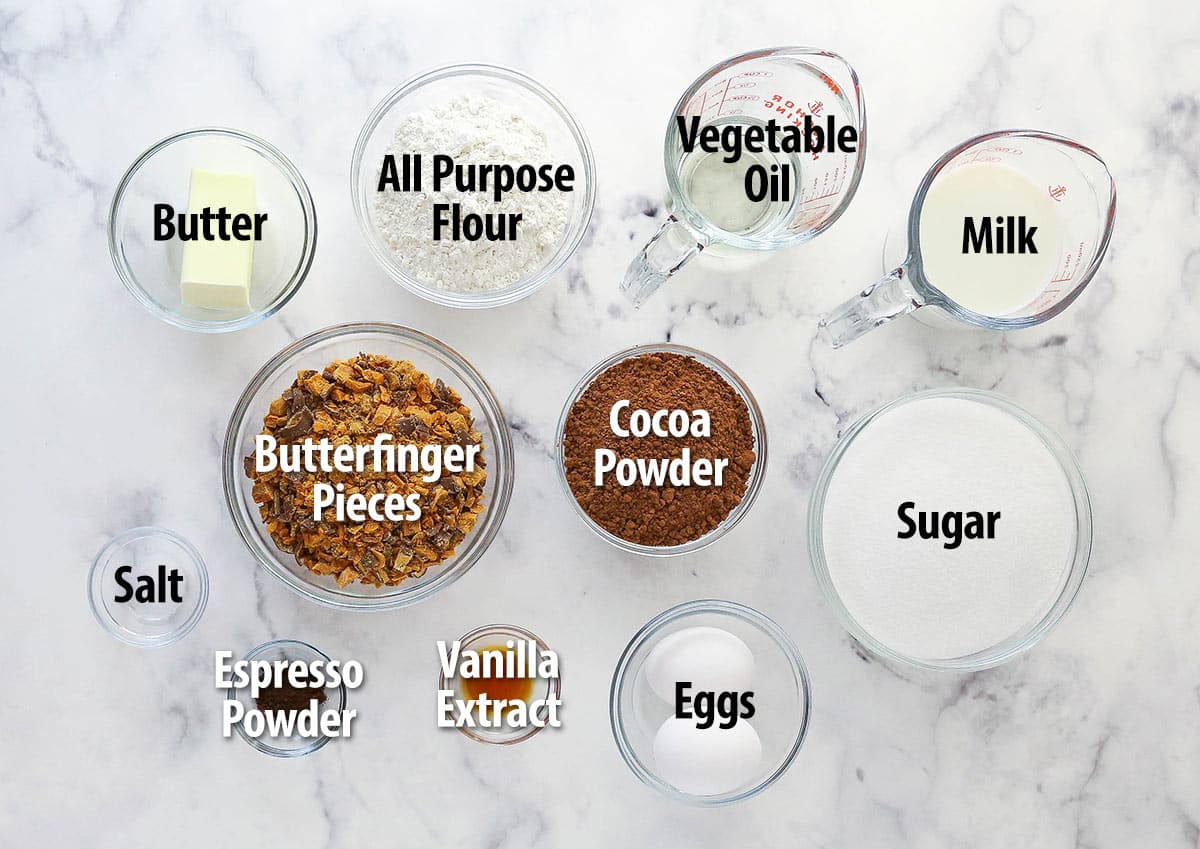
- Vegetable oil and butter – I used both vegetable oil and butter in this recipe. The butter gives great flavor and richness, while the oil helps keep the brownies even more moist and gives a more tender texture.
- Milk – The milk contributes additional moisture. I use 2%, but whole milk would also be fine.
- Sugar – The sugar not only sweetens the brownies but also adds moisture, giving you more tender brownies.
- Espresso powder – The espresso powder will deepen the chocolate flavor here. You can leave it out if you’d like to.
- Salt – You need salt to bring out the flavors of the brownies. They would taste bland without it.
- Eggs – The eggs serve to bind the ingredients together as well as to add structure and fat. Be sure to use large eggs, not medium or extra large ones.
- All-purpose flour – Use a food scale or the spoon and level method to measure your flour accurately. Using too much will give you dry brownies.
- Natural unsweetened cocoa powder – For an even deeper chocolate flavor use Dutch-processed cocoa.
- Chopped Butterfinger pieces – I used fun-sized bars, but full-sized bars would also work. You can buy pre-chopped Butterfinger bits for baking, but I find that they lack some color and flavor.
How to Make Butterfinger Brownies
These brownies are so quick and easy to throw together. Here’s a basic overview of how to do it. Be sure to scroll to the recipe card below for more detailed instructions.
- Prep. Preheat the oven to 350°F, grease a 9×9-inch baking pan, and line it with parchment paper that sticks up over the sides.
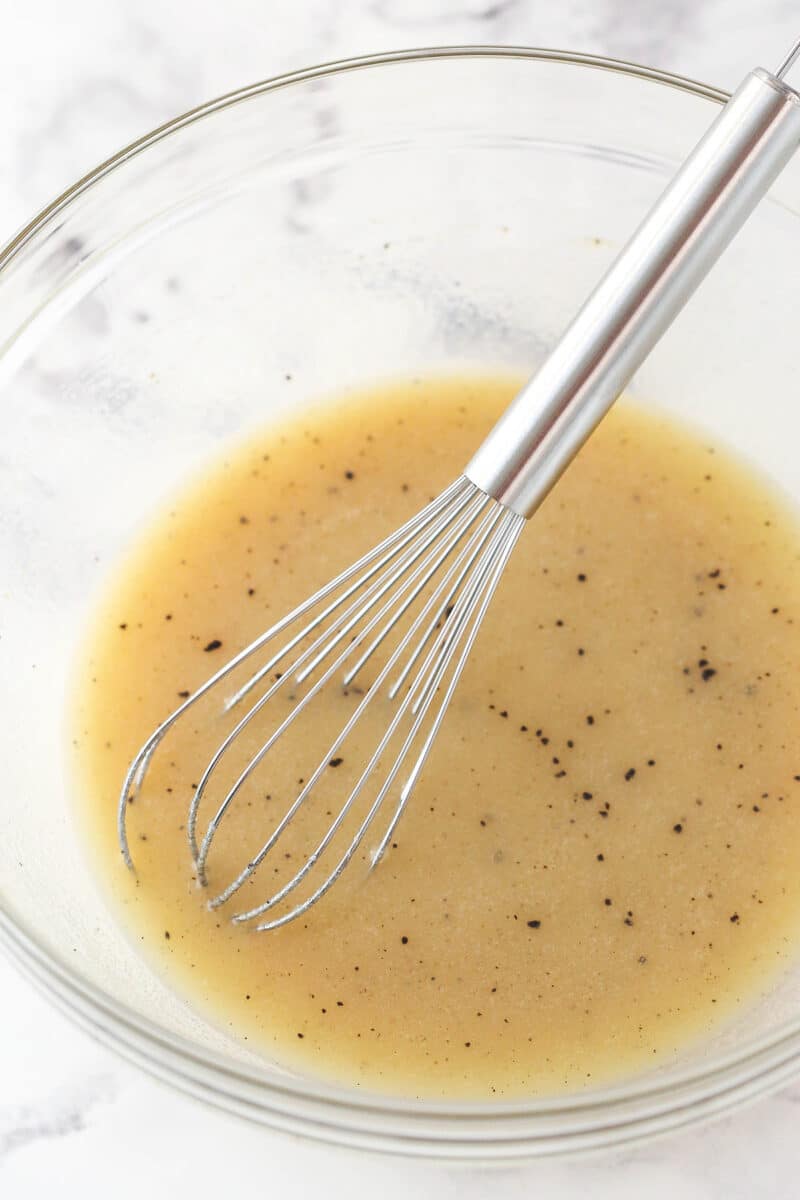
- Bake the brownie batter. Whisk together the oil, milk, sugar, espresso powder, vanilla extract, and salt. Mix in the melted butter followed by the eggs. Finally, gently whisk the flour and cocoa powder into the batter.
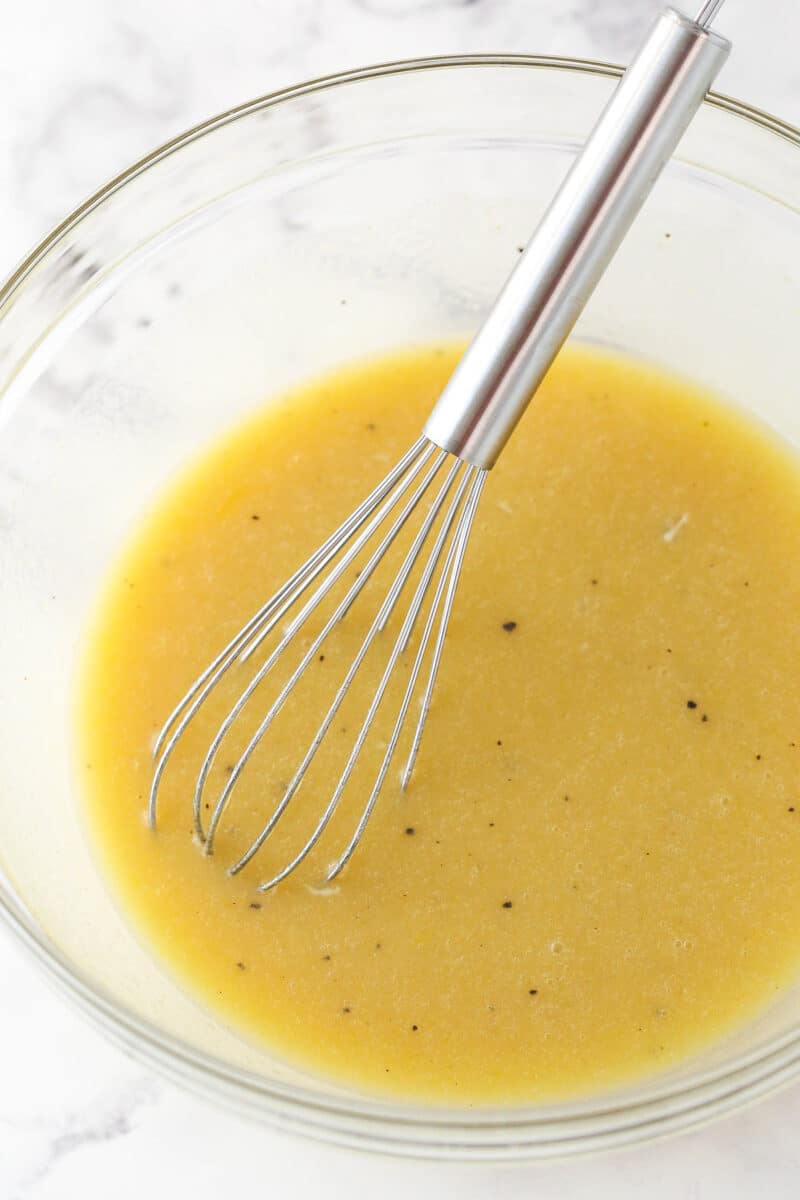
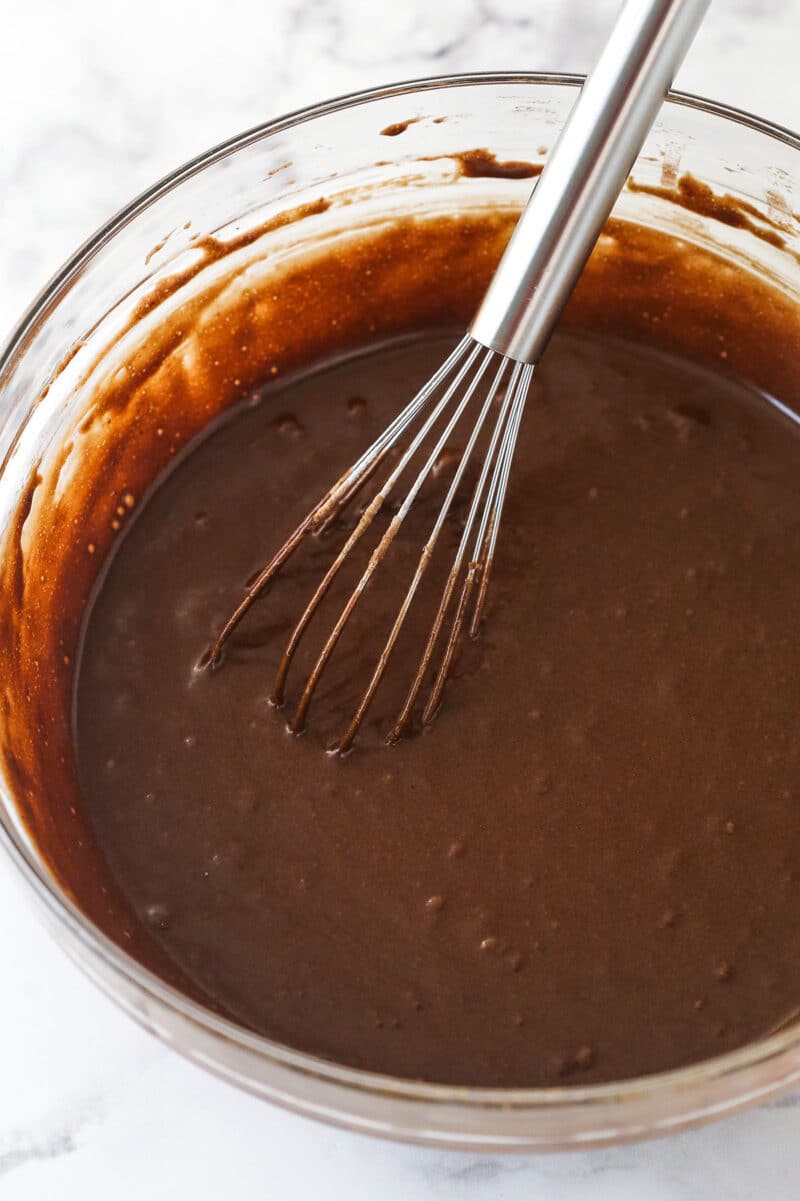
- Assemble. Spread the batter into the prepared pan and sprinkle the Butterfinger pieces.
- Bake. Bake for 30-35 minutes.
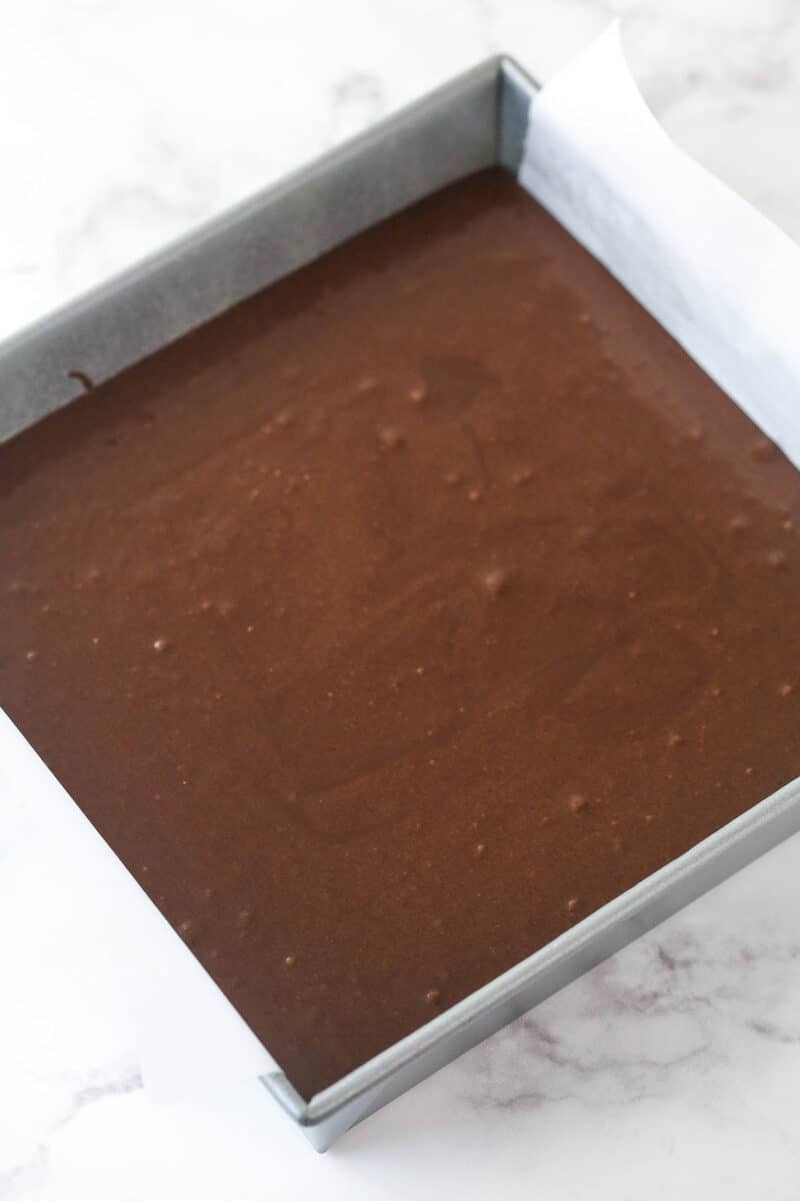
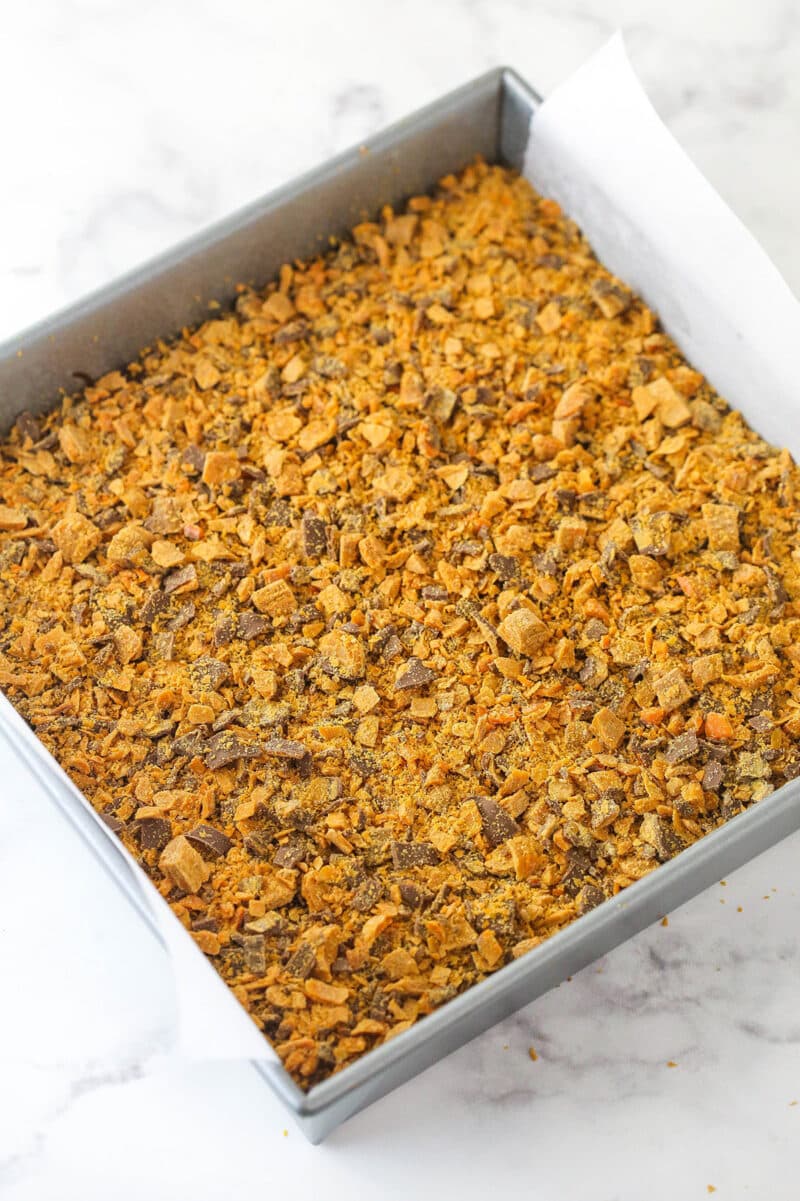
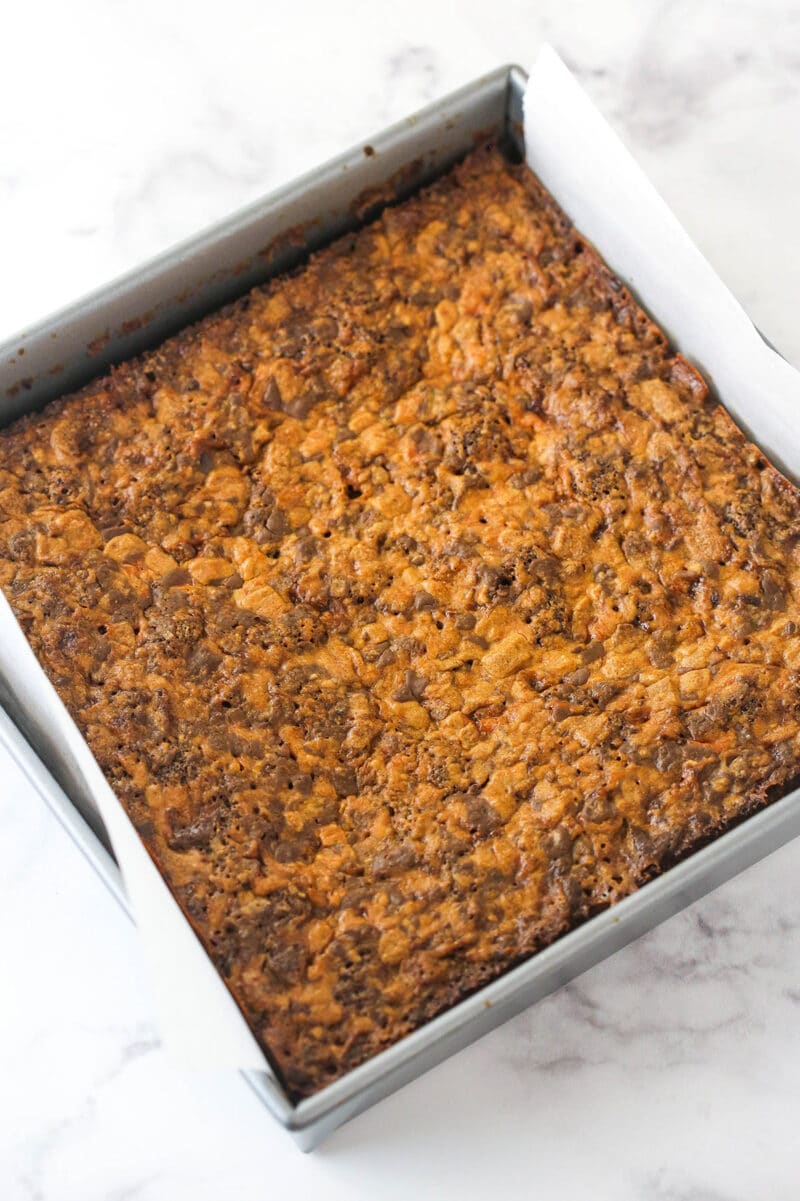
- Cool. Allow brownies to cool completely in the pan
- Slice. Use the parchment paper to remove the brownies from the pan and slice into bars.
Tips & Variations
- Parchment paper is your friend. When lining the baking pan with parchment paper, make sure you use enough to have it stick up over the sides a bit. You can use the extra to lift the brownies from the pan once they have cooled.
- Don’t over-mix. Once you add the flour to the mixing bowl, it is important not to over-mix, as this can cause the glutens in the flour to overdevelop, giving you tough brownies.
- Don’t over-bake. Baking these brownies for too long will dry them out. So bake them just until a toothpick inserted into the center comes out almost clean. No more.
- Cool in the pan. The brownies will set as they cool in the pan, so do not attempt to remove them prematurely. Let them cool completely in the pan first.
- Consider a different topping. While I love the Butterfingers here, you could easily crush up a different candy bar of your choosing and use it to top the brownies.
- Go for Dutch cocoa powder. Looking for a deeper chocolate flavor? Feel free to swap the natural unsweetened cocoa powder out for Dutch-processed cocoa powder.
How to Store Brownies with Butterfingers
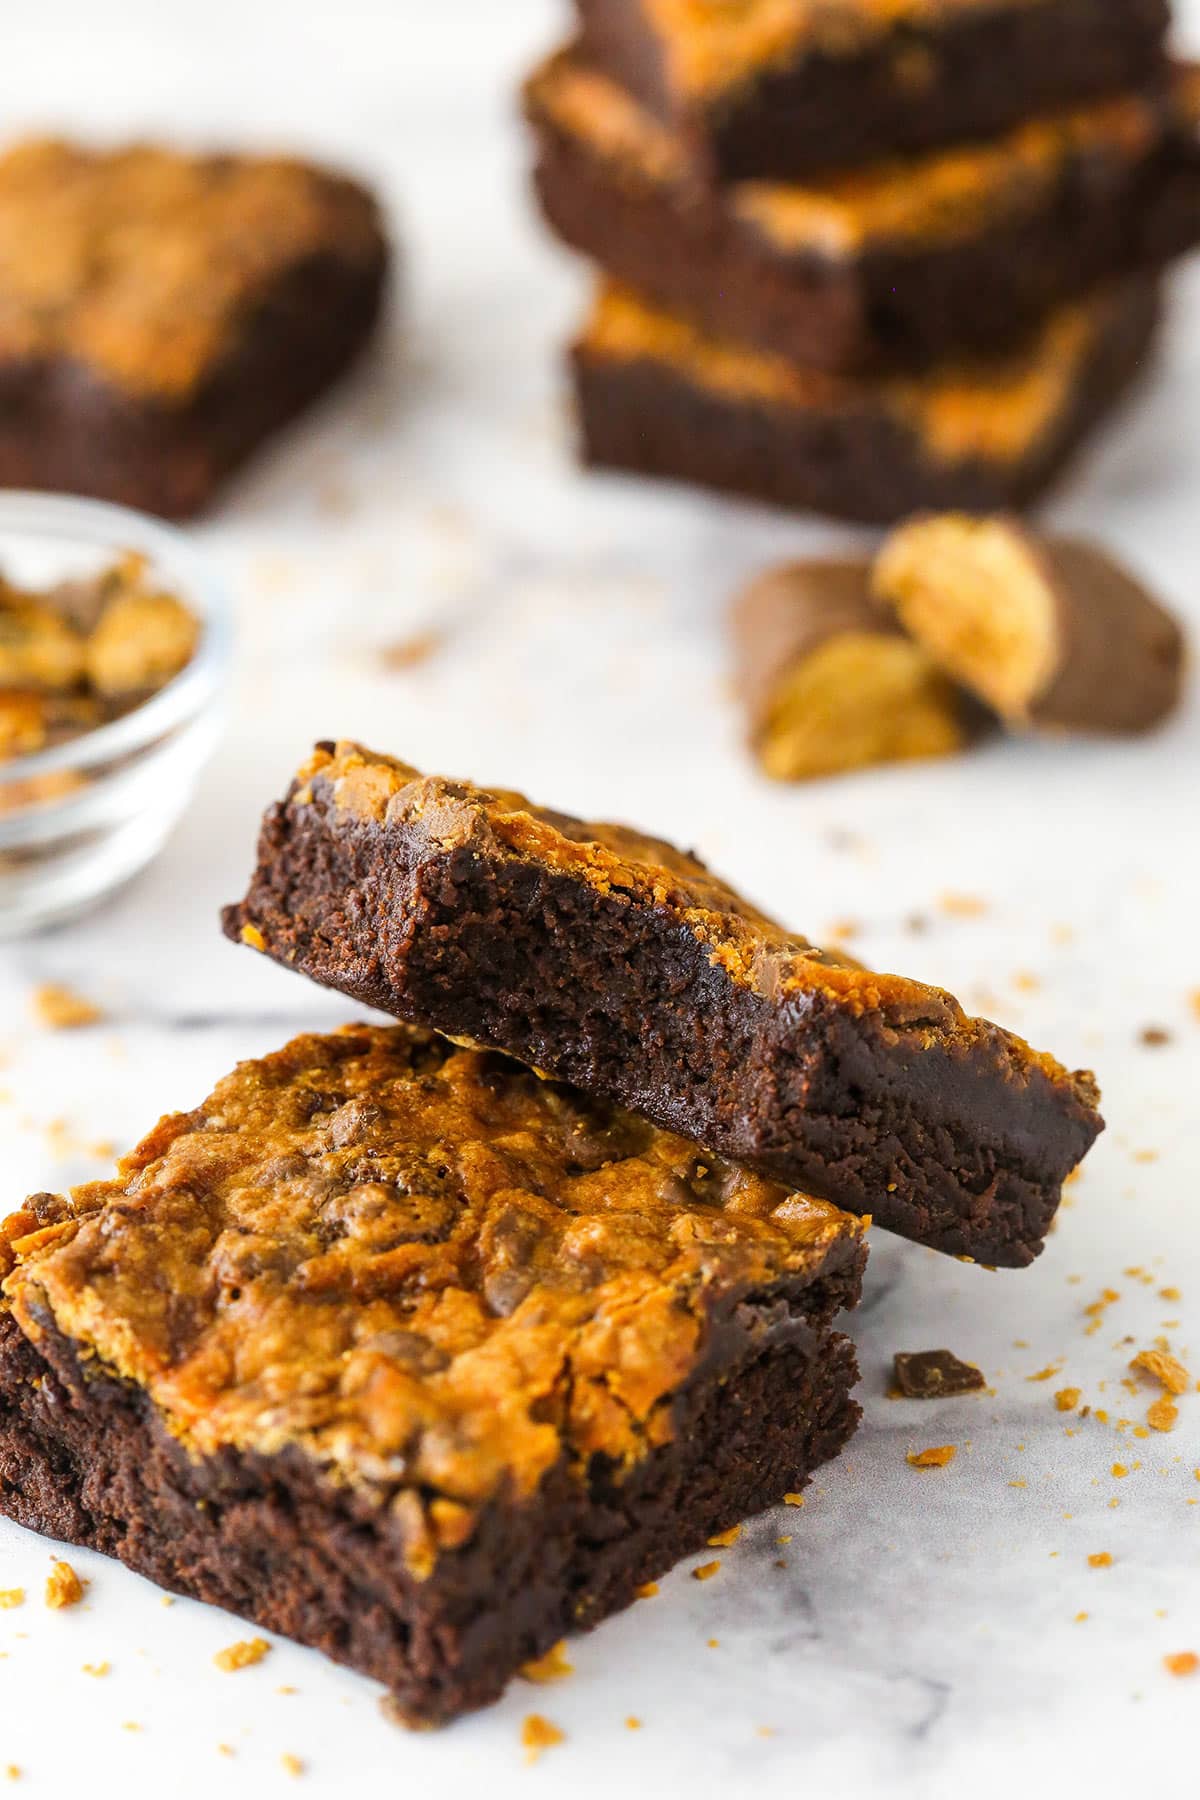
Allow the brownies to cool completely before sealing them in an airtight container. I highly suggest using parchment paper to separate any layers, otherwise the brownies will stick together. Store them at room temperature. The brownies will be good for up to 4-5 days, but after 2-3 days, the butterfingers on top with loose their crunch. You can also freeze these for up to 3 months, but they will lose their crunch.
More Brownie Recipes
- Nutella Fudge Brownies
- Cookies and Cream Brownies
- Like a Box Brownies
- Praline Pecan Brownies
- Ultimate Peanut Butter Fudge Brownies
- Guinness Brownies
Butterfinger Brownies
- Prep Time: 15 minutes
- Cook Time: 30 minutes
- Total Time: 45 minutes
- Yield: 12-16 brownies
- Category: Dessert
- Method: Oven
- Cuisine: American
Description
These Butterfinger brownies are some of the best brownies ever. The brownies themselves are so chocolaty and strike the perfect balance between fudgy and cakey. Top them off with the subtle peanut butter flavor of crunchy Butterfingers and you’ve got yourself one dreamy dessert.
Ingredients
- 1/4 cup (60ml) vegetable oil
- 3/4 cup milk
- 2 cups (414g) sugar
- ½ tsp espresso powder, optional
- 1/2 tsp vanilla extract
- ¼ tsp salt
- 1/4 cup (56g) unsalted butter, melted
- 2 large eggs
- 3/4 cup (98g) all-purpose flour
- 2/3 cup (76g) natural unsweetened cocoa powder
- 1 1/4 cups (about 180g) chopped Butterfinger pieces (from 10–11 fun-sized bars)
Instructions
- Preheat oven to 350°F (180°C). Grease a 9×9 square baking pan and line it with parchment paper that sticks up over the sides. You can use the parchment paper later to help remove the brownies from the pan.
- Add the oil, milk, sugar, espresso powder, vanilla extract and salt to large mixing bowl and whisk together until well combined.
- Add the melted butter and whisk together until well combined.
- Add the eggs and whisk together until well combined.
- Add the flour and cocoa powder and whisk together gently just until well combined.
- Pour the batter into the prepared pan and spread evenly. Sprinkle the Butterfinger pieces evenly over the top of the batter.
- Bake for 30-35 minutes, or until a toothpick comes out with a few moist, sticky crumbs.
- Allow brownies to cool completely in the pan, then use the parchment paper to remove them from the pan. Cut into bars.
- Store brownies in an airtight container at room temperature. Best if eaten within 2-3 days, because the Butterfinger topping will soften over time.
Nutrition
- Serving Size: 1 Brownie
- Calories: 257
- Sugar: 31.9 g
- Sodium: 82.8 mg
- Fat: 10 g
- Carbohydrates: 42.1 g
- Protein: 3.2 g
- Cholesterol: 31.1 mg




I made these last night and they are INCREDIBLE. The brownie is perfect and fudgy. The Butterfinger top is crunchy. My only change was I added more like a cup of Butterfingers. Amazing!
Wonderful!
OMG! It’s Fat Tuesday night and I just finished one of these brownies from Wildflour! I immediately hit the web in search of the recipe and found your post citing them. So kind of you to give them a shout out. I need to wait ‘til after Lent now to make these but if your inspiration for this recipe is Wildflour’s brownie, then I am confident they will be the replica I am after. Thank you, Lindsay, for this post!
How fun! I love Wildflour! I hope you give these a try and enjoy them!
These are soooo good. I love eating the ‘middle pieces’ of desserts because I don’t like crunchy edges but with this recipe every piece is soft and fudgy and magical. My new go-to brownie recipe!
What is the baking time for a 9×13 pan for the fudgy brownies with Crunchy Butterfinger Topping?
Whati s the baking time for the 9×13 pan?
This question was for the fudgy brownies w/Crunchy butterfinger crust…not for the cotton candy cupcakes…
Great question. I didn’t make a note of it. My guess is it’s close to the time listed for the square pan. Maybe a little bit longer.
Hey, love the total concept of these brownies! But, was wondering, could you use chopped up Chick-O-Stick for the topping instead of the butterfingers?? I get those really long Chick-O-Sticks for 99 cents each. I think it would work, but your the professional! Love your posts!
Thanks,
Darla
I haven’t ever heard of Chick-O-Sticks, so I’m not sure.
Good morning, Lindsey! You are my go-to-baking Queen, whenever I need an important recipe! For Father’s Day, my hubby wants FUDGY Brownies. He does not, however, care for Butterfingers. Would topping the batter with walnuts (instead of the chopped candy bars) work? Or do you suggest a different one of your recipes? Many thanks and GOD BLESS YOU!
I’m sorry I wasn’t able to respond sooner. I hope the brownies worked out. The walnuts sound like a great idea!
Hi. Do you have to use parchment paper as I have run out of it… could you just grease it or use sarang wrap?
You don’t have to use it. You could grease the pan or use aluminum foil. Saran wrap would probably melt.
These look wonderful and I love the use of the special dark chocolate! I do see that the recipe says to use an 8×8 pan, while your photos show an oblong pan? Is it a 9×13 or a 7×11? Thanks!
It is actually an 8×8 square pan. I doubled the recipe in the photos. I’m sorry – I can see how that’d be confusing.
The recipe looks great!!! I’d love to make it but I have no clue how can I replace the butterfingers? (we don’t have it in Israel 🙁 )
I’m not really familiar with what candy you have, but any crispy peanut butter candy should work.
Hmmm. Will Snickers might do, then?
I think Snickers would be great!
Your brownies look wonderful – so moist and delicious, and that crust – oh my!
Thanks April!