This post may contain affiliate sales links. Please read my disclosure policy.
These Mini Pumpkin Pies are made with a buttery, flakey crust and a perfectly spiced pumpkin pie filling! They are a delicious, tiny version of my favorite pumpkin pie recipe! Perfect for sharing and super cute too!

Why You’ll Love These Mini Pumpkin Pies
Pumpkin pie is a must for me at the holidays. While a full-sized pie is the classic and most simple way to go, sometimes it’s nice to change it up. These mini pies are super fun and if you’re looking to share some pumpkin pie at a party, they are definitely perfect.
- Mini version of a classic pumpkin pie. These pies are made with my pumpkin pie recipe and pie crust recipe cut in half. Both are perfect in this recipe and I I love the little mini versions. They are so delicious and fun to bite into!
- Great for parties. These mini pies are easy to take to a party and great for sharing. There’s no need to slice them, they’re super cute, and they’re easy to pick up and eat.
- Mini or extra mini. These can be made in a regular cupcake pan or a mini cupcake pan if you want something even smaller and cuter. The directions are written for the regular cupcake pan but I’ve included all the info you need to make them in a mini cupcake pan too.
- The perfect texture. The pumpkin pie filling used in this recipe is delightfully creamy and rich, without being too heavy, thanks to the use of both heavy whipping cream and milk. So good!
What You’ll Need
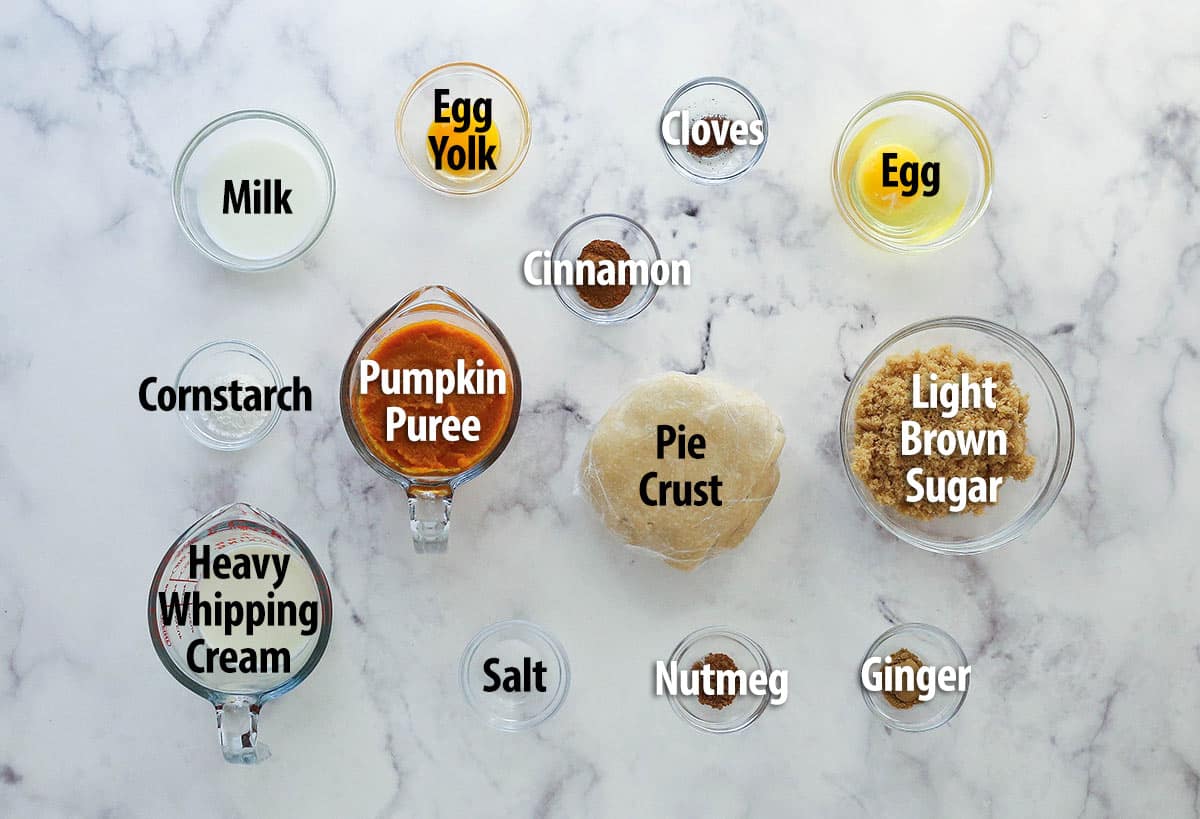
The ingredients needed for these mini pumpkin pies are the same ones used in a traditional pumpkin pie, just in smaller amounts. Scroll down to the recipe card below for the exact measurements.
Crust
- All-purpose flour – Be sure to measure the flour correctly. I always recommend a food scale.
- Salt – For added flavor. Don’t skip it!
- Unsalted butter – COLD is key here! Keep it in the fridge until you need to use it or you could even pop it in the freezer for a bit.
- Ice water – Again, cold is key! Use the coldest water you possible can, like a glass of literal ice water. Keeping the butter cold is key to getting those flaky pockets in the crust. Those little pockets of butter will melt during the baking process to give you flakey layers.
Pie Filling
- Pumpkin puree – The Libby brand is my go-to. I definitely recommend canned puree over fresh puree, which can sometimes have too much moisture.
- Egg – You’ll need both an egg and egg yolk for these mini pumpkin pies. It is very important that they both are at room temperature.
- Light brown sugar – For a little more flavor than white sugar.
- Spices – Cinnamon, ginger, nutmeg, and cloves add some warm fall flavor to the pie.
- Salt – Enhances the other flavors.
- Cornstarch – To thicken, help reduce the likelihood of cracking and maintain a smooth texture.
- Heavy whipping cream – Be sure that it’s at room temperature. I wouldn’t recommend swapping this out for another milk. The heavy cream gives the creamiest texture and best flavor.
- Milk – I recommend 2% or whole milk. The milk should be at room temperature.
- Whipped cream – I love to top these mini pies with my homemade whipped cream. You’ll only need about half of the recipe and it is optional.
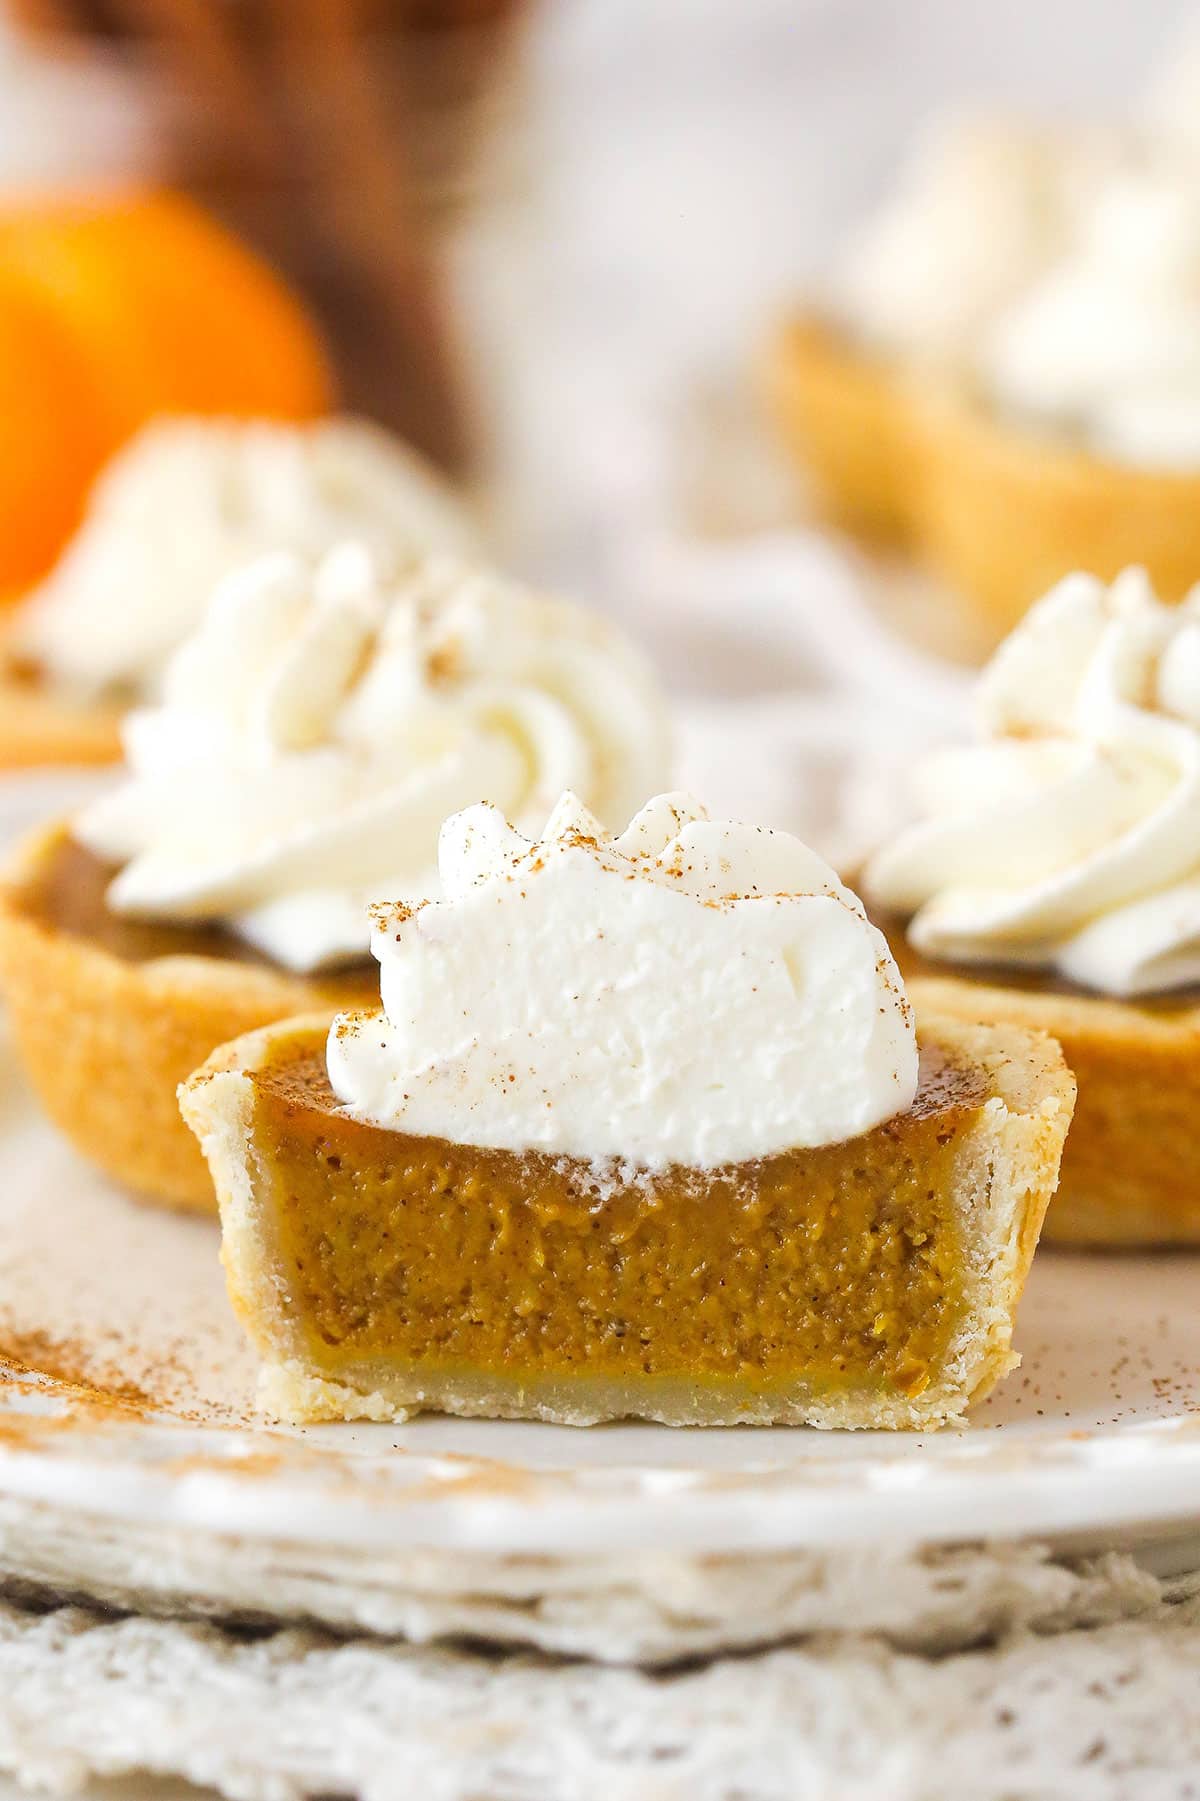
How To Make Mini Pumpkin Pies
While the crust does need to chill for an hour, these miniature pumpkin pies are quite quick and easy to prepare. You can find the printable version of the instructions in the recipe card below.
Make the crust
- Combine the flour and butter. Pulse 3/4 cup of flour and salt in a large food processor 2-3 times. Add the butter and process for about 15 seconds until a crumbly dough forms and all flour is coated. Add in the remaining flour, pulsing to evenly distribute. The dough should have a sandy appearance.
- Form the dough. Move the mixture to a mixing bowl. Add 2 tablespoons of cold water and gently fold everything together until larger clusters form. Pinch some dough together and if it holds nicely, it’s ready. If it falls apart, add more water and continue pressing until it comes together.
- Chill. Transfer the dough to parchment paper and work until it comes together. Shape into a disc. Wrap it in plastic and refrigerate for at least an hour (or up to 2 days).
Make the pies
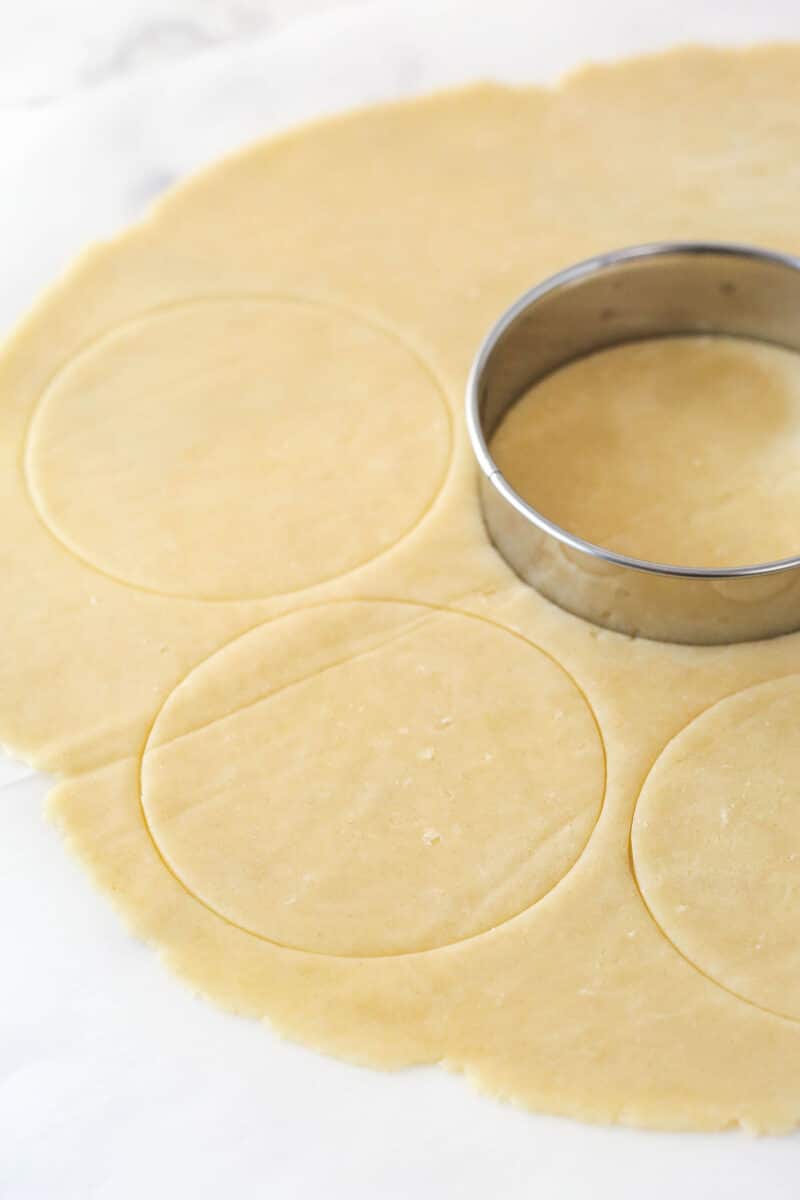
- Cut the crust. Let the crust sit out for an hour, or until it’s at a workable temperature. Roll it out between pieces of parchment paper until it’s 1/8 inch thick. Use a 3 3/4-4 inch cookie cutter to cut out circles, re-rolling the dough as needed until you have 12 circles.
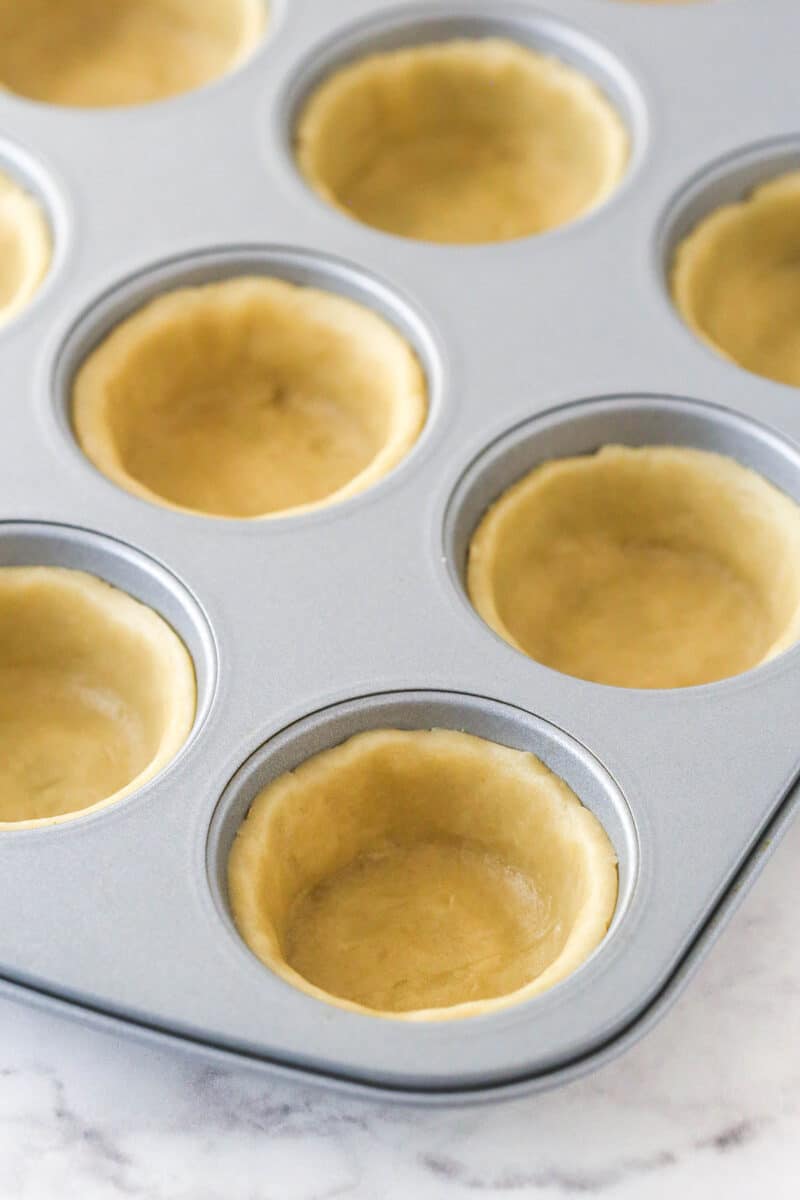
- Shape the crust. Press the pie crust circles into each cup of the cupcake pan, pressing it flat to the bottom and working it around the sides.
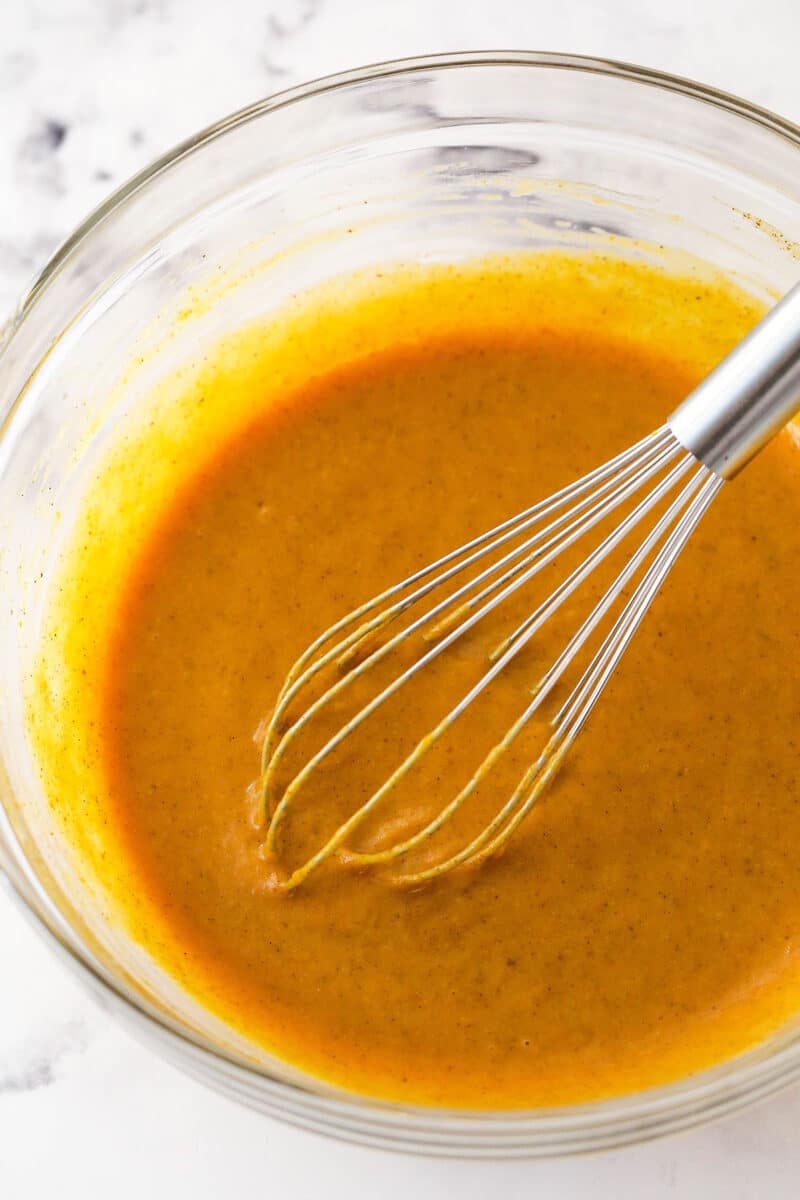
- Make the pie filling. Whisk together the puree, eggs, and brown sugar in a bowl. Add the remaining ingredients, whisking until combined.
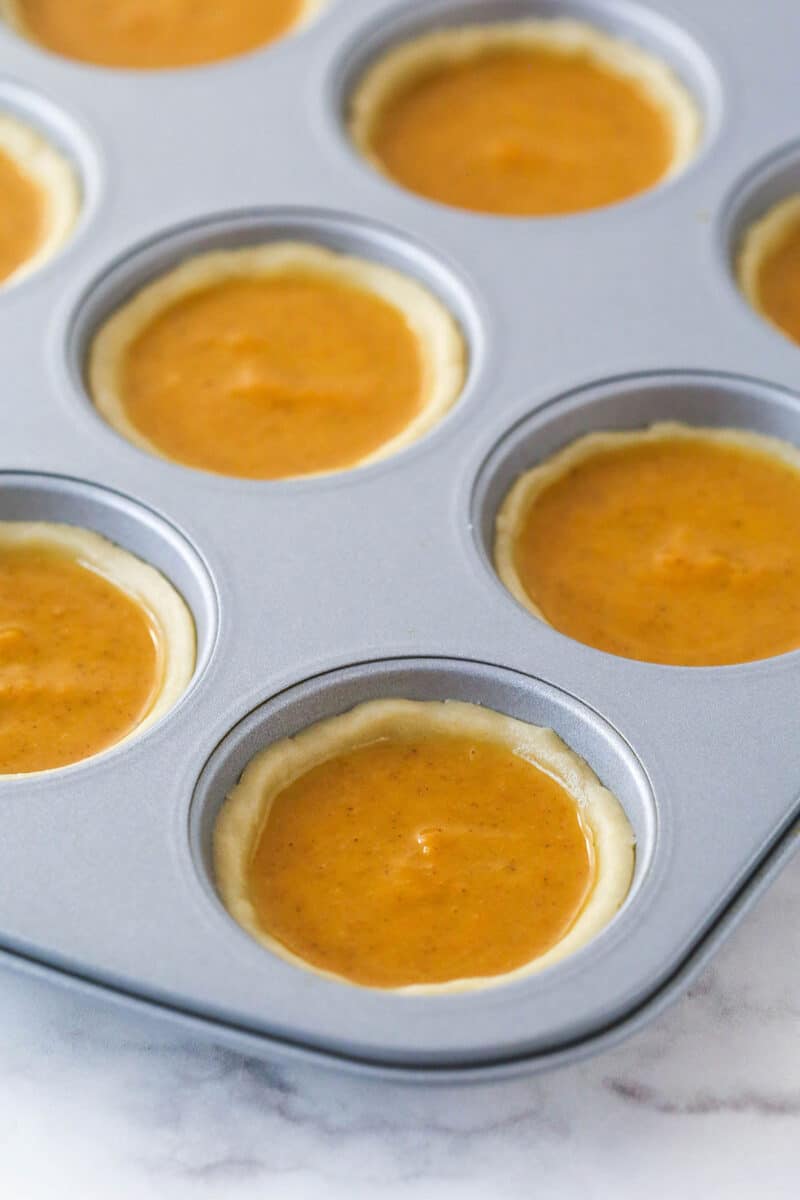
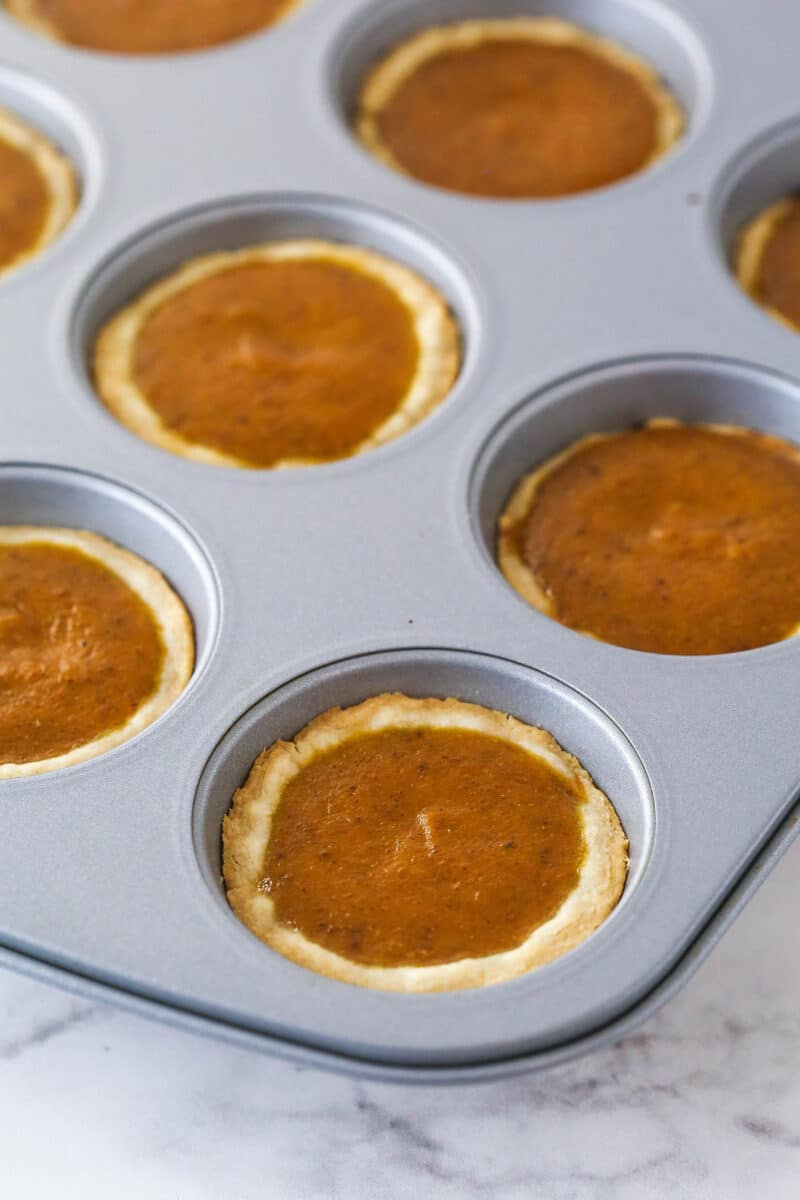
- Bake. Divide the pie filling between each crust, about 2 tablespoons per crust. Bake for 15-20 minutes.
- Cool. Let the pies cool on a wire rack for 1-2 hours. Remove from the pan then transfer to an airtight container to chill in the fridge for 3-4 hours.
- Enjoy. Top the mini pumpkin pies with whipped cream then serve and enjoy!
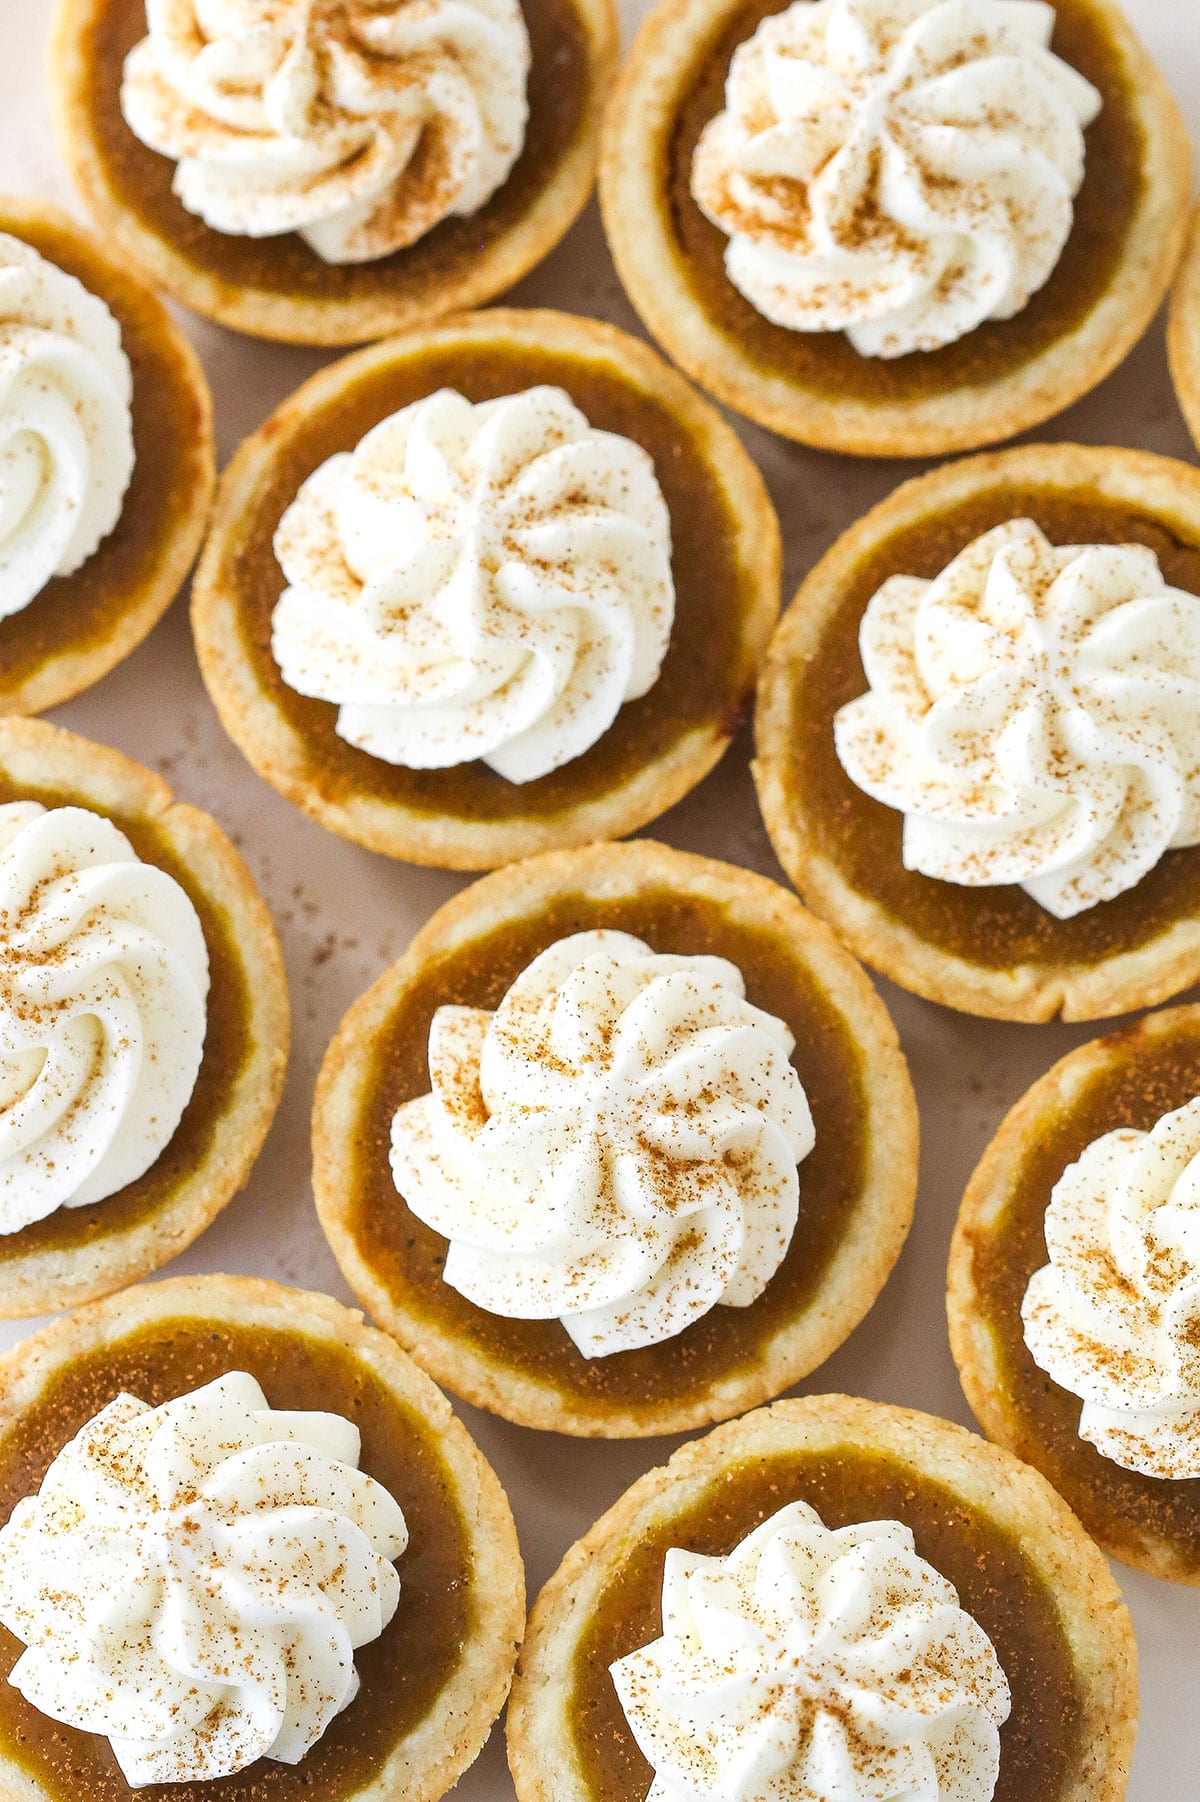
Can I Make These In A Mini Cupcake Pan?
Absolutely! While this recipe is written for a standard cupcake pan, you can easily adapt it to a mini cupcake pan. You’ll just need to make a few adjustments to the recipe.
Use a smaller cutter, about 2 inches, to cut out the dough rounds. Fill each pie crust with about a tablespoon (18-20g) of pie filling each. Bake for 12-15 minutes. After making 24 minis, you’ll have a little filling left. You could make a second batch, but you’d only get about 6-8 more.
Tips for Success
- Use COLD ingredients for the crust. It’s very important that the butter and water used to make the crust are cold. Keeping the butter cold is key to creating the a flaky, buttery crust. I recommend keeping the butter in the fridge until needed.
- Use ROOM TEMPERATURE ingredients for the pie filling. On the other hand, it’s important to use room temperature ingredients when making the pumpkin pie filling. Pay attention to the ones that are marked as room temperature as you don’t want them to be cold. If you add them cold, you will very likely end up with cracked pies.
- Use store-bought crust. If you don’t have the time to make a pie crust from scratch, don’t worry. A store-bought crust will work just fine for this recipe.
- Don’t let the dough get too warm. If the pie crust dough gets too warm to work with while you are cutting the circles out, don’t be afraid to pop it back in the fridge for a few minutes to cool down.
- Cool slowly. Allow your miniature pumpkin pies to cool in the pan at room temperature for the first hour, then place them in the fridge. This gives the pie time to finish setting and prevents cracks on the surface.
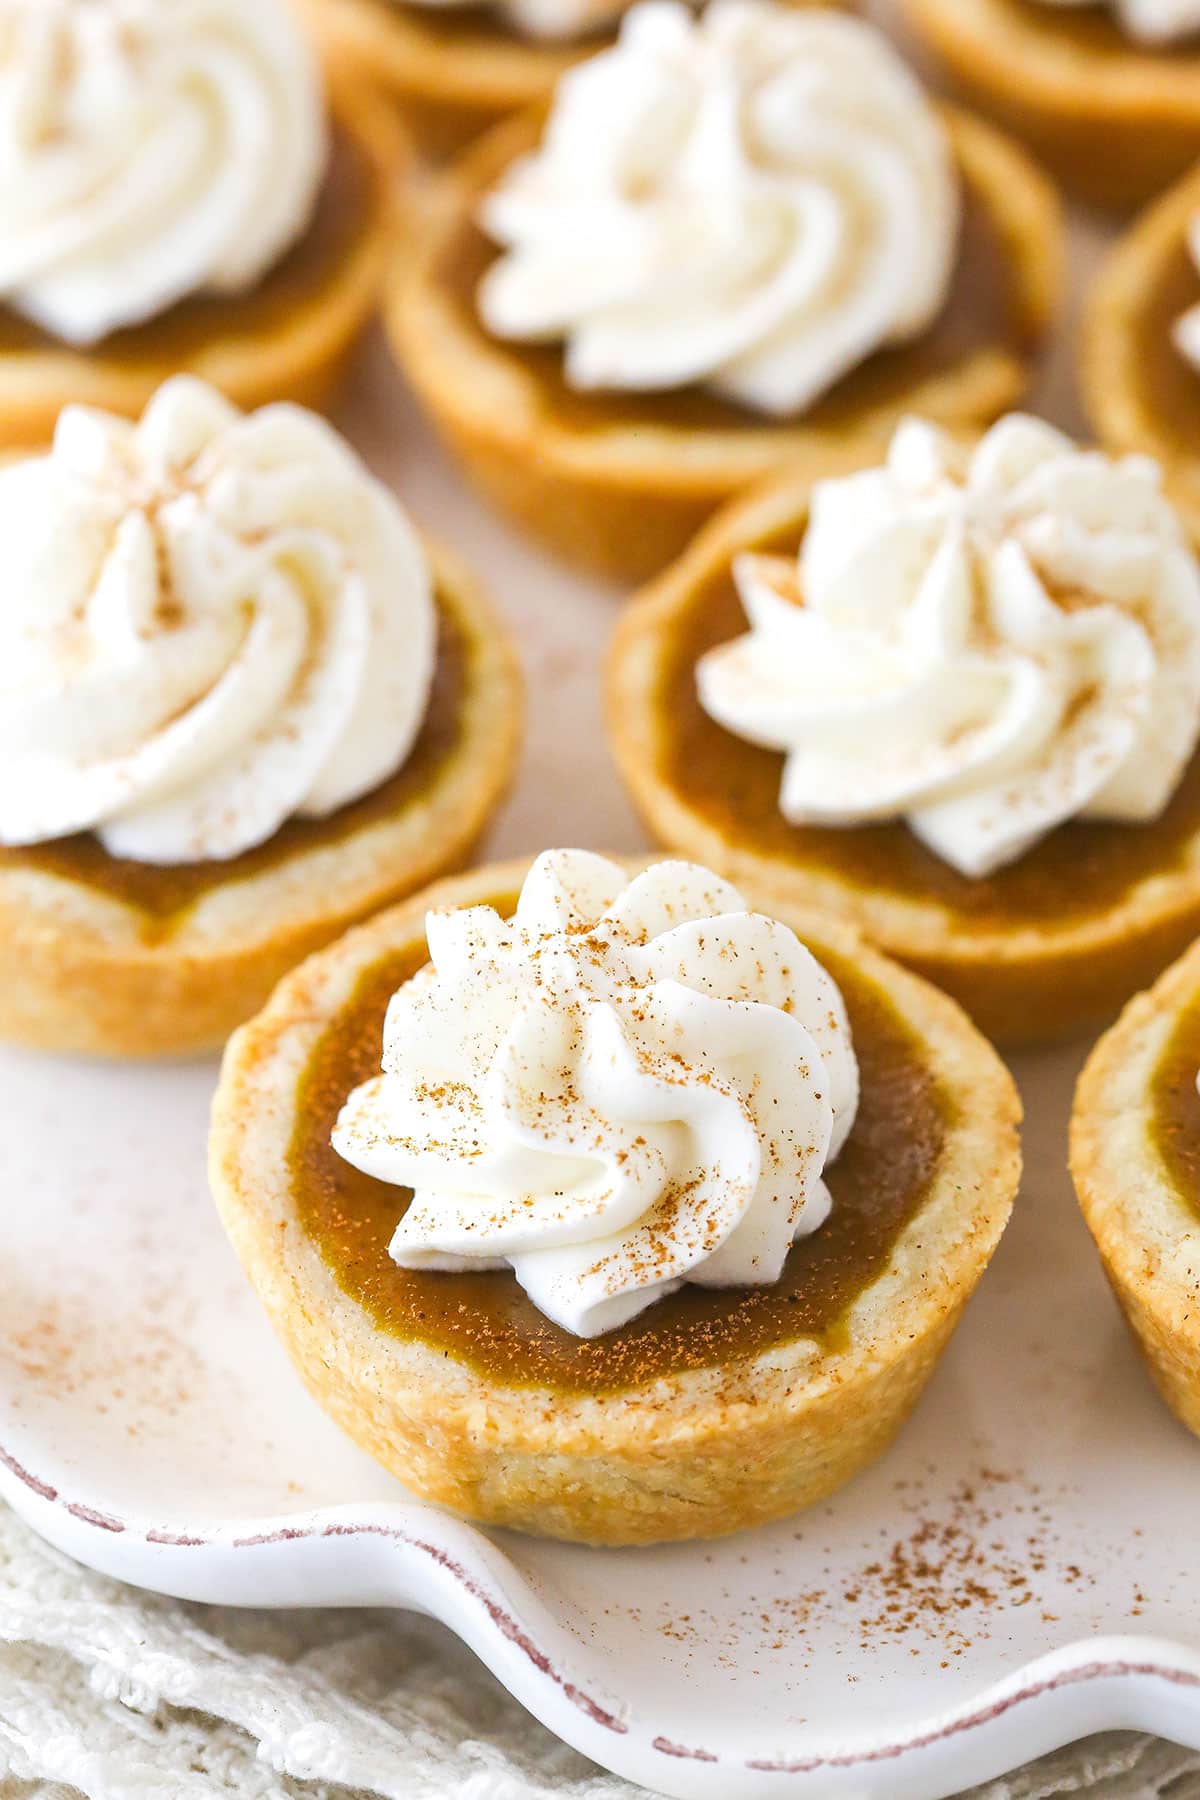
Make Ahead & Storage
- Make ahead. The pie crust can be made up to 2-3 days in advance or frozen for up to 3 months. In either case, you’ll want to wrap it tightly in plastic wrap. The prepared pies can be made 1-2 days in advance and refrigerated until ready to serve.
- Proper storage. Keep the mini pumpkin pies stored in the fridge until serving. They should be kept in an airtight container. They are best eaten within 3-4 days.
More Pumpkin Desserts To Try
- Pumpkin Pie Cheesecake
- Pumpkin Bread
- Easy Pumpkin Cake
- Pumpkin Layer Cake
- Pumpkin Cupcakes
- Praline Pumpkin Pie
Watch How To Make Them
Print
Mini Pumpkin Pies
- Prep Time: 1 hour 30 minutes
- Chill Time: 5 hours
- Cook Time: 15 minutes
- Total Time: 6 hours 45 minutes
- Yield: 12 mini pies
- Category: Dessert
- Method: Oven
- Cuisine: American
Description
These Mini Pumpkin Pies are made with a buttery, flakey crust and a perfectly spiced pumpkin pie filling! They are a delicious, tiny version of my favorite pumpkin pie recipe! Perfect for sharing and super cute too!
Ingredients
Crust
- 1 1/4 cups (163g) all-purpose flour, divided (measured correctly)
- 1/2 tsp salt
- 1/2 cup (112g) cold unsalted butter, cut into 1/2-inch cubes
- 2–4 tbsp ice water
Pie Filling
- 3/4 cup + 2 tbsp (213g) pumpkin puree
- 1 large egg, room temperature
- 1 large egg yolk, room temperature
- 1/2 cup (112g) packed light brown sugar
- 1 1/8 tsp ground cinnamon
- 1/2 tsp ground ginger
- 1/4 tsp ground nutmeg
- 1/8 tsp ground cloves
- 1/4 tsp salt
- 1/2 tbsp cornstarch
- 1/2 cup (120ml) heavy whipping cream, room temperature
- 2 tbsp (30ml) milk, room temperature
- Whipped Cream, optional
Instructions
Make the crust
- Add 3/4 cup (98g) of flour and salt to a large food processor and pulse together 2 to 3 times.
- Scatter the cubed butter over the flour and process until a crumbly dough forms, about 15 seconds. The flour should all be coated – none of the flour should be dry.
- Add the remaining half cup of flour (65g) and pulse a few times until everything is evenly distributed. The doughy pieces should break up and it should look sandy. There shouldn’t be a bunch of big pieces remaining. A few are fine, but it should be mostly evenly distributed.
- Move the mixture to a medium mixing bowl and add 2 tablespoons of the ice water. Start with 2 tablespoons and add from there. Using a rubber spatula, gently fold everything together. The crumbs should begin to form larger clusters. If you pinch some of the dough and it holds together nicely, it’s ready. If the dough falls apart, add 1-2 more tablespoons of water and continue to press until dough comes together.
- Pour the dough out onto a piece of parchment paper and work just enough for it to come together, then shape into a disc.
- Wrap disc in plastic wrap and refrigerate for at least an hour or up to 2 days.
Make the pies
- Preheat oven to 375°F.
- Let the pie crust sit out for an hour or so, until it’s at a workable temperature. Place the pie crust onto a piece of parchment paper. Cover the crust with another piece of parchment paper and roll it out with a rolling pin to about 1/8 inch or so thick.
- Use a 3 ¾ inch or 4-inch round cutter to cut out circles. You can use a cookie cutter, jar lid, biscuit cutter, or something similar. You’ll need 12 circles and will have to re-roll the dough once or twice. If it gets too warm to work with, you could chill it for a few minutes.
- Press one pie dough circle into each cup, pressing it flat to the bottom and working it around the sides to fit the cup.
- To make the pie filling, whisk together the pumpkin puree, eggs and light brown sugar in a large bowl. Add the remaining ingredients and whisk until well combined.
- Divide the pie filling evenly between the crusts. I added about 2 tablespoons (40g) per crust. Bake for 15-20 minutes.
- When the pies are set around the edges and the center is just set, remove the pies from the oven and set on a wire rack to cool for 1-2 hours.
- Carefully remove them from the pan. You may need to run a knife around the edges to help release them. Place the mini pies in an air-tight container in the fridge to cool completely, 3-4 hours.
- Top min pies with whipped cream, if desired, then serve. Pies can be made 1-2 days ahead and refrigerated until ready to serve. Best if eaten within 3-4 days.
Notes
- Crust: Be sure the butter and water are super cold so that the butter doesn’t melt. Pockets of butter in the crust are the key to a flakey crust.
- Pumpkin puree: Not canned pumpkin pie filling. I recommend sticking with canned puree, as homemade can sometimes have too much moisture.
- Heavy whipping cream – I wouldn’t recommend swapping this out for another milk. The heavy cream gives the creamiest texture and best flavor.
- Milk – I recommend 2% or whole milk. The milk should be at room temperature.
- Make ahead. The pie crust can be made up to 2-3 days in advance or frozen for up to 3 months. In either case, you’ll want to wrap it tightly in plastic wrap. The prepared pies can be made 1-2 days in advance and refrigerated until ready to serve.
- Storage. Keep the mini pumpkin pies stored in the fridge until serving. They should be kept in an airtight container. They are best eaten within 3-4 days.
Nutrition
- Serving Size: 1 mini pie
- Calories: 184
- Sugar: 9 g
- Sodium: 159.1 mg
- Fat: 10.5 g
- Carbohydrates: 20.5 g
- Protein: 2.6 g
- Cholesterol: 56.9 mg


