This post may contain affiliate sales links. Please read my disclosure policy.
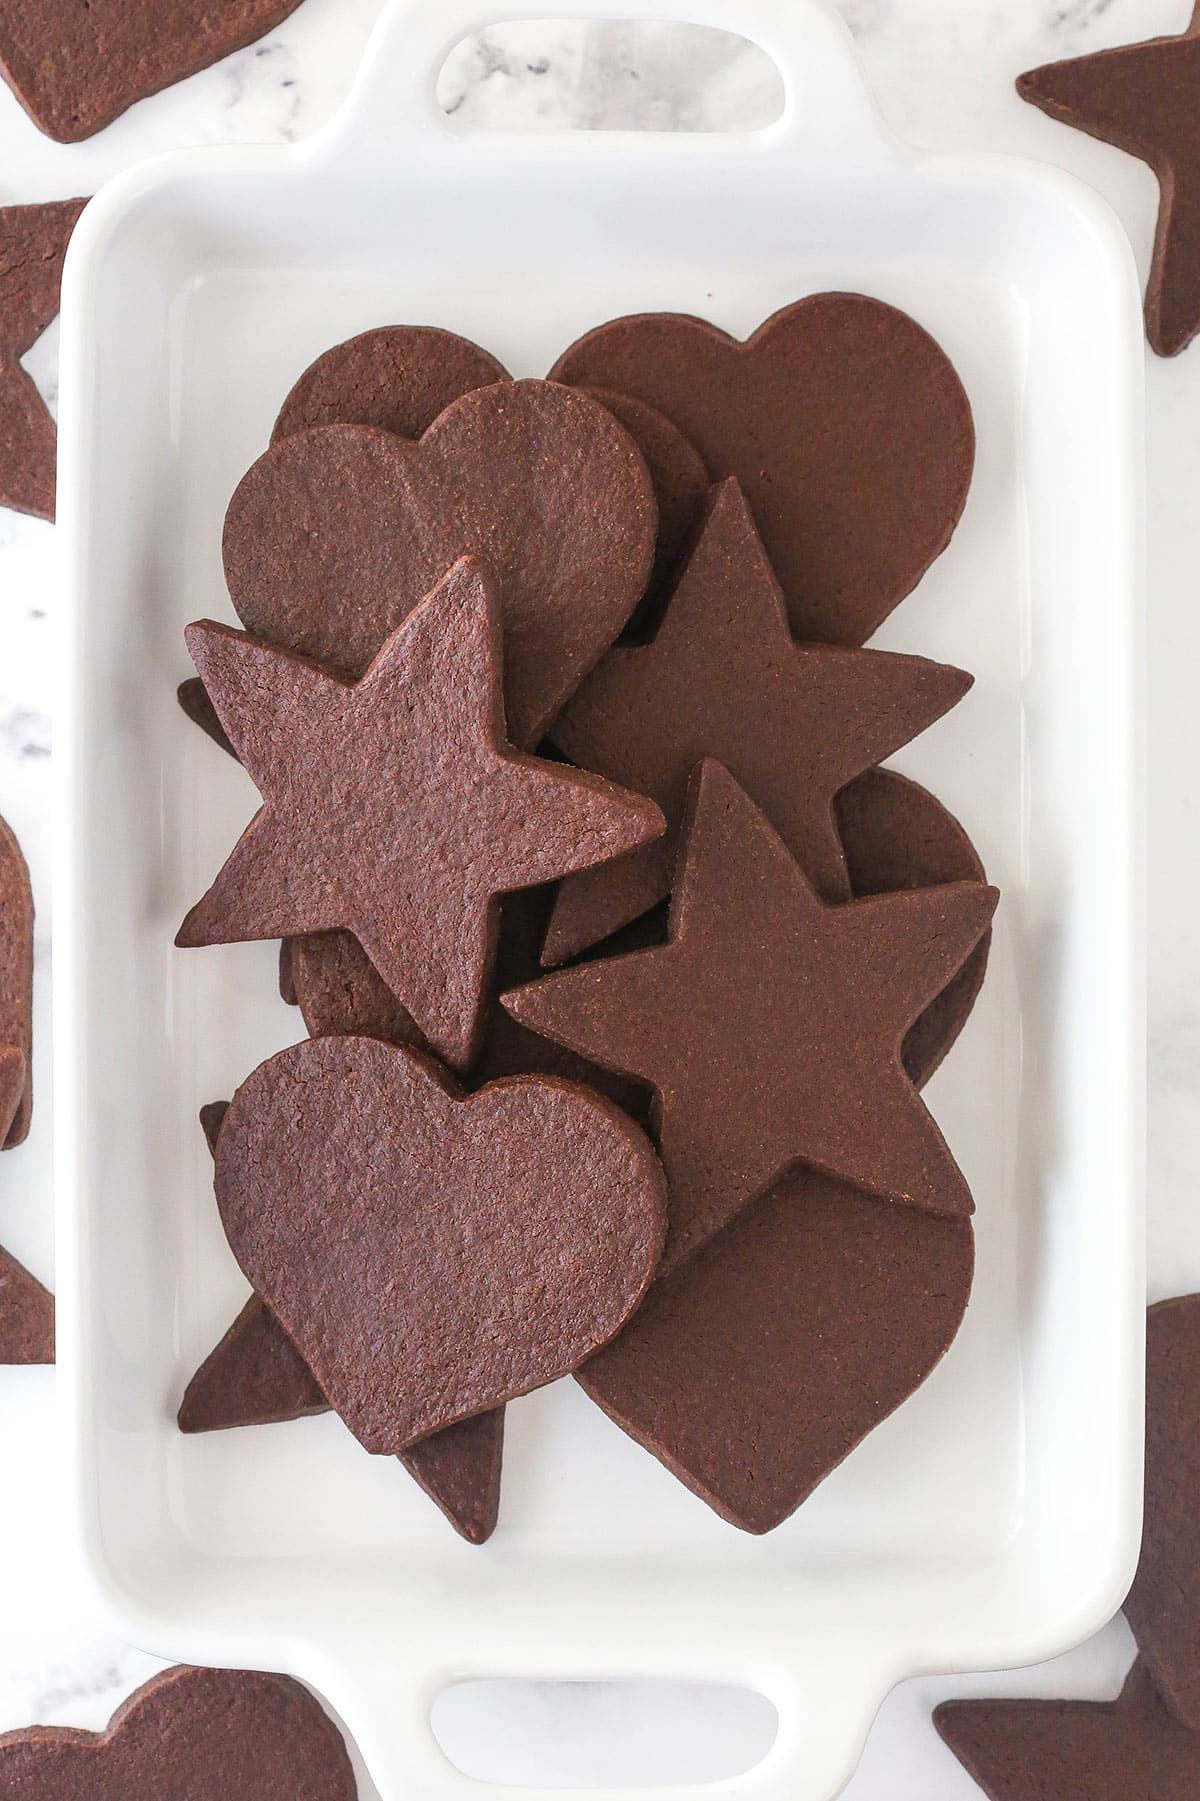
These Chocolate Cut Out Cookies are easy to make, delicious and they don’t spread in the oven! They are thick and tender and perfect for holiday decorating. Plus, you’ll love my method for mess-free rolling and cutting!

Table of Contents
- No Spread Chocolate Cut Out Cookies
- Why You’ll Love These Cookies
- Ingredient Notes
- Do These Cookies Spread In The Oven?
- How To Make Chocolate Cut Out Cookies
- What Kind of Icing To Use For Decorating
- Decorating Ideas
- Tips for The Best Cookies
- Proper Storage
- More Cookie Recipes To Try
- Watch How To Make Them
- Get the Recipe
I absolutely love cut out cookies for the holidays! The last longer through the season when you decorate them, which is perfect for gifting. They are great for pretty much any occasion, but there’s no doubt that Christmas is the top spot on the list. I already have two great options for vanilla cutout cookies – my original cutout sugar cookies and my newer soft and chewy cut out cookies. But it was time for some chocolate to change it up! I married the second of those two cut out cookies with my recipe for chocolate sugar cookies that are drop-style and came up with this amazing recipe.
- Soft & chewy. This recipe makes thick, tender cookies have that perfect soft and chewy texture. Exactly what I want from any sugar cookie.
- Quick & easy. The dough takes just a few minutes to prepare and they bake up in 8-12 minutes. I do recommend at least an hour of chill time, to make the cookie dough easier to roll and cut, or you can even make the dough up to 3 days in advance.
- Perfect for decorating. I’ve included lots of decorating ideas below and there are endless ways to decorate these cookies. Not to mention decorating them is a fun way to get kids involved in the kitchen!
Ingredient Notes
These soft chocolate cutout cookies are made with just a handful of pantry staples. Scroll down to the recipe card below for the measurements.
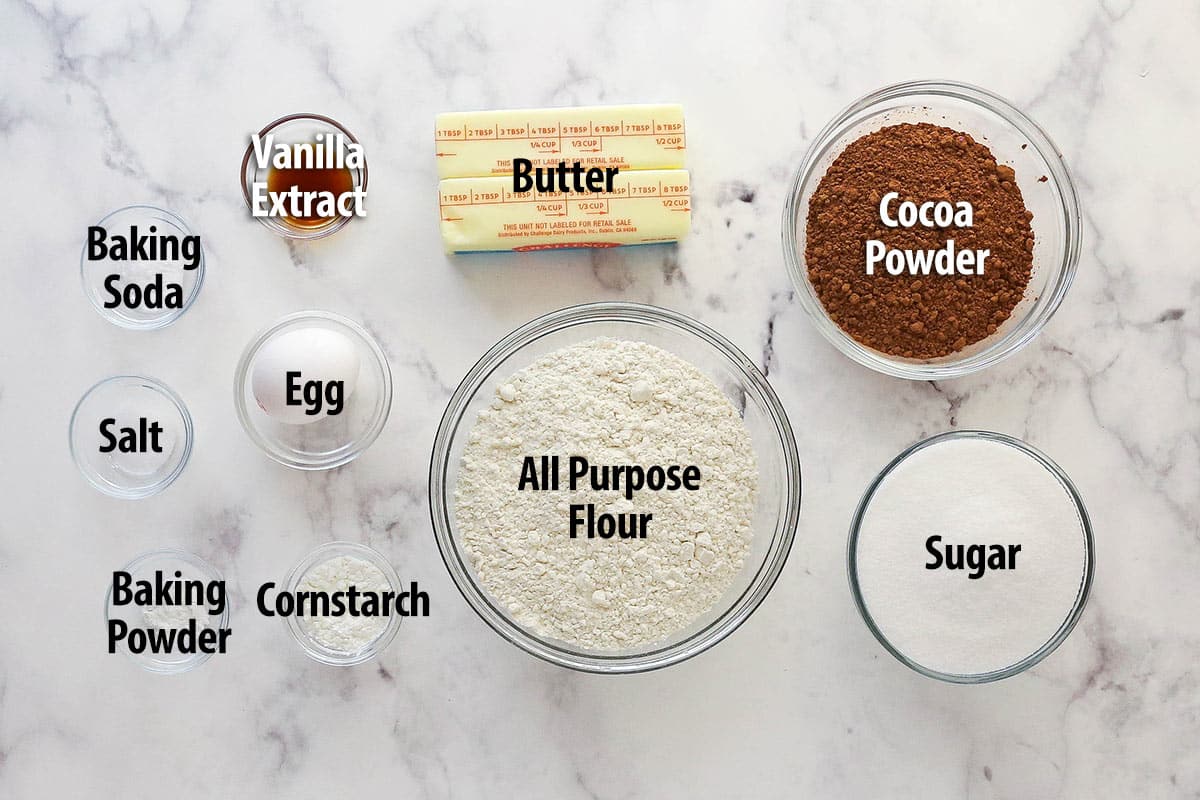
- All-purpose flour – This recipe lists just the right amount of flour to not spread, but also not end up dry. Be sure to measure it properly to avoid dense or dry cookies.
- Cocoa powder – For this recipe you want natural unsweetened cocoa powder. You can use Dutch-processed cocoa powder, but I think the flavor is better in these with the regular unsweetened.
- Cornstarch – These cookies use a little cornstarch to help keep the cookies from over-spreading and losing their shape without adding too much flour and drying out the cookies.
- Baking soda & baking powder – You’ll use just a bit of each to help achieve a soft and chewy cookie texture, but not so much that the cookies spread.
- Egg – Be sure to use large eggs, not medium or extra large.
These cookies definitely hold their shape during baking. That said, they do “puff up” a bit. Using leavening can lead to spreading, so I’ll sometimes leave them out in a cutout cookie. But they also contribute to the texture of the cookie, so I added a touch of leavening to these. The cookies do puff up a little, but the chewiness you gain is totally worth it, in my opinion. That said, you could go either way, depending on what you want. For a cookie that really doesn’t spread, leave out the leavening. For a cookie with a lovely little chew to it, keep it in.

Time to bake! These cookies do come together quickly, but remember to allowing time for chilling the cookie dough. You can find the printable instructions in the recipe card below.
- Combine the dry ingredients. Whisk together the flour, cocoa powder, cornstarch, baking soda, baking powder, and salt.
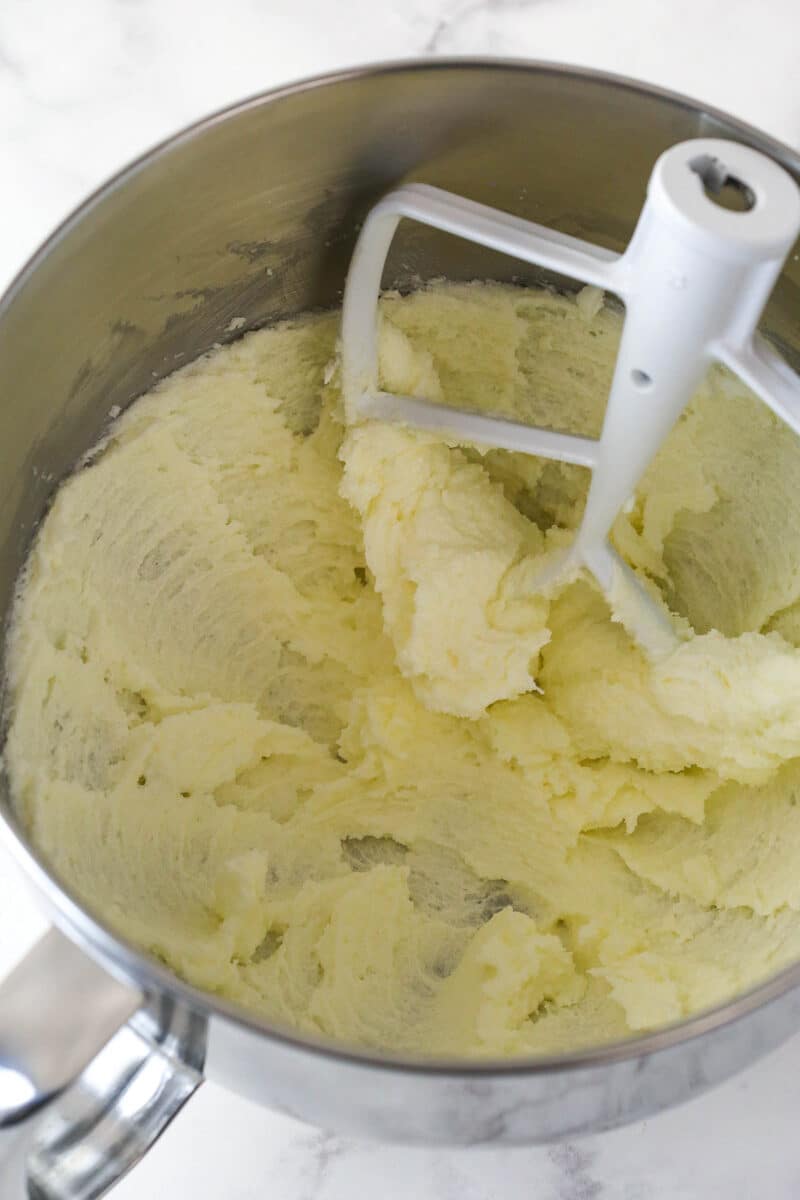
- Cream the butter. Beat the butter and sugar for 2-3 minutes, until they are lighter in color and creamier in texture. Mix in the egg and vanilla.
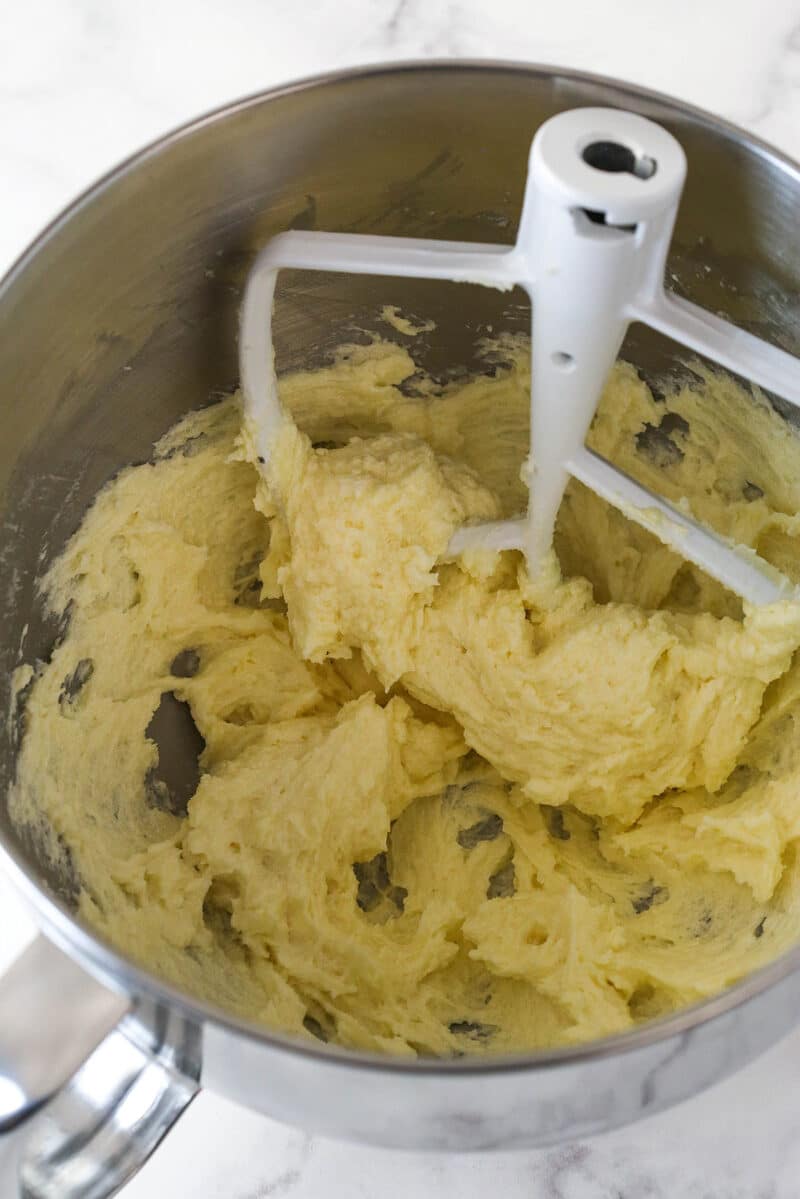
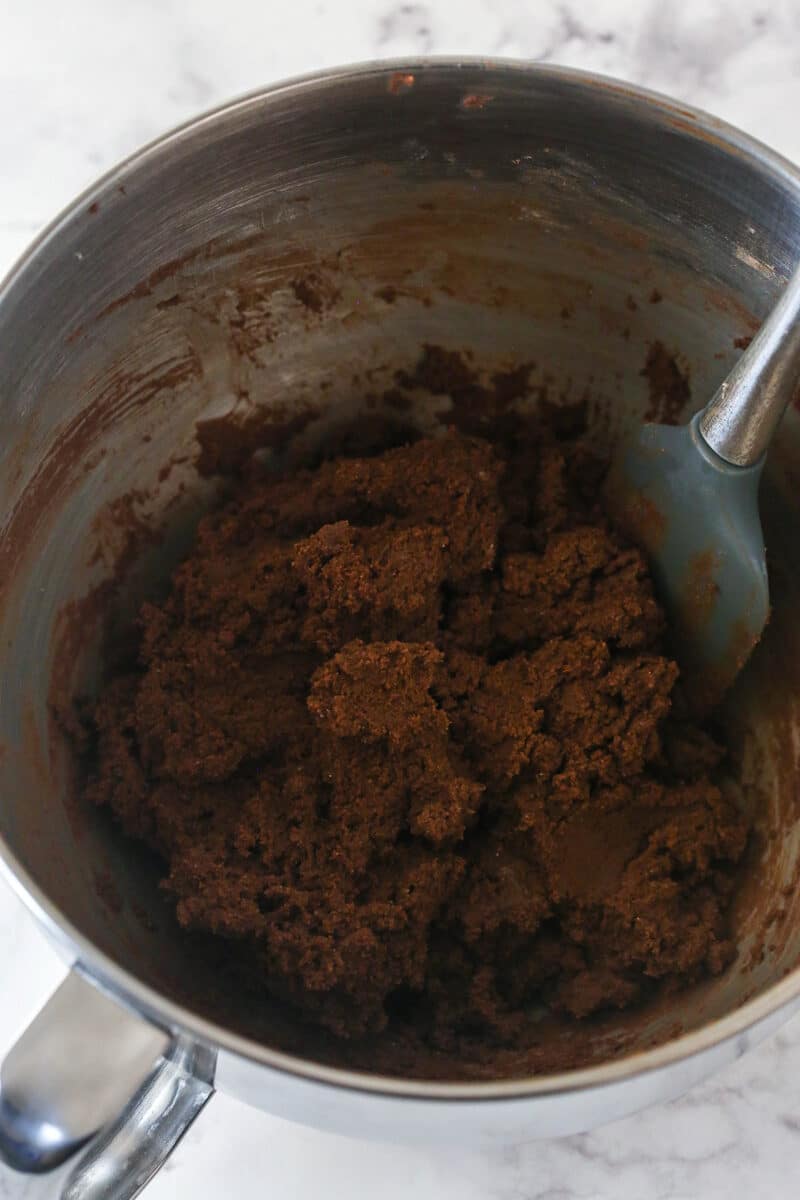
- Combine the ingredients. Add the dry ingredients to the butter mixture. Mix just until the dough is combined – it will seem dry at first but it will come together to form a nice bowl. I like to use a spatula or even my hands to mix the dough.
- Chill. Cover and refrigerate the dough for at least an hour.
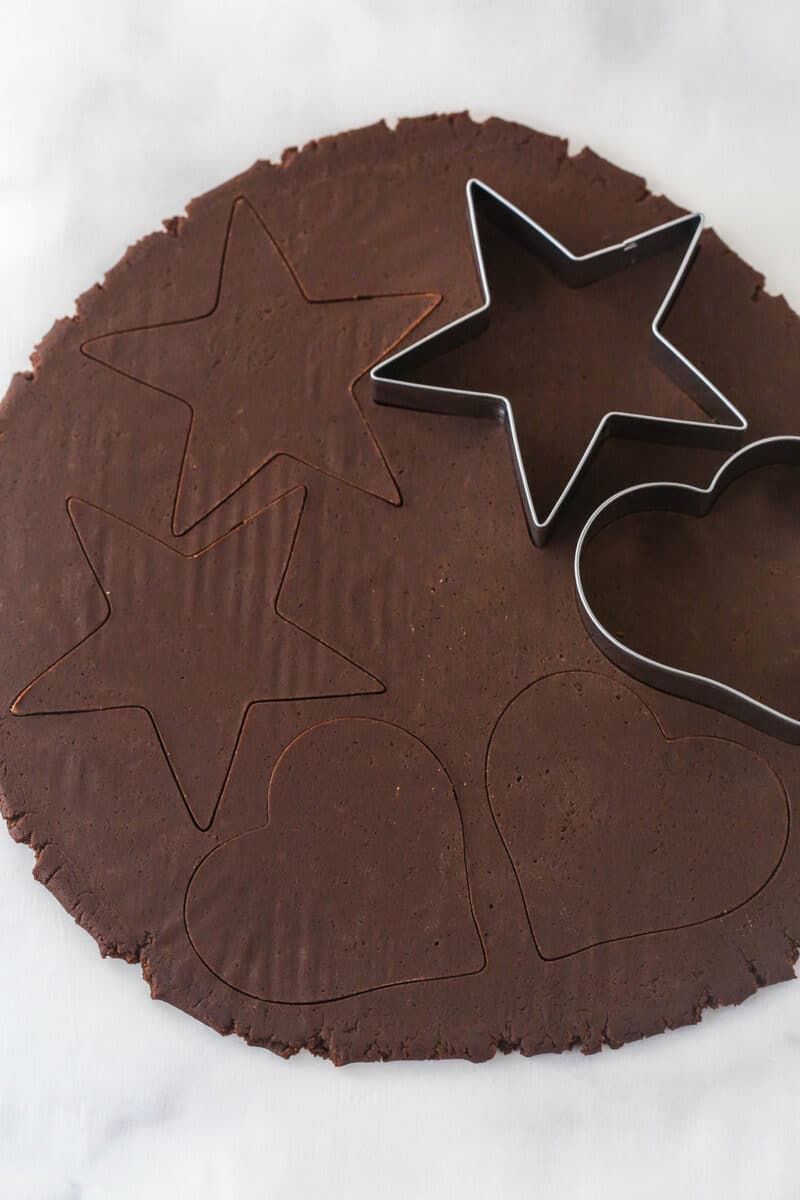
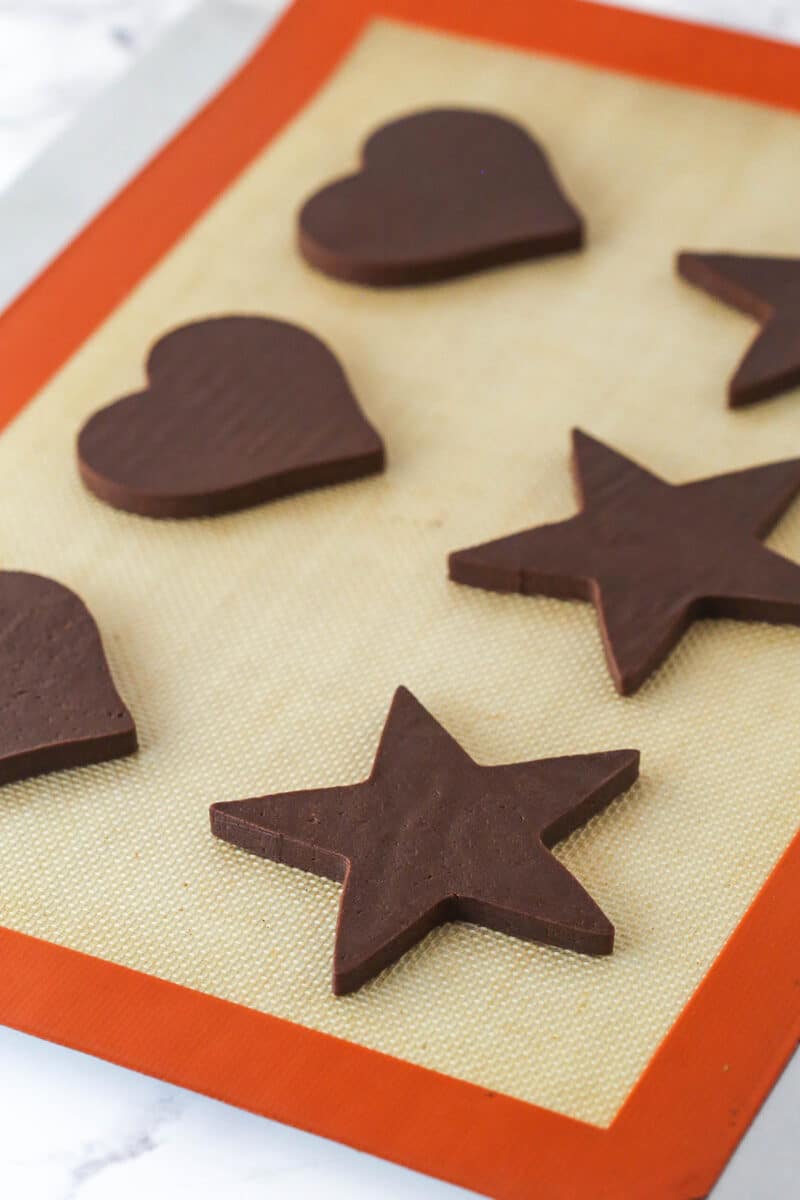
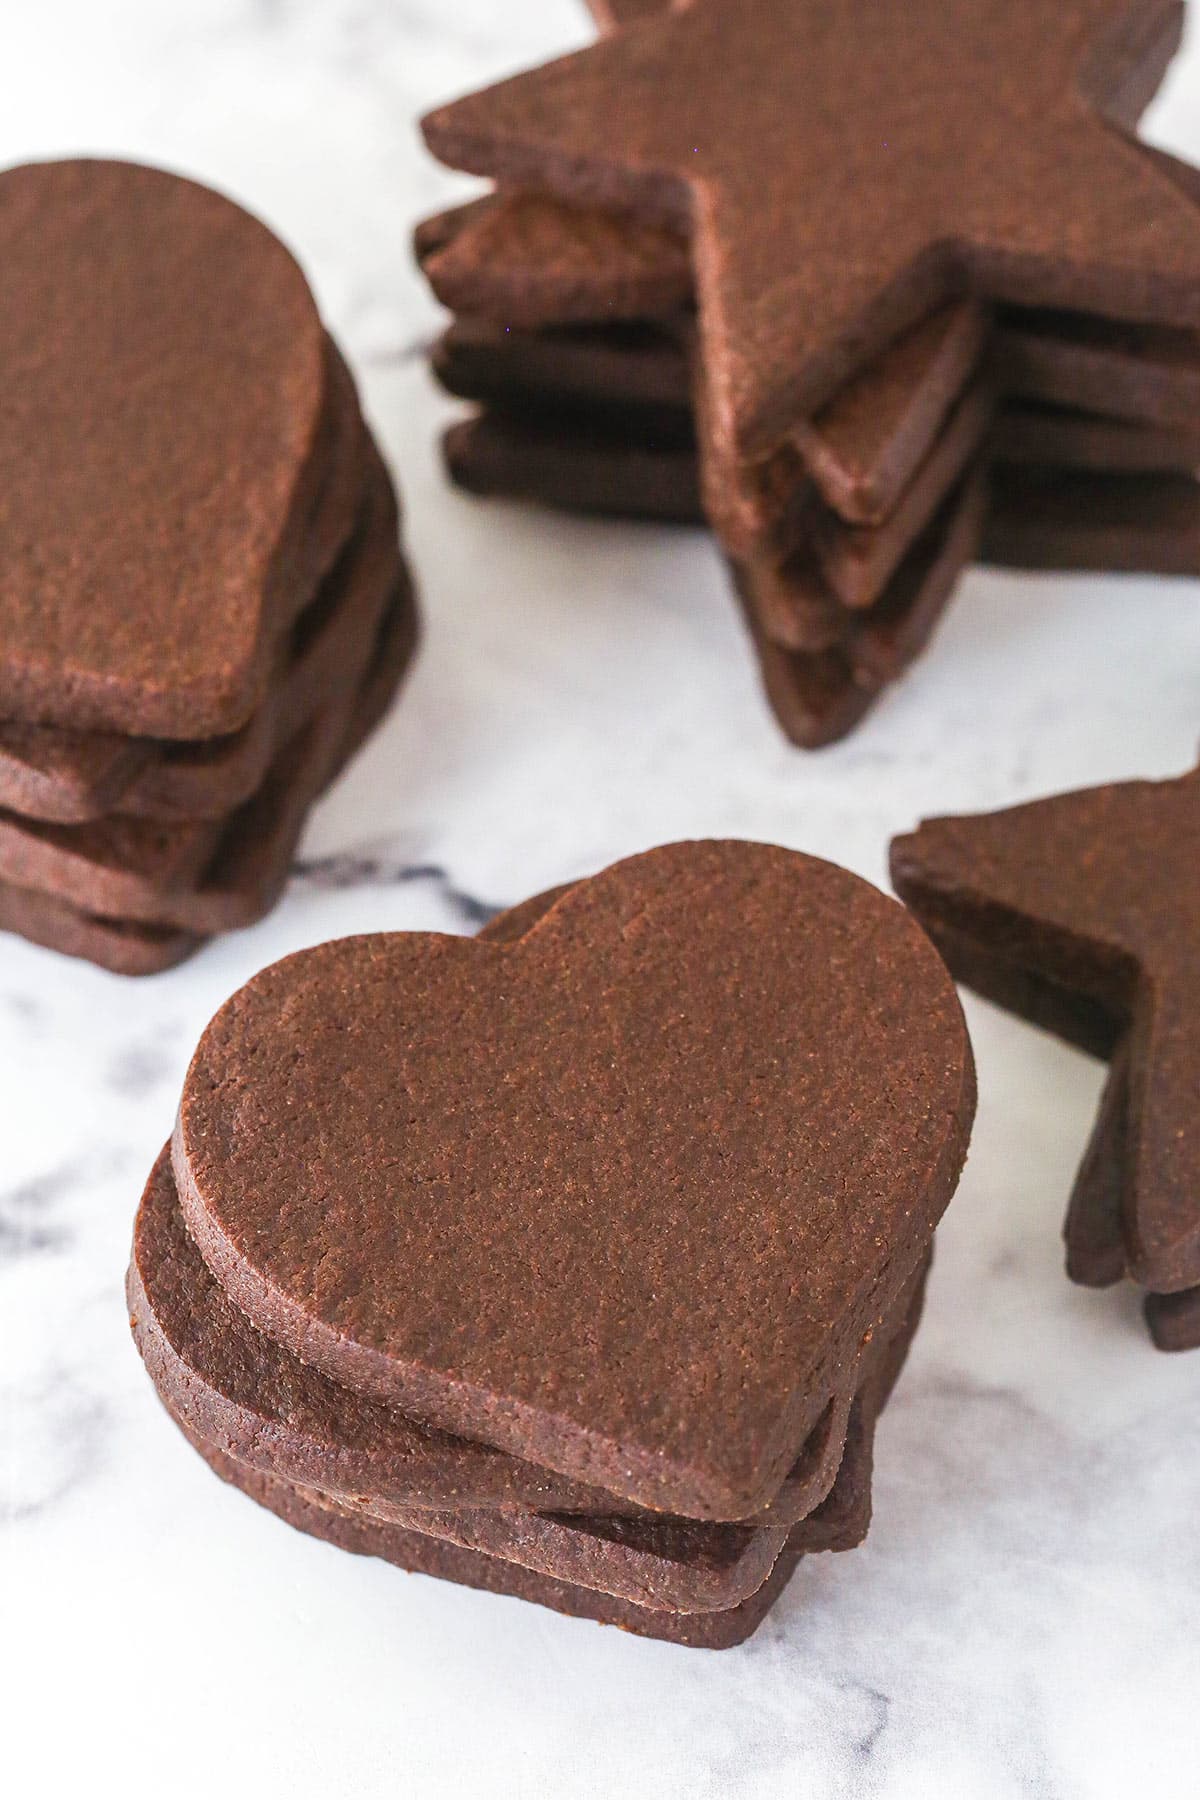
- Cut out the shapes. Bring the dough back to room temperature and divide it into two parts. Roll each part to 1/4 inch thick then pop it in the freezer for about 5 minutes. Immediately cut into shapes. You can pop them back into the freezer for a few minutes too.
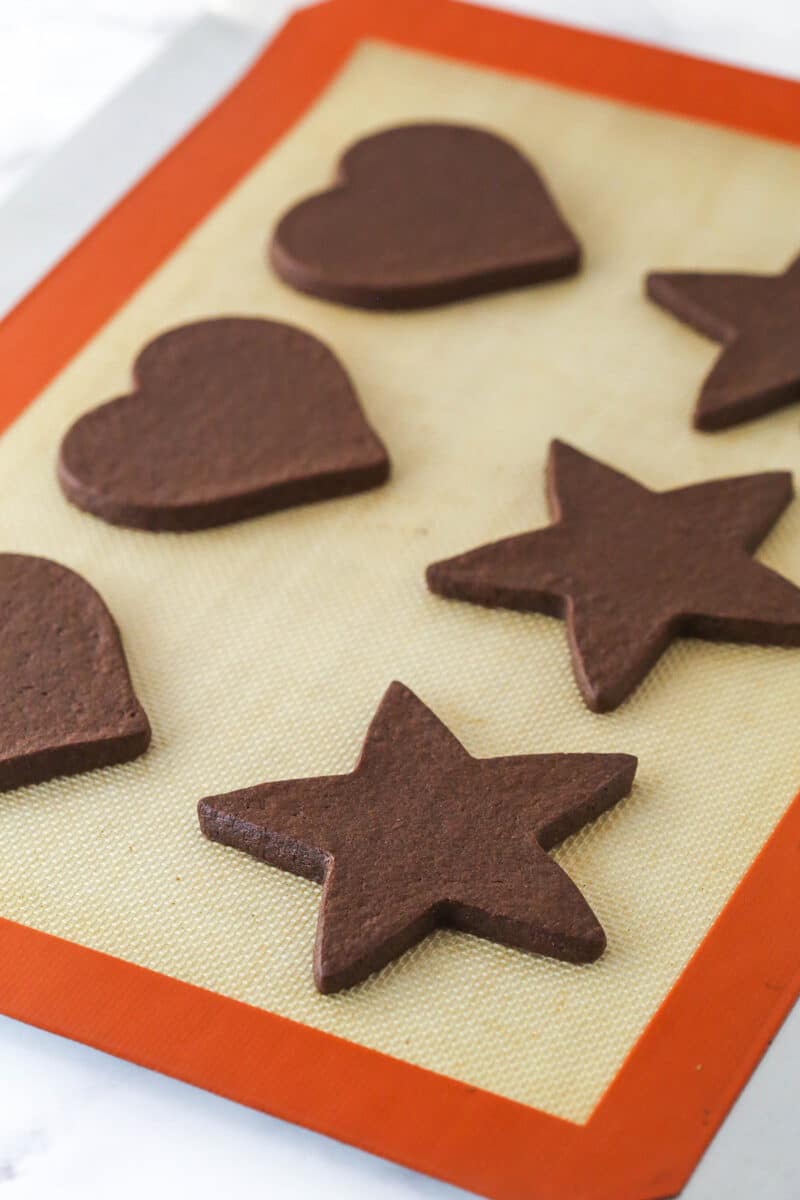
- Bake. Bake for 8-12 minutes, until the cookies look done. If they’ve spread more than desired, use a butter knife to gently press the sides in while they’re still warm. Repeat with the remaining dough and cookies.
- Cool and decorate. Let the cookies cool on the rack for 3-5 minutes then transfer to a cooling rack. Once cool, decorate as desired.
What Kind of Icing To Use For Decorating
The final step is to decorate your cookies! I’ve got multiple options for you to choose from, depending on your skill level and how detailed you want to get. The great thing about icing these cookies is that it protects them from the air, so they stay fresh for longer.
1. Buttercream frosting – This is the simplest option and is great with kids. Things to keep in mind:
- It forms a crust as it sits and will harden in the fridge.
- Doesn’t stay firm up at room temperature like the easy sugar cookie icing or royal icing.
- Not ideal for stacking cookies or for shipping.
- Easy to make and you don’t have to use any special equipment.
- You could pipe it onto cookies, but you could also go old-school and just use butter knives.
2. Easy Sugar Cookie Icing – This is more like a glaze that dries hard. It’s a step up from buttercream, but is still great for people with less experience. I use it with my kids and use these cute piping bottles. Keep in mind:
- This icing hardens on top of your cookies and you can pipe it.
- Not as fussy to work with as royal icing, but it’s harder to pipe designs that are really intricate with it.
- Easy to make by hand with a whisk.
- Better taste than royal icing.
3. Royal Icing – Royal icing is most commonly used for decorating professional looking cookies.
- It’s easy to make, but you will need a mixer.
- You’ll need to have meringue powder on hand.
- It’s dries hard, so that you can stack your cookies, but not so hard that you can’t bite into it.
- Royal icing is going to be best when you want the most control over piping your designs and want to do things that are a little more intricate.

Decorating Ideas
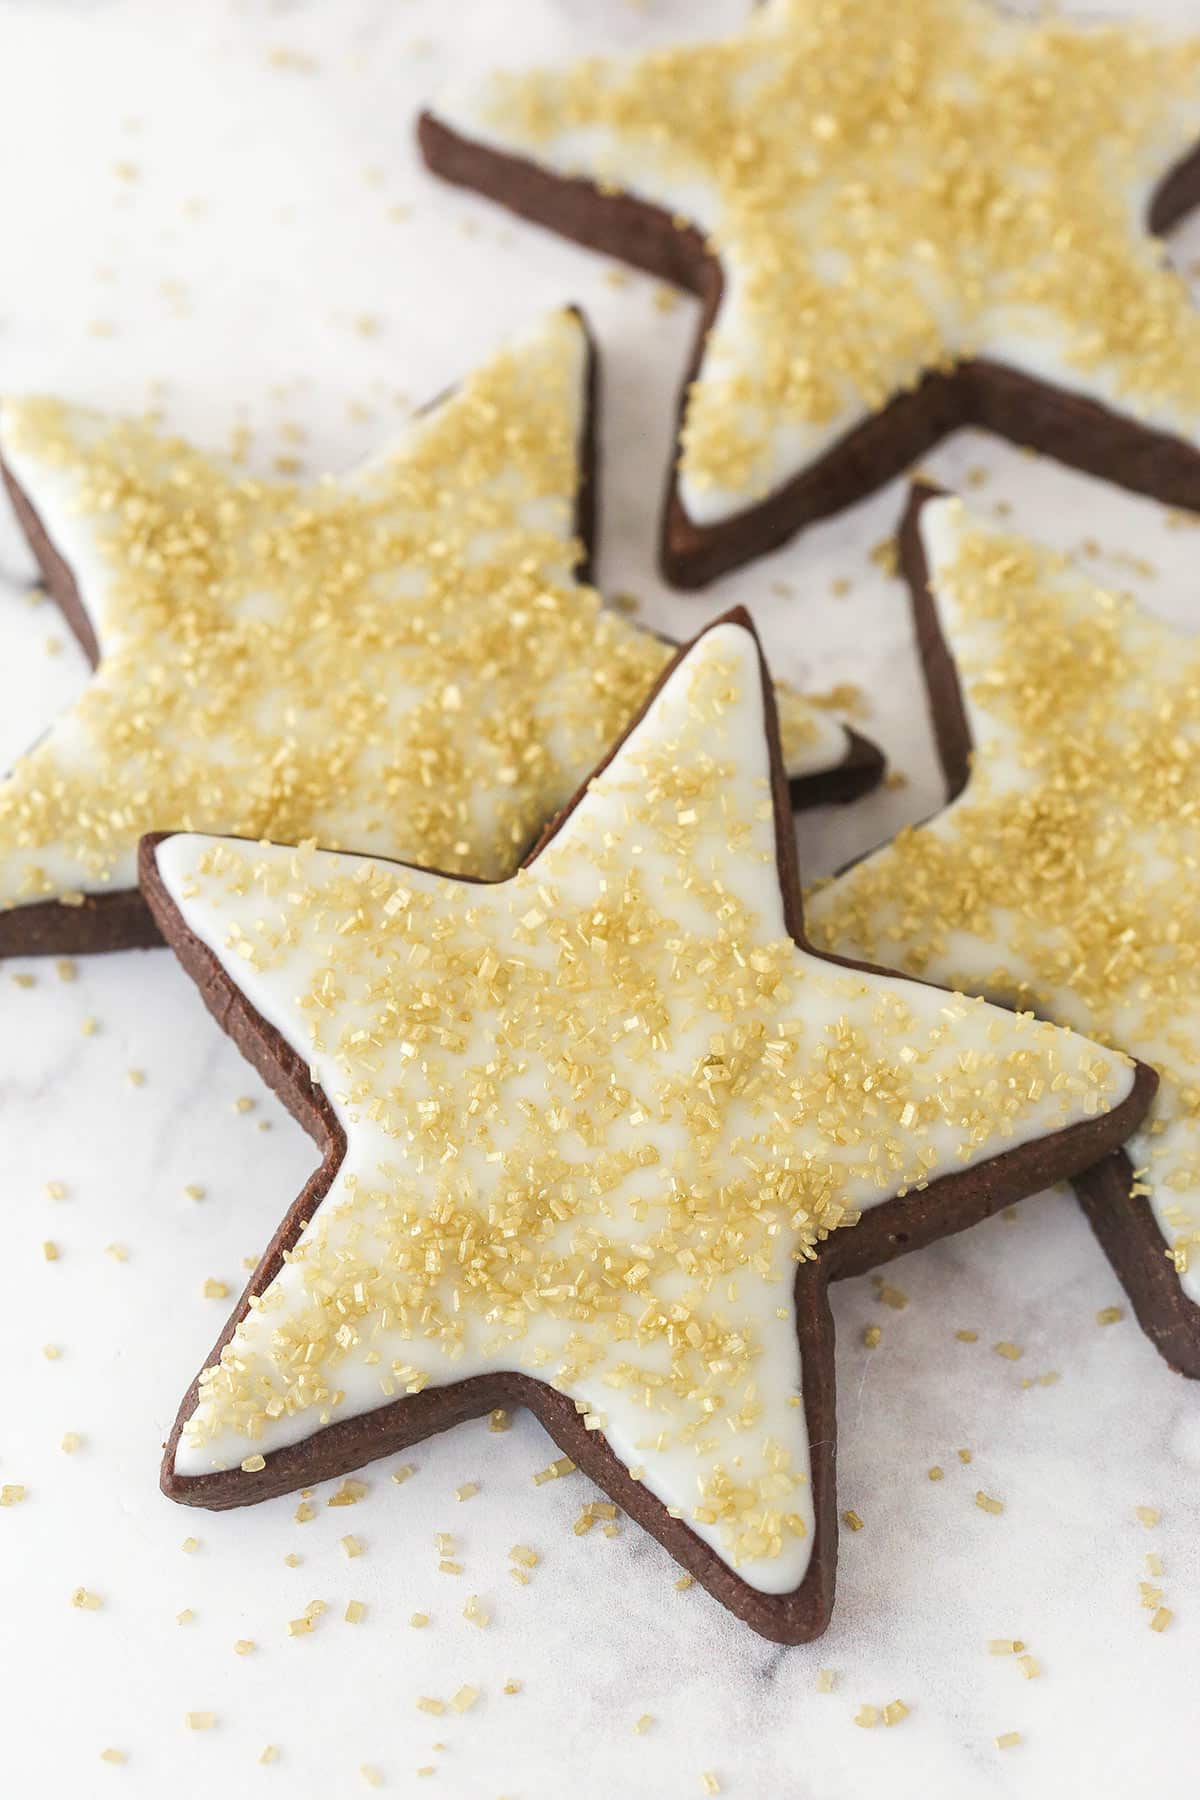
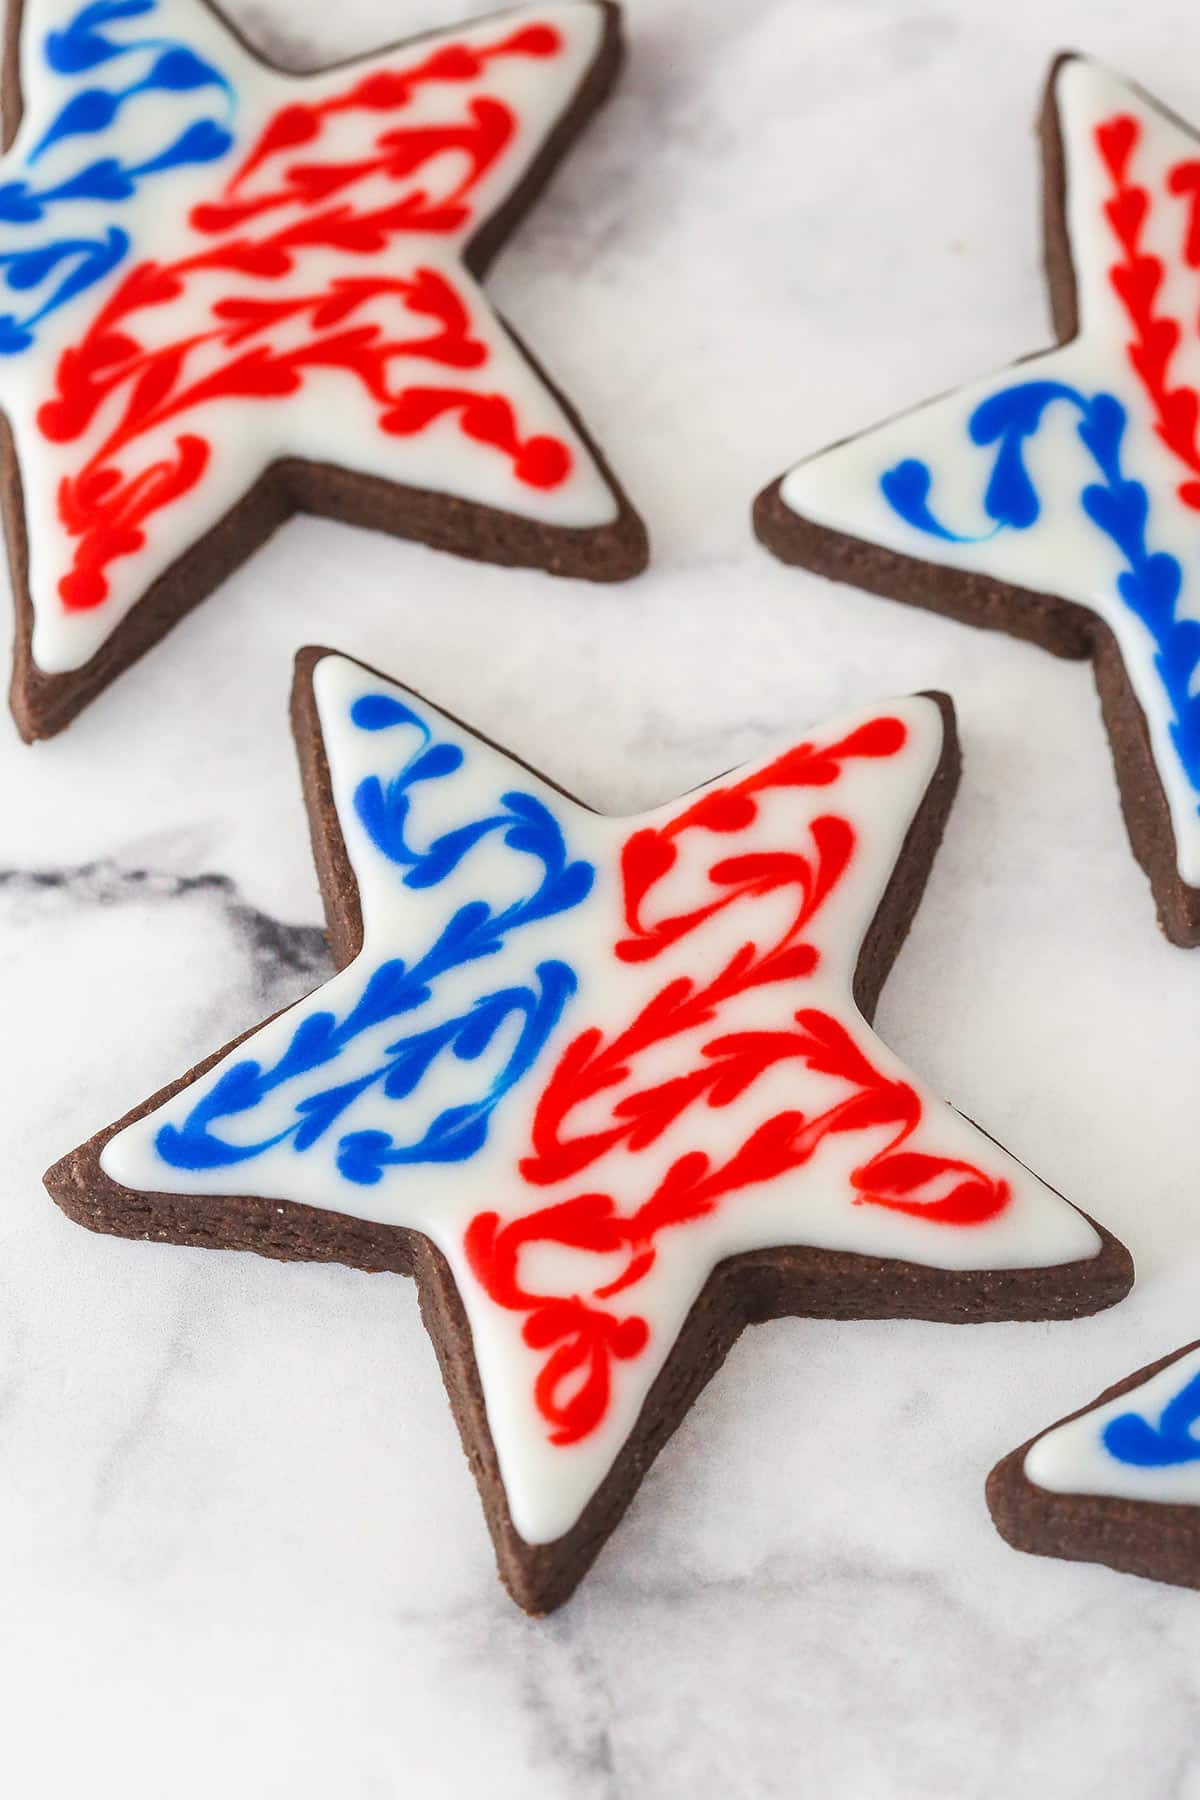
There are endless ways to decorate these chocolate cut out cookies! So have some fun with it. You can customize them for different holidays with different shapes, colors and sprinkles. Here are a few photos for some other holiday inspiration!

- Properly measure the ingredients. It is very important to properly measure the dry ingredients for this recipe, especially the flour. Under measuring or over measuring will change the texture of the cookies.
- Use room temperature butter. You want the butter to cream up nicely. Cold butter will be harder to cream while too-soft butter won’t cream properly.
- Chill the dough. While you don’t HAVE to refrigerate the cookie dough, I highly recommend it. It’s much easier to work with. Plus, the cookies turn out nicer and more tender if you do.
- Pop the dough in the freezer. Similarly, I also recommend popping the dough in the freezer after you roll it out. It makes cutting them out and moving them around much easier and you get cleaner cuts.
- Use parchment paper. It’s one of my favorite tips for cutout cookies! Don’t make a huge mess by flouring your countertops, just roll out your cookie dough between two pieces of parchment paper. It’s non-stick and easy to move around for the freezing step.
- Don’t over bake them. Nobody wants a dry cookie! Remove them from the oven just as they start to look done. They continue to bake a bit as they cool.
Proper Storage
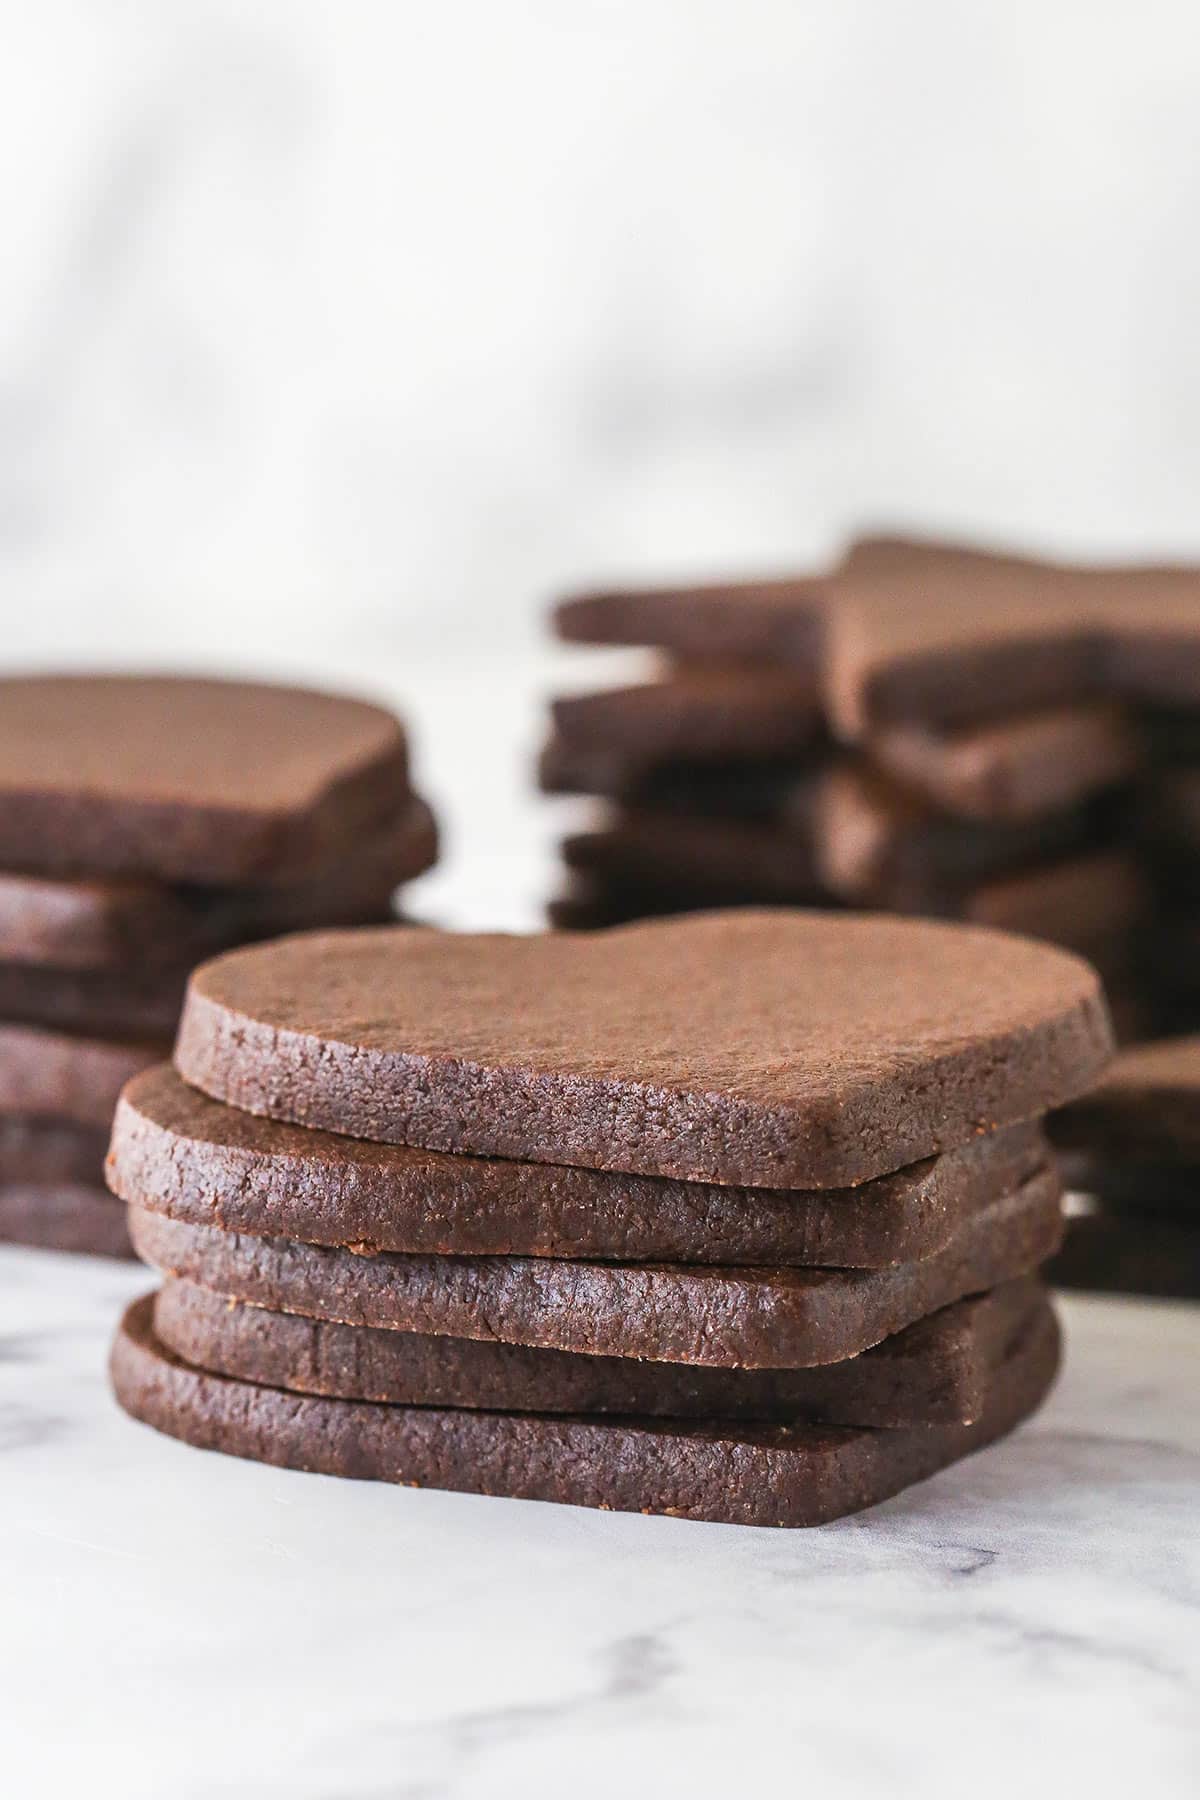
- On the counter. You can store these cutout chocolate cookies in an airtight container at room temperature for up to 2 weeks. They last best and longest if they are frosted.
- Freezer. You can also freeze these cookies, frosted or unfrosted. Place them in a freezer safe container with parchment paper separating the layers. Freeze for up to 3 months. Thaw in the fridge before using. Keep in mind that colors from icing and sprinkles could bleed when the cookies are thawed, due to condensation.
- Gingerbread Cookies
- Pinwheel Cookies
- Brownie Cookies
- Black and White Cookies
- Andes Mint Cookies
- White Chocolate Macadamia Nut Cookies
Watch How To Make Them
Print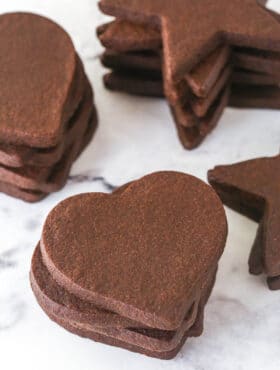
- Prep Time: 1 hour 15 minutes
- Chill Time: 1 hour
- Cook Time: 8 minutes
- Total Time: 2 hours 23 minutes
- Yield: About 22 cookies
- Category: Dessert
- Method: Oven
- Cuisine: American
Description
These Chocolate Cut Out Cookies are easy to make, delicious and they don’t spread in the oven! They are thick and tender and perfect for holiday decorating. Plus, you’ll love my method for mess-free rolling and cutting!
Ingredients
Cookies
- 2 cups (260g) all-purpose flour
- 3/4 cup (85g) natural unsweetened cocoa powder
- 1 tbsp (8g) cornstarch
- 1/2 tsp baking soda
- 1/4 tsp baking powder
- 1/2 tsp salt
- 1 cup (224g) unsalted butter, room temperature
- 1 1/4 cups (259g) granulated sugar
- 1 large egg
- 1 tsp vanilla extract
For Decorating
Instructions
- Combine the flour, cocoa powder, cornstarch, baking soda, baking powder and salt in a medium-sized bowl and set aside.
- Add the butter and sugar to a large mixer bowl and beat on medium speed for 2-3 minutes, until well creamed. You should notice that it gets lighter in color and creamier in texture.
- Add the egg and vanilla extract and mix until well combined.
- Add the dry ingredients and mix just until the dough is well combined. Dough will be thick. It may seem a little crumbly at first, but it’ll come together. Don’t over mix. You can help it finish coming together by hand with a spatula, or even using your hands. It may seem too dry, but it’ll come together to form a nice ball.
- Refrigerate cookie dough for at least an hour or up to 3 days. You don’t have to refrigerate the cookie dough, but the cookies turn out a little nicer and more tender if you do.
- Preheat the oven to 350°F (180°C) and line a cookie sheet with a silicone baking mat.
- Bring the cookie dough back to room temperature so it’s easier to work with and divide the cookie dough into two equal parts. Roll each part out to about 1/4 an inch thickness between two pieces of parchment paper.
- Transfer the parchment-lined cookie dough onto a cookie sheet and place it in the freezer for about 5 minutes. Remove cookie dough from freezer, peel off the top layer of parchment paper and immediately cut into shapes. Transfer cookies to cookie sheet. You can pop them back in the freezer for a few minutes, if you’d like. The colder they are, the less they spread.
- Bake immediately, while cookie dough is still very cold, for 8-12 minutes or the cookies look done.
- Remove them from the oven. If they spread a touch more than you want them to, use a butter knife or something similar to gently press the sides in a touch. If you do this while they are still warm, it works beautifully.
- Allow the cookies to cool for 3-5 minutes, then remove to a cooling rack to finish cooling.
- Continue rolling the dough, cutting out cookies and baking them until you’ve used all the cookie dough.
- When you’re ready to decorate the cookies, you can use regular buttercream, an easy sugar cookie icing or royal icing.
Notes
- Number of cookies: The number of cookies you’ll get depends on the size of your cookie cutters and how thick you roll them out. My cookie cutters are roughly 3 1/2 inches.
- Storage. You can store these cutout chocolate cookies in an airtight container at room temperature for up to 2 weeks. They last best and longest if they are frosted.
- Freezing. You can freeze these cookies frosted or unfrosted. Place them in a freezer safe container with parchment paper separating the layers. Freeze for up to 3 months. Thaw in the fridge before using. Keep in mind that colors from icing and sprinkles could bleed when the cookies are thawed, due to condensation.
Nutrition
- Serving Size: 1 cookie
- Calories: 171
- Sugar: 11.5 g
- Sodium: 86.9 mg
- Fat: 9.1 g
- Carbohydrates: 22.2 g
- Protein: 2.1 g
- Cholesterol: 30.6 mg


