This post may contain affiliate sales links. Please read my disclosure policy.
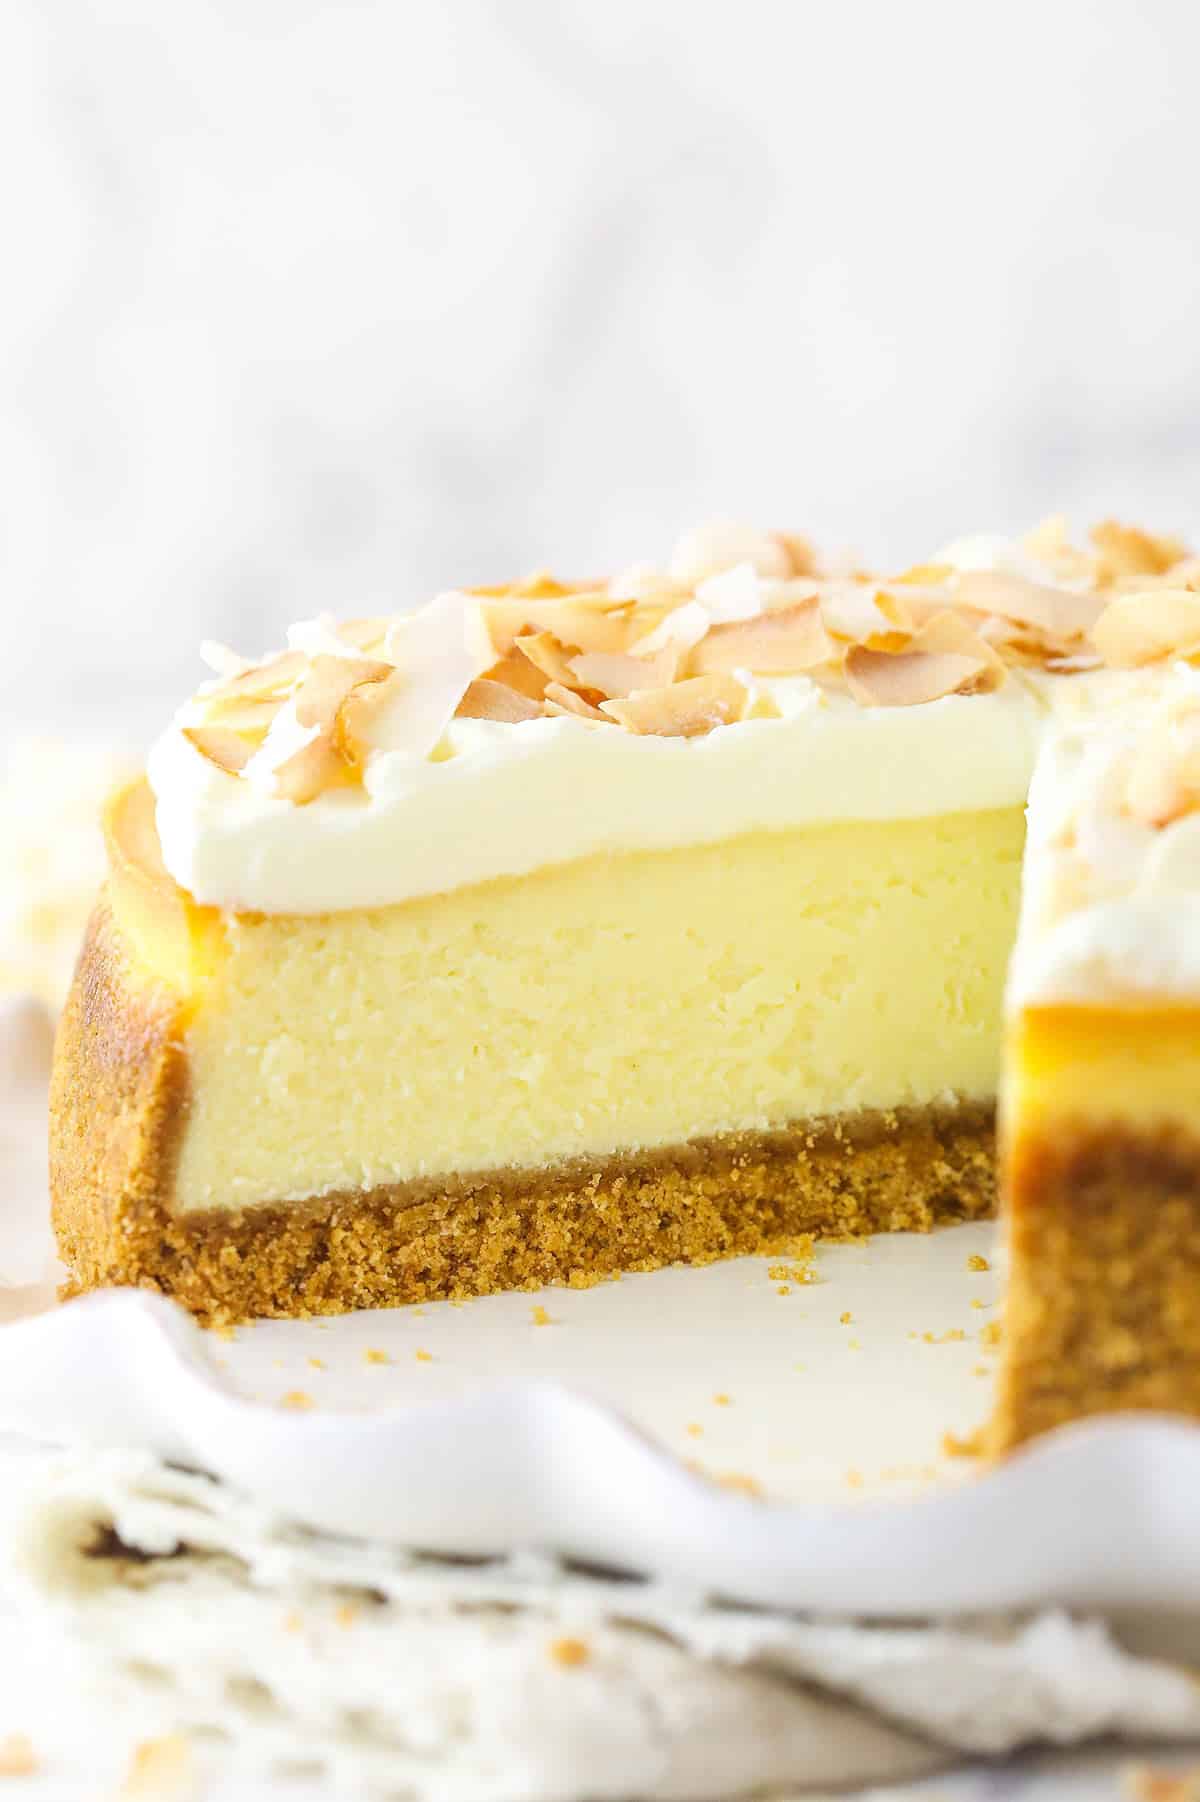
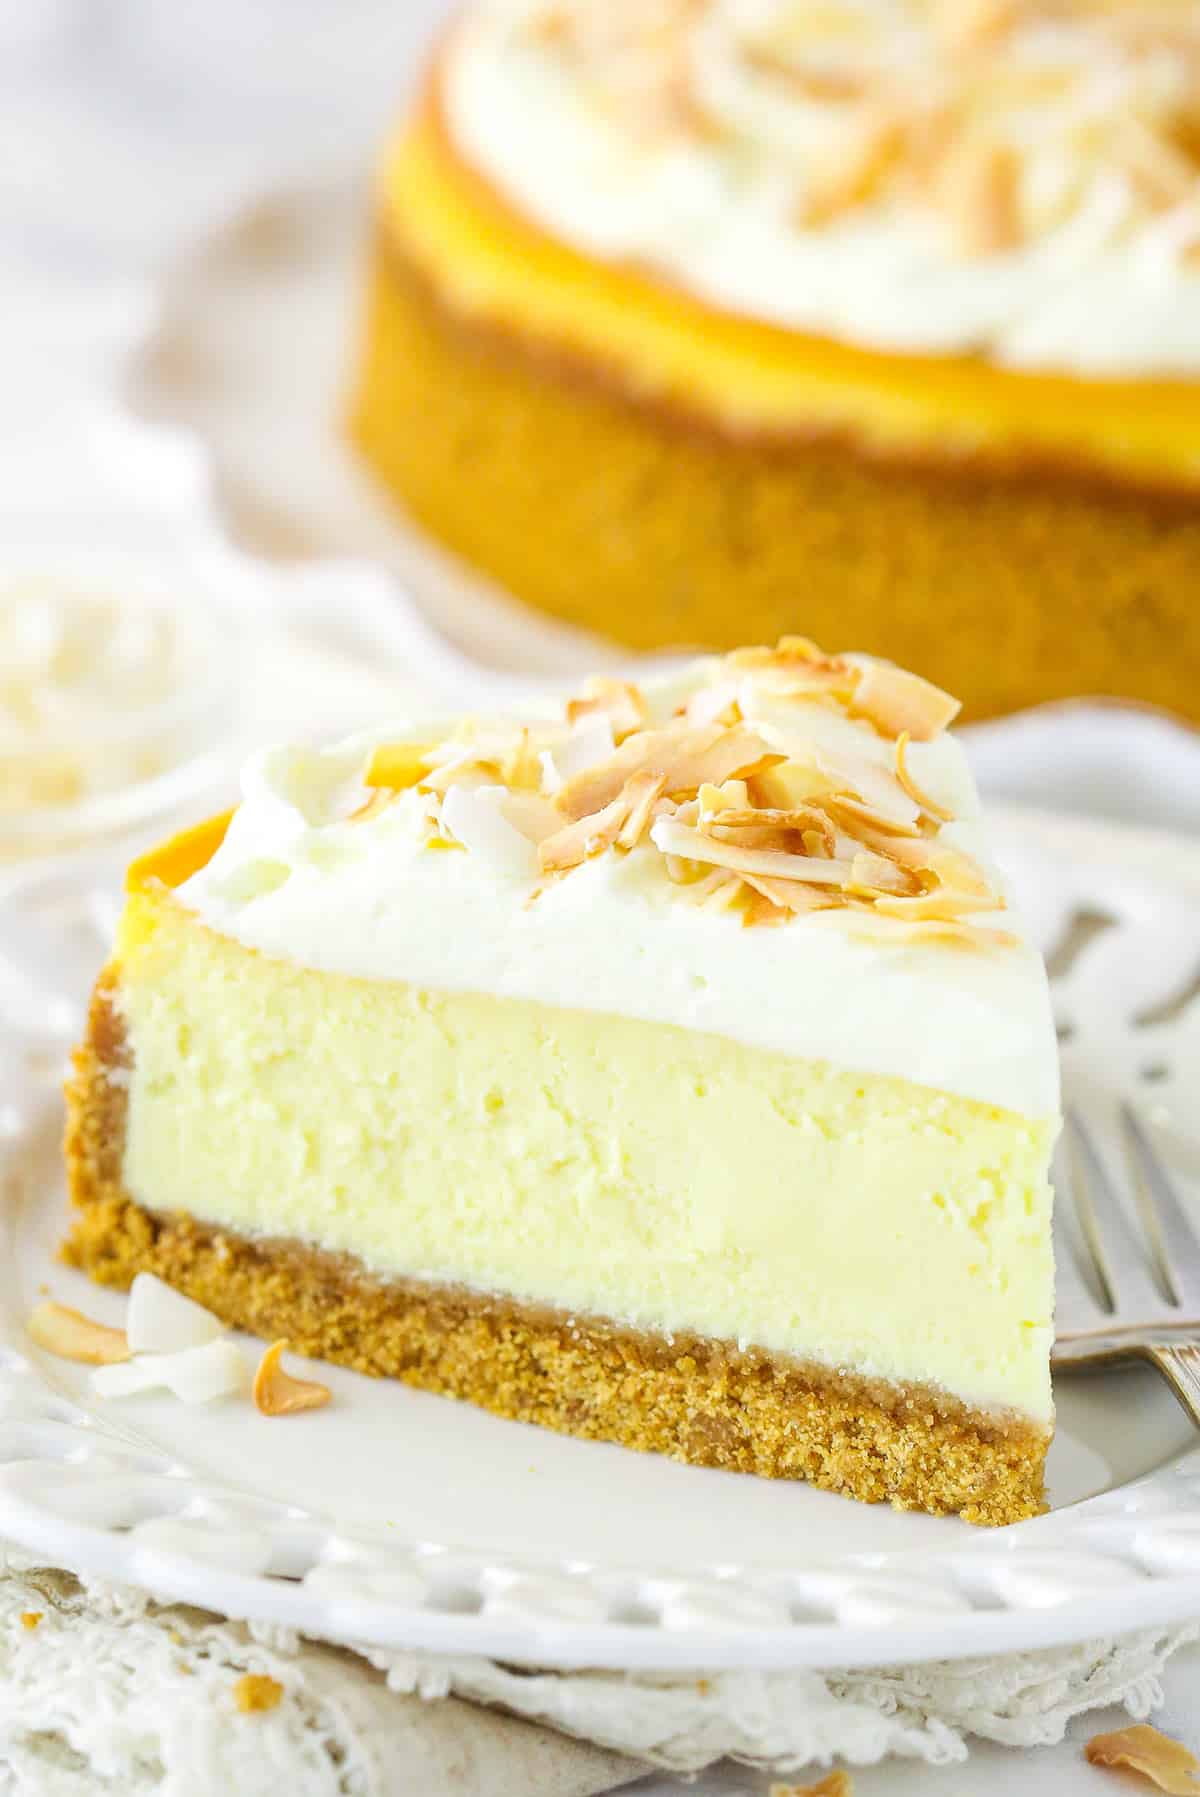
This coconut cheesecake is made with a smooth, creamy coconut cheesecake filling, a graham cracker crust and a rich, fluffy coconut mousse! It’s full of amazing flavor and will be your new favorite coconut dessert!
The Best Coconut Cheesecake Recipe
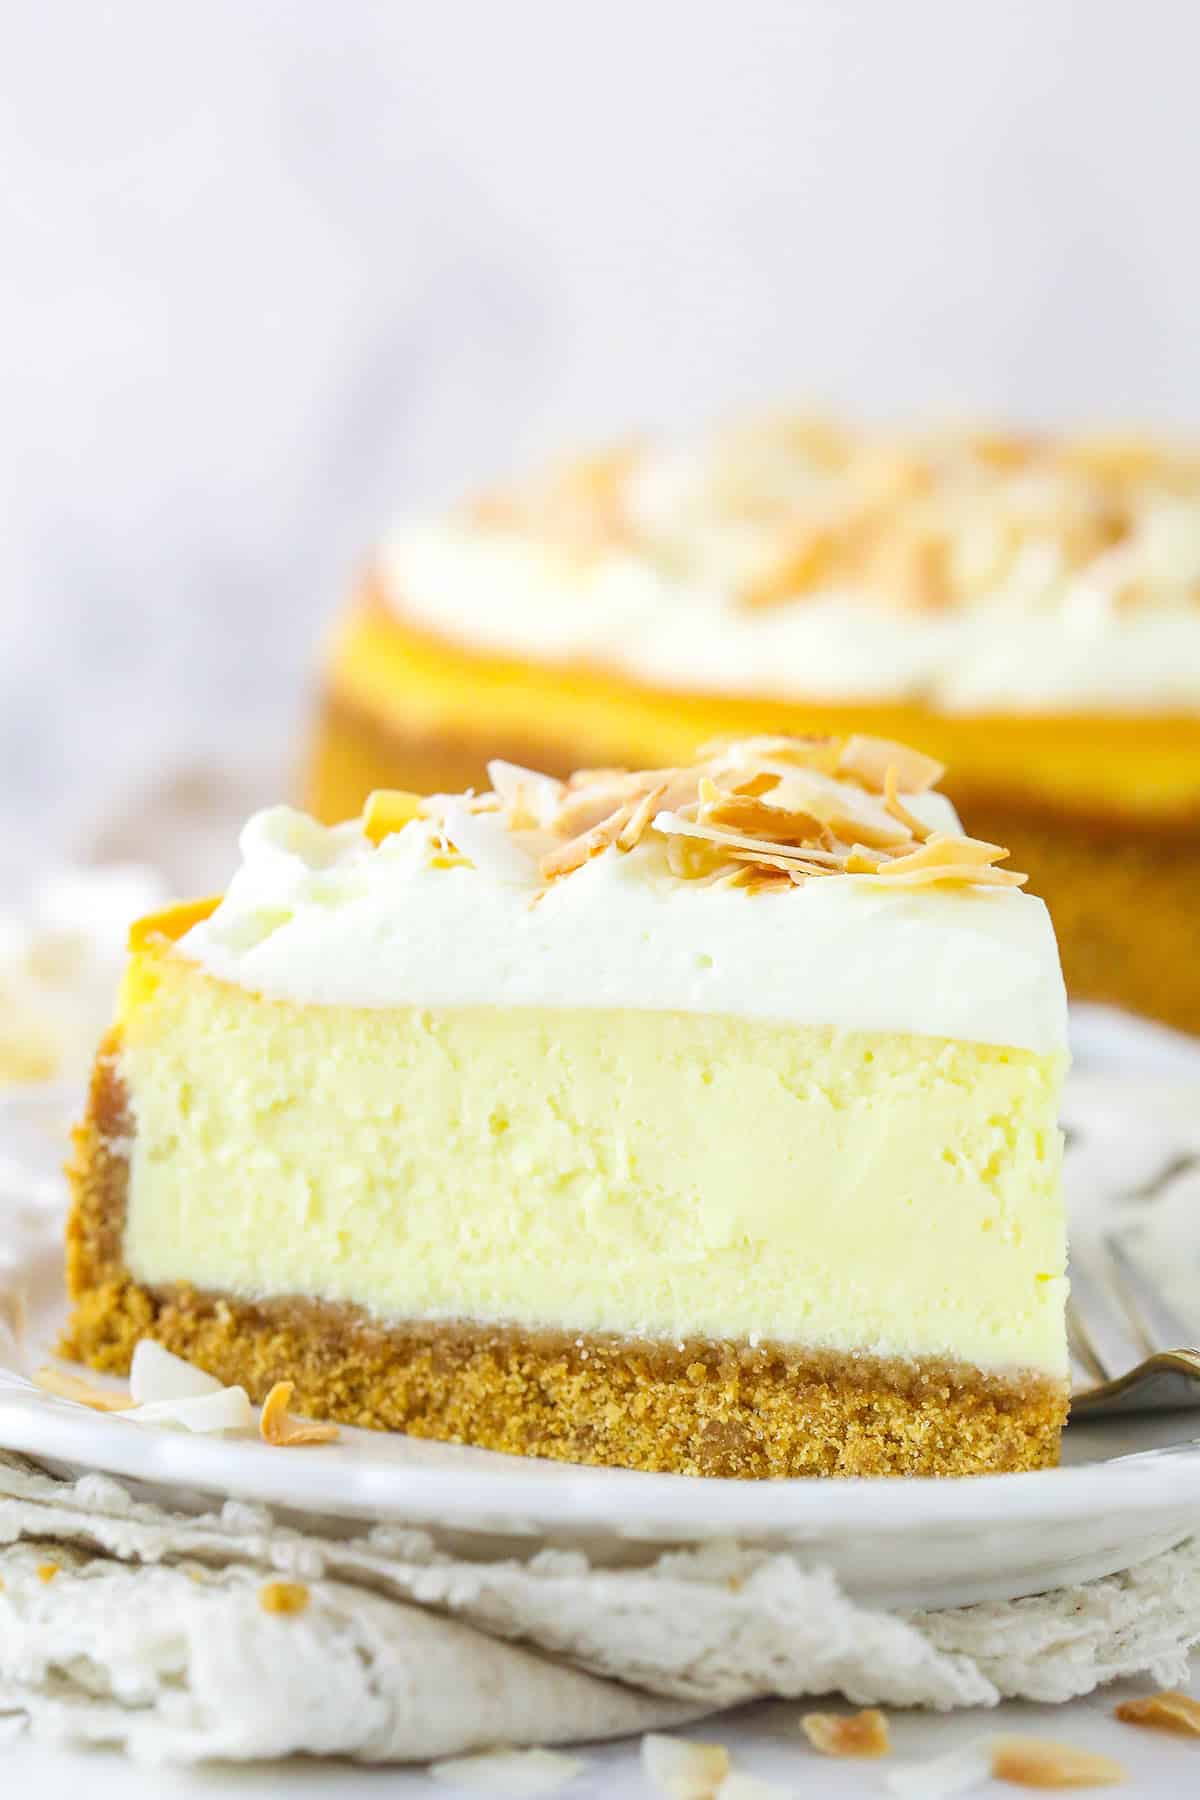
I love a good cheesecake and always have. They are one of my favorite things to make and I’ve perfected my method over the years, which allows me to bring you the most amazing cheesecake recipes. This coconut cheesecake is no exception. It’s thick, creamy and full of refreshing coconut flavor. Here’s a few of my top reasons I know you’ll love it.
- Creamy texture. The filling for this cheesecake is so smooth and creamy and strikes the perfect balance between fluffy and dense. And then the coconut mousse on top? It’s like a creamy cloud of coconut goodness!
- Perfect coconut flavor. Coconut desserts can be a little too, well, coconutty but this one is just right. The coconut comes through loud and clear between the coconut cream and the coconut extract but does not overpower your taste buds.
- Rich but not too rich. I love the way the sour cream cuts the richness of the cream cheese a bit, making for a delicate flavor profile.
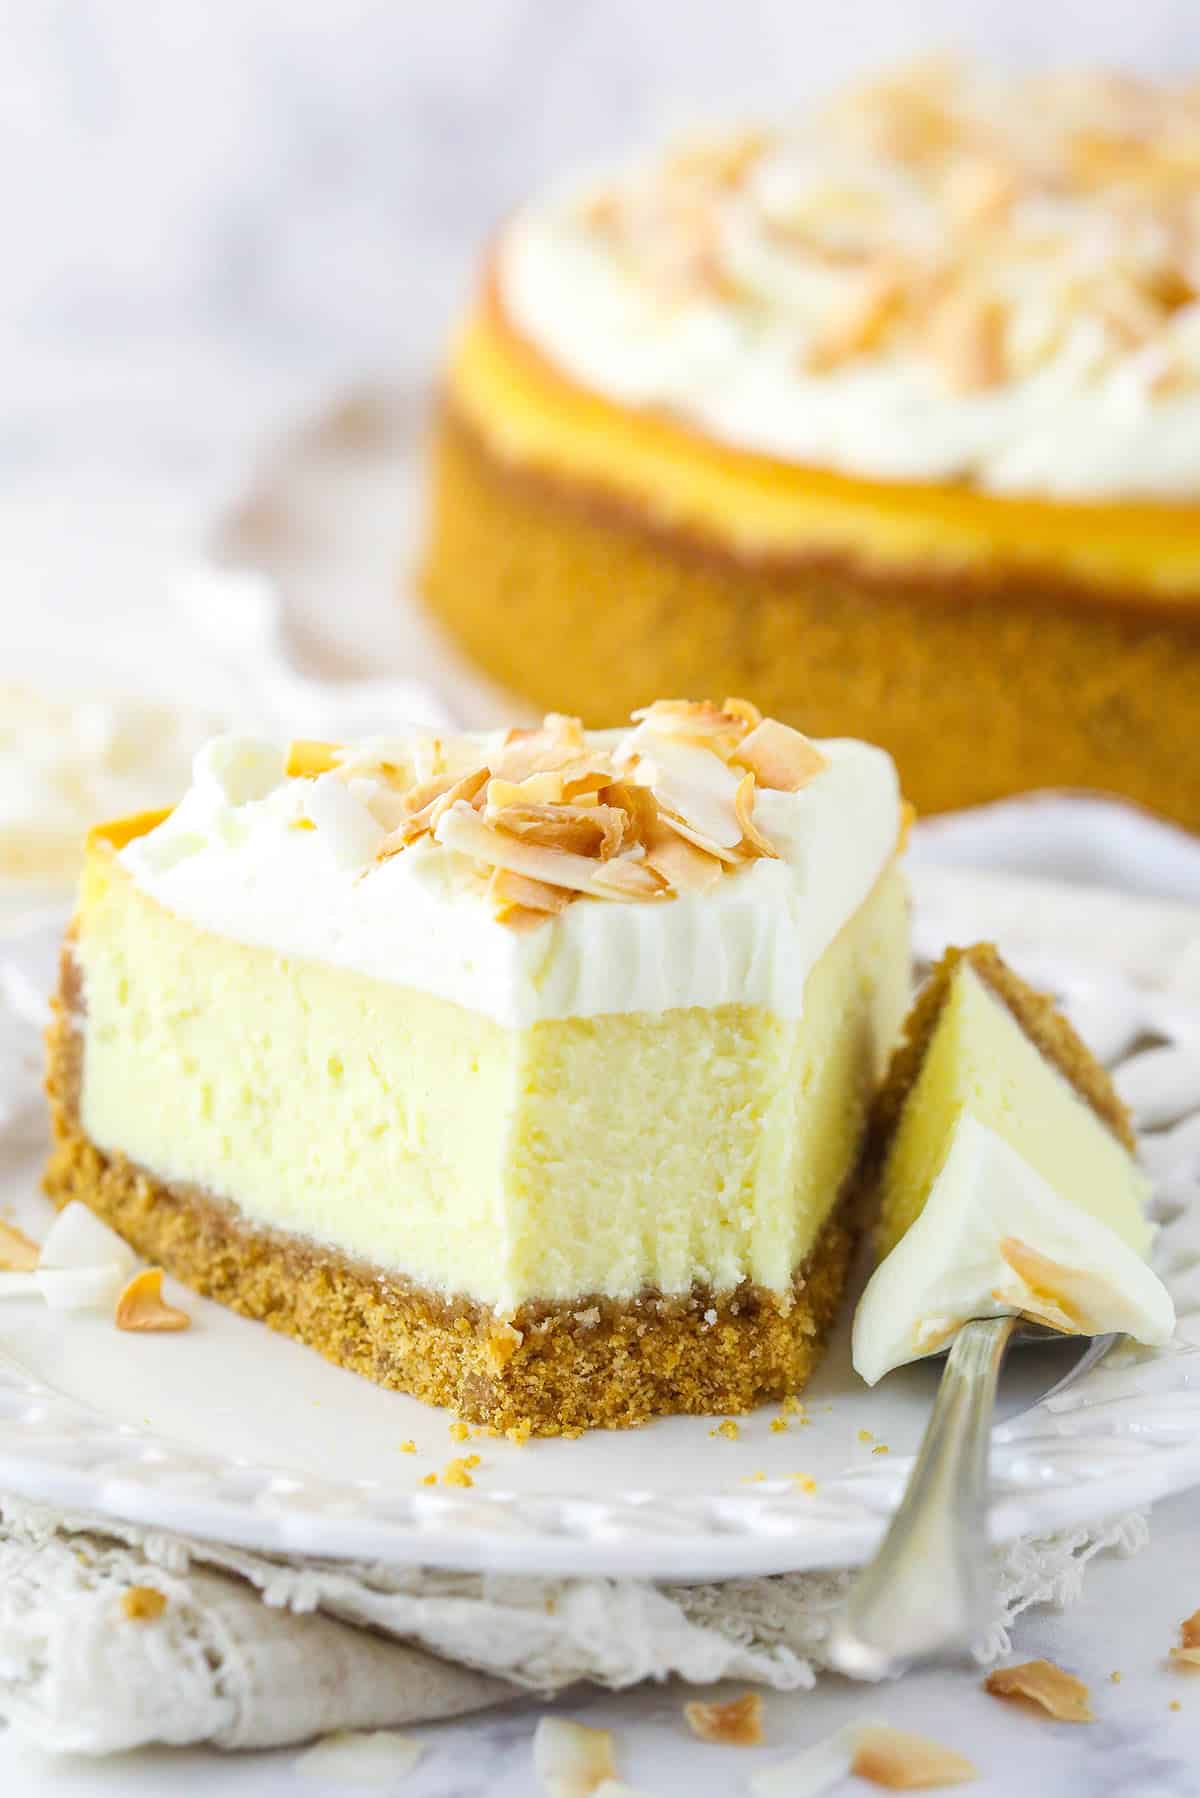
- Elegant presentation. The fluffy white mousse and the smattering of toasted coconut chips turn this cheesecake into an eye-catching edible art piece. It’s sure to turn heads.
Ingredient Notes and Substitutions
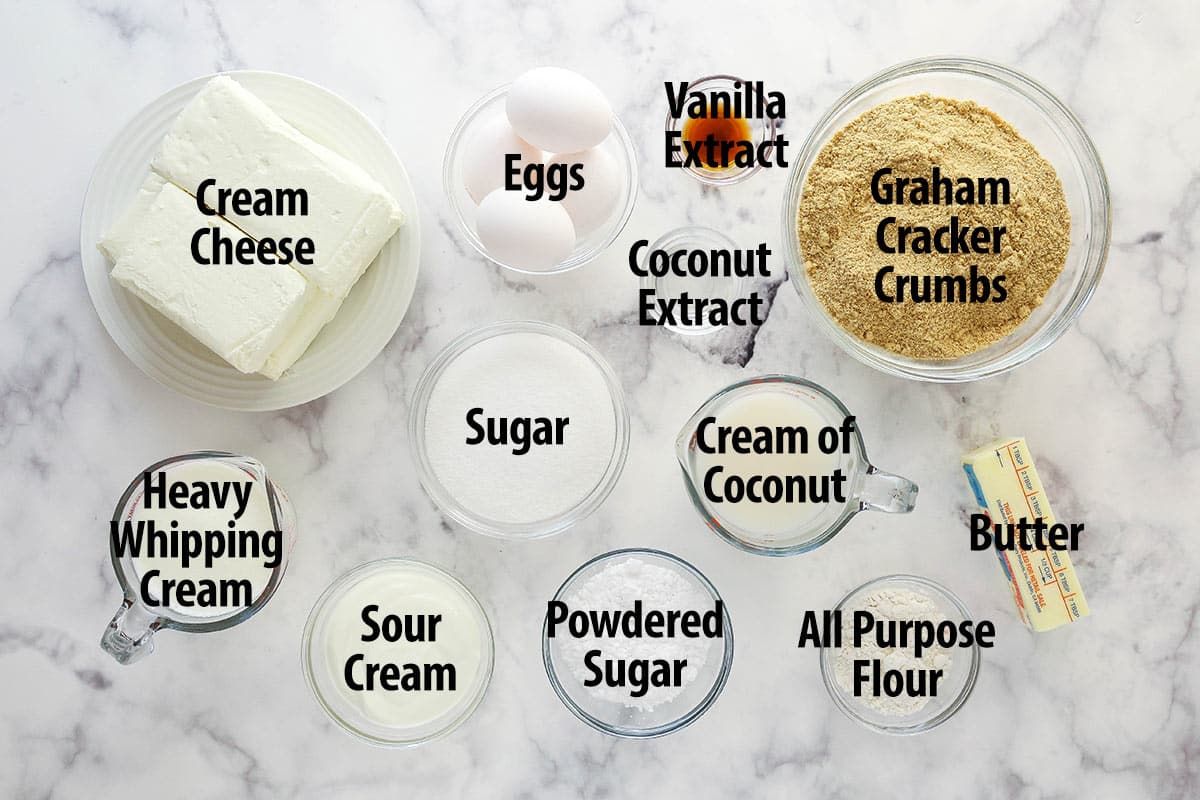
Here’s what you’ll need to bring this coconut cheesecake recipe to life. Don’t forget to scroll to the recipe card below for precise measurements.
Graham Cracker Crust
- Graham cracker crumbs – Vanilla wafer crumbs will also do well here.
- Unsalted butter – The melted butter will help the cookie crumbs adhere to each other. Salted butter would also be fine.
- Sugar – Adds a touch of sweetness to the crust, but you could leave it out, if you prefer.
Coconut Cheesecake Filling
- Cream cheese – The cream cheese should be at room temperature. If it is too cold, it won’t mix smoothly and easily with other ingredients and you could find yourself with a lumpy cheesecake filling. Be sure to use full-fat, brick-style cream cheese for the ideal texture.
- All-purpose flour – The starch prevents the egg proteins from over-coagulating, giving you a creamier texture and helping you prevent any cracks. If you are looking for a gluten free alternative, cornstarch will work too. Use half as much cornstarch as you would flour. A 1:1 gluten-free flour will also do the trick.
- Sour cream – The sour cream brings a delightful tang to the dessert that helps to break up the richness of the cream cheese a bit. You could also use heavy cream, but may need a few more minutes of baking time.
- Cream of coconut – I have tried this recipe with coconut milk as well. It worked, but the cheesecake didn’t bake quite as nicely and I prefer the flavor of the cream of coconut.
- Eggs – Be sure to use large eggs, not medium or extra large.
Coconut Mousse
- Heavy whipping cream – Be sure your heavy cream is nice and cold before you begin. If it is too warm, it won’t whip up and hold volume properly.
- Powdered sugar – The powdered sugar not only adds sweetness to the mousse but also helps to give it volume and stabilize it. Other sugars will not have the same effect.
- Cream cheese – Allow the cream cheese to come to room temperature before using. If it is too cold, it won’t combine smoothly with the whipped cream, giving you a lumpy mousse.
- Toasted coconut chips – The coconut chips are optional but I love the visual appeal and added texture. You could also use shredded coconut.
How to Make Coconut Cheesecake
Here’s a quick overview of how to make coconut cheesecake. For more detailed instructions, have a look at the recipe card below.
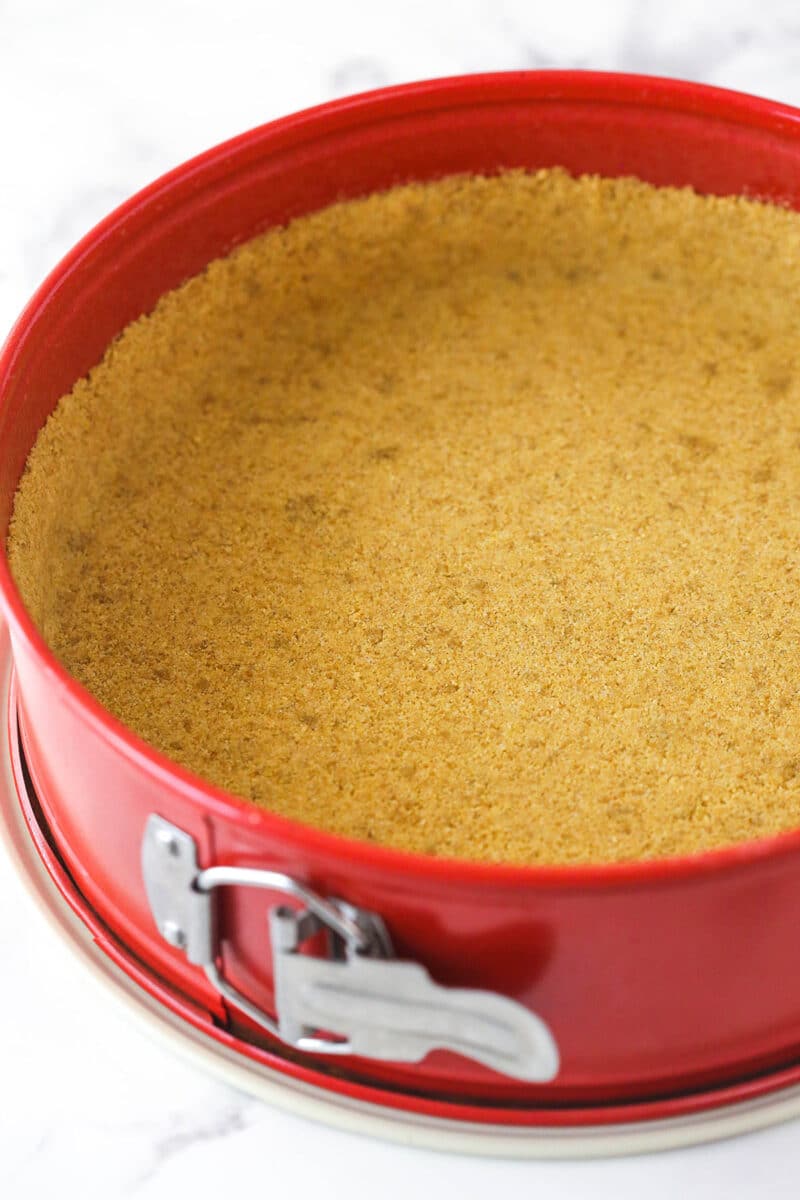
Make the Crust
- Prep. Preheat oven to 325°F, line the bottom of a 9-inch springform pan with parchment paper, and grease the sides.
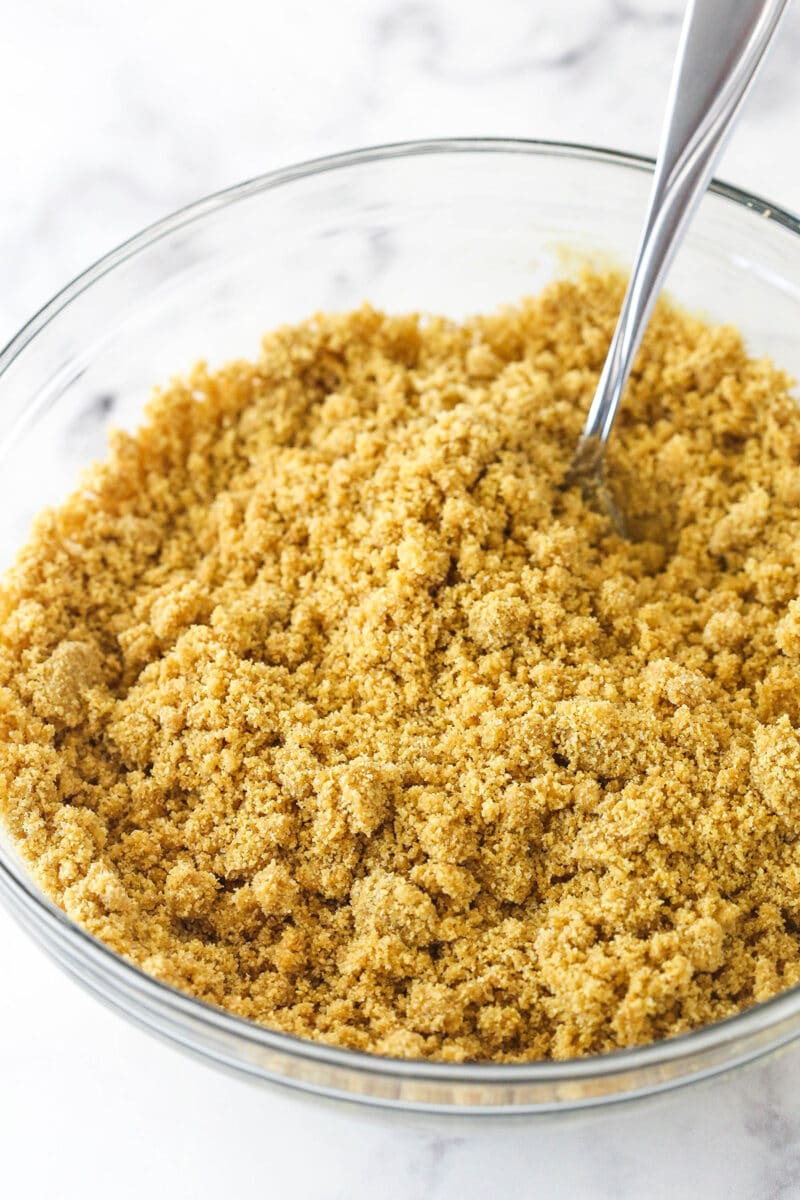
- Form the crust. Combine the crust ingredients and press the mixture into the bottom and up the sides of the prepared pan.
- Bake. Bake for 8-10 minutes, then set aside to cool.
- Waterproof the pan. Cover the outside of the pan with aluminum foil.
To Make the Filling
- Adjust temperature. Reduce oven temperature to 300°F.
- Make the filling. Beat together the cream cheese, sugar, and flour on low speed until smooth. Stir in the sour cream, cream of coconut, coconut extract, and vanilla extract followed by the eggs, one at a time.
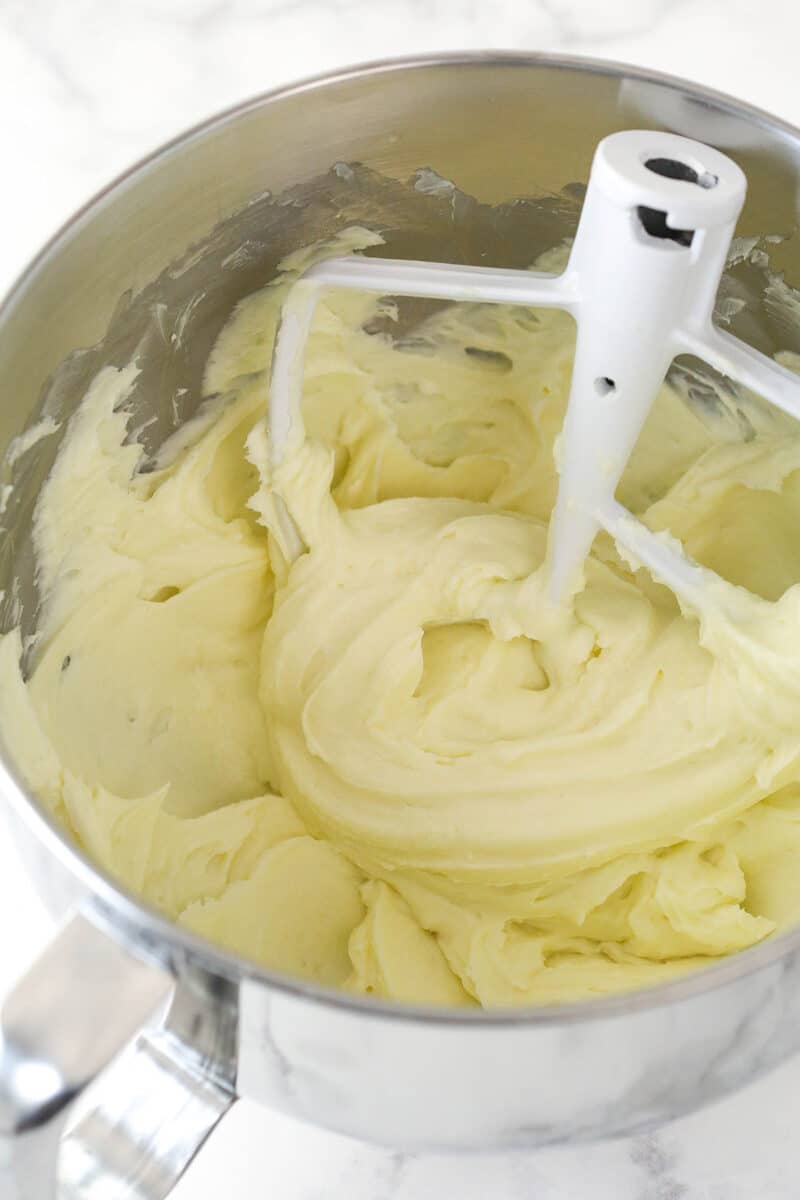
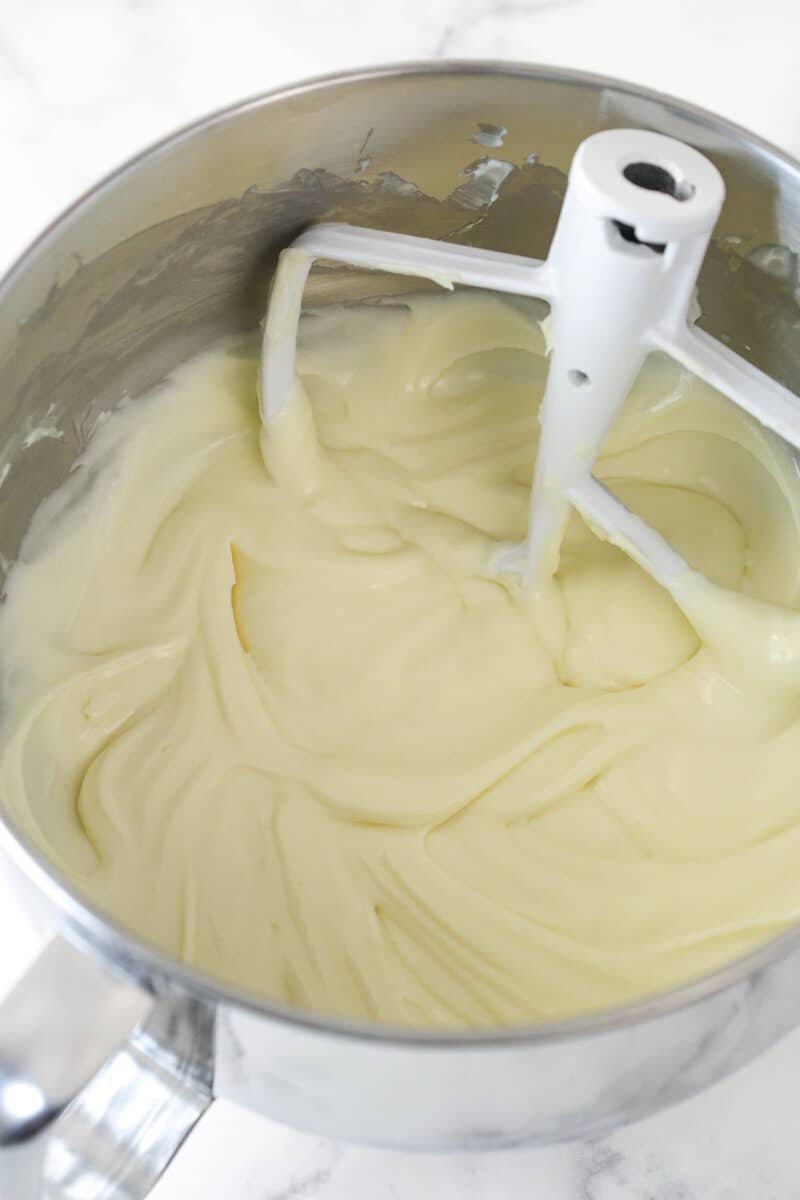
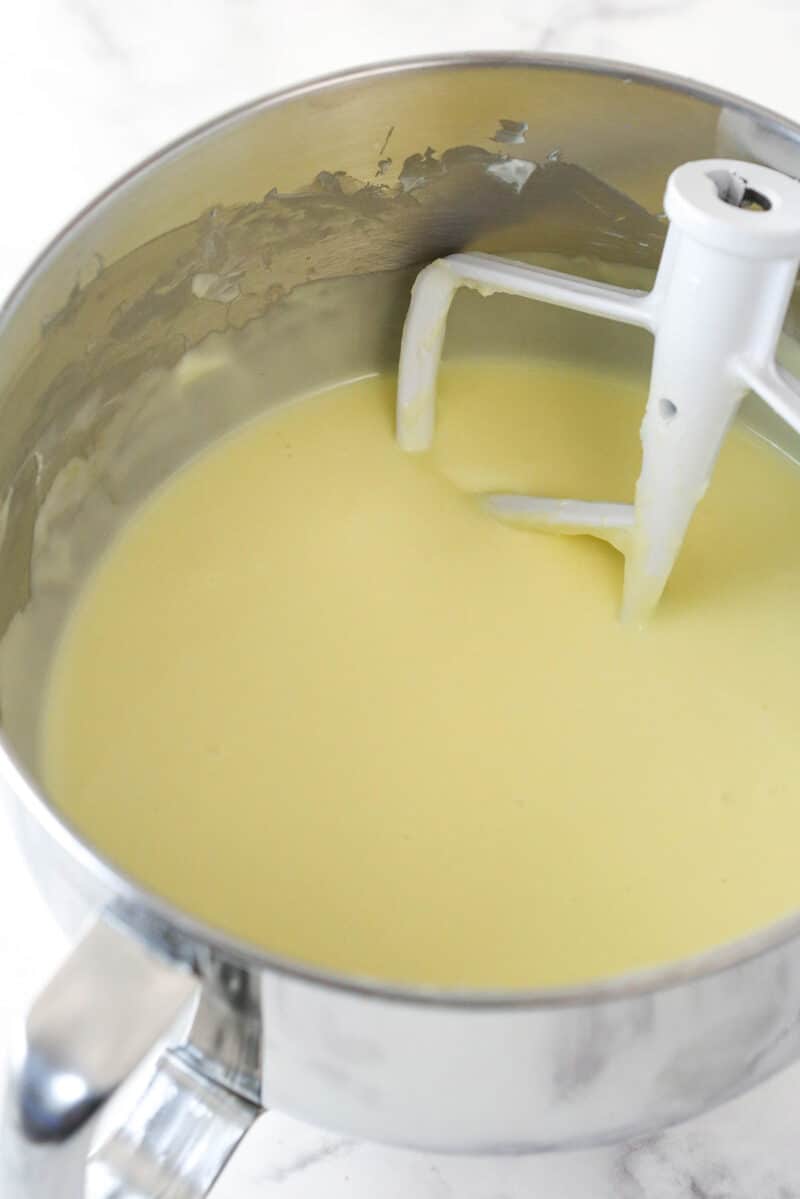
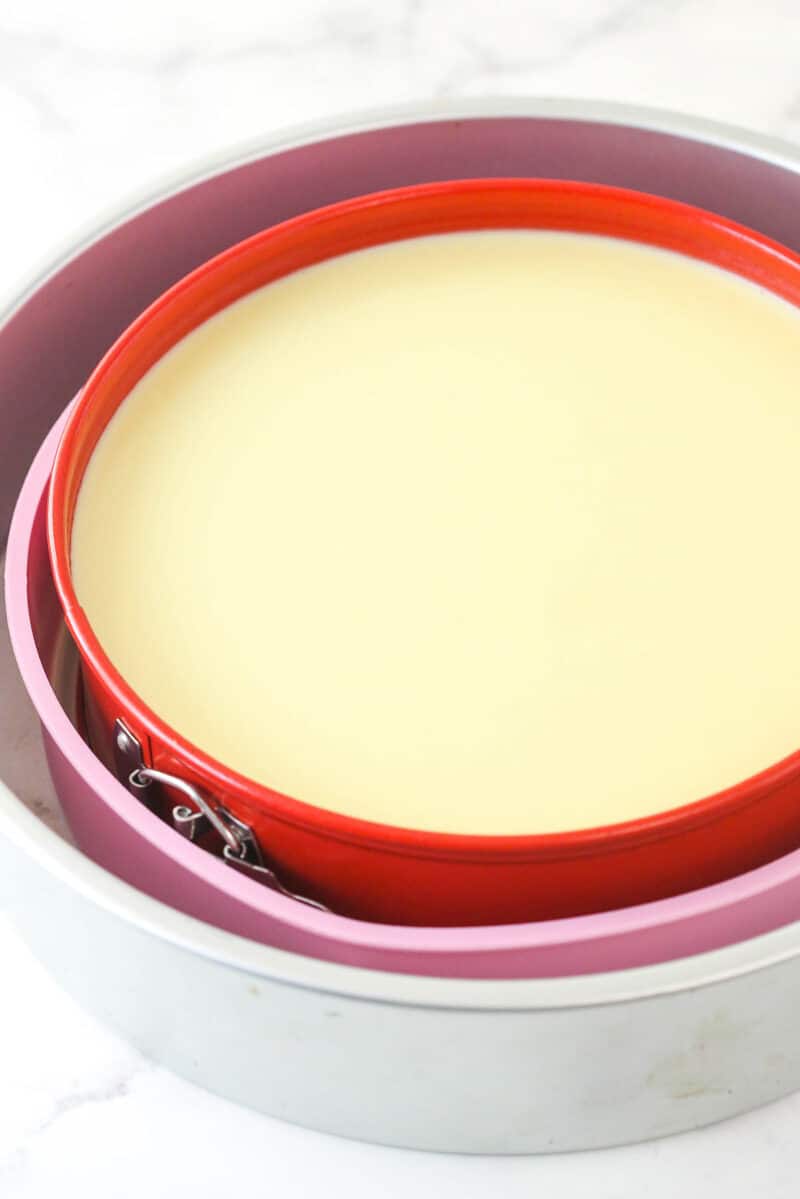
- Bake. Pour the filling into the crust and place the springform pan in a water bath. Bake for 1 hour 25-30 minutes.
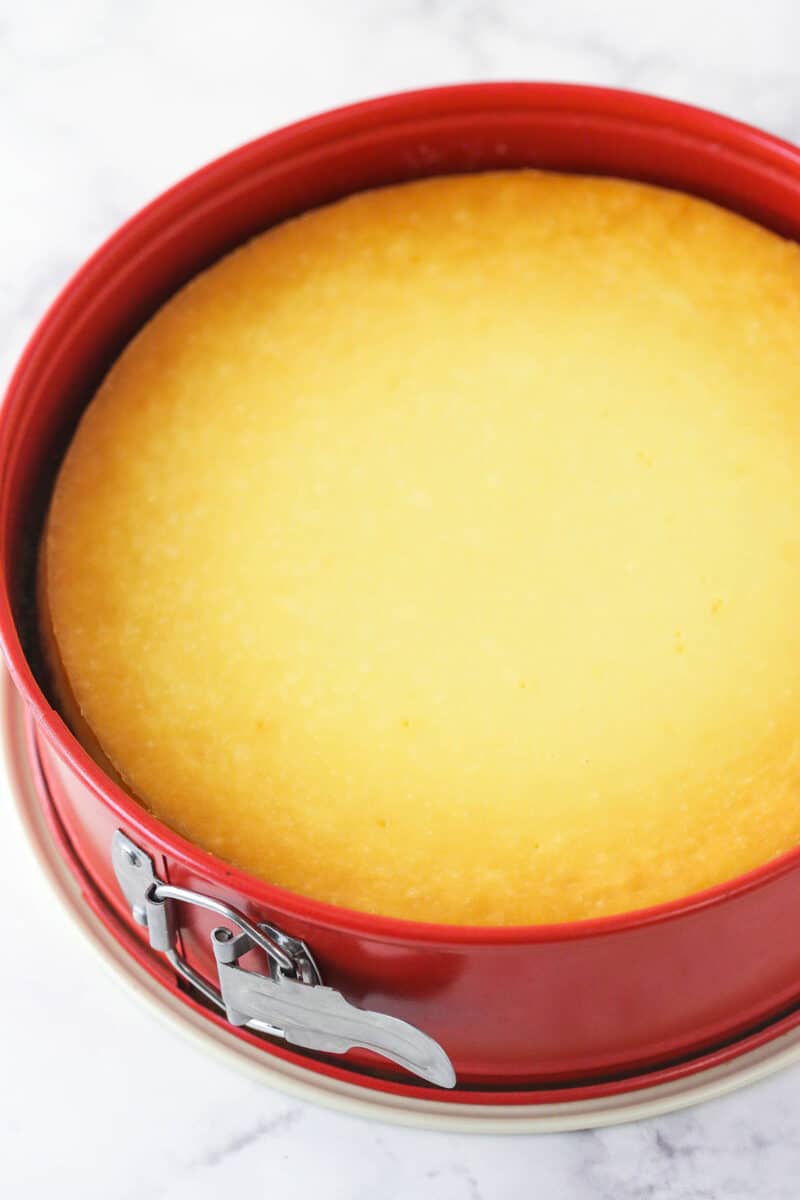
- Cool. Turn off the oven and leave the door closed for 30 minutes. Crack the oven door and leave the cheesecake inside for another 30 minutes. Remove the cheesecake from the oven and let it cool to room temperature.
- Chill. Refrigerate for 5-6 hours or overnight.
For the Mousse
- Whip. Whip together the heavy whipping cream, powdered sugar, cream of coconut, and coconut extract on high speed until stiff peaks form.
- Beat. In another bowl, beat cream cheese until smooth.
- Put it all together. Gently fold the whipped cream into cream cheese in two parts.
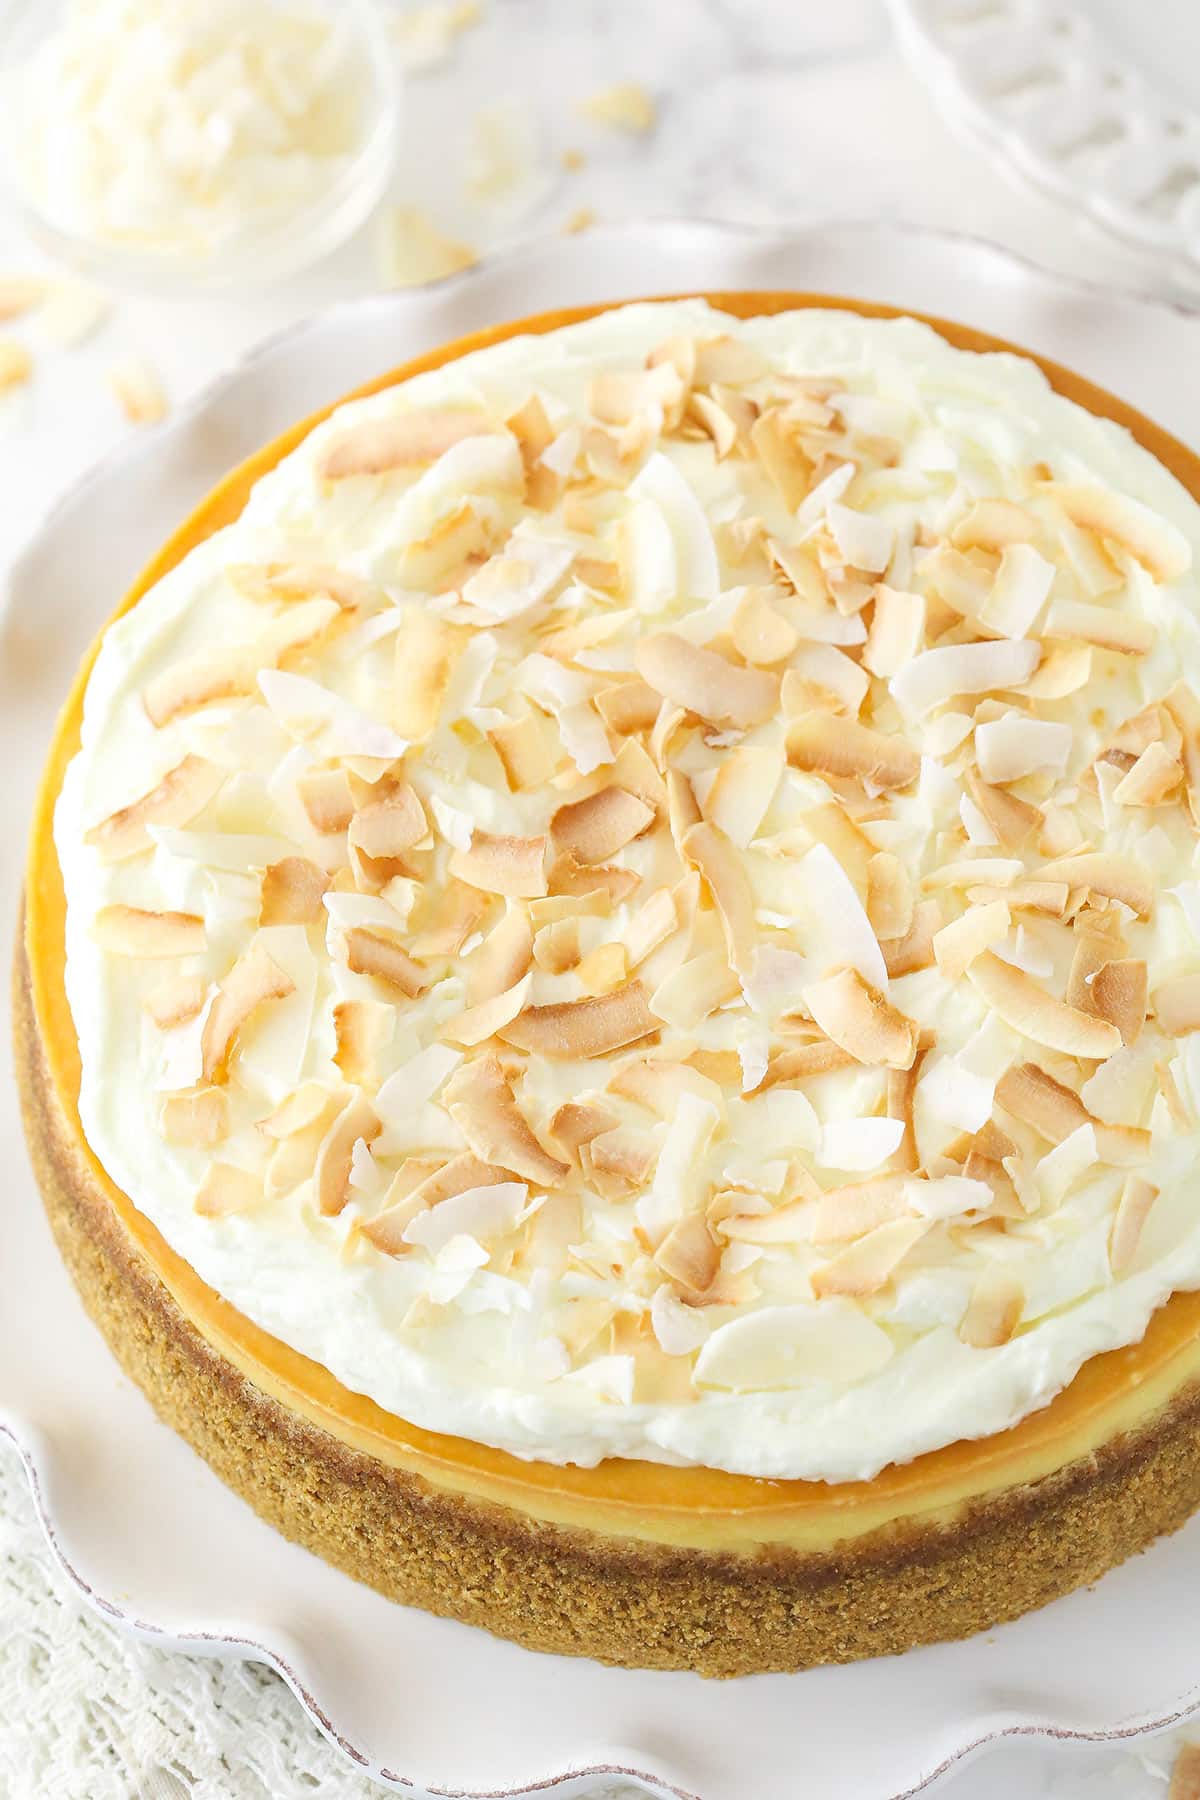
- Decorate. Remove the cooled cheesecake from the springform pan, place it on a serving platter, and spread the mousse over the top. Sprinkle toasted coconut chips over the top of the mousse.
- Serve. Serve immediately or chill for 2-3 hours or until ready to serve (the mousse will firm up in the fridge).
Is The Water Bath Necessary?
Taking the extra time to bake your cheesecake in a water bath is 100% worth it. The steam that the water bath creates in the oven will help keep your cheesecake moist, giving you a super smooth and creamy filling with no cracks. So don’t skip it. For more detailed instructions on how to bake your cheesecake in a water bath and for tips on preventing your water bath from leaking into your cheesecake, check out this extensive guide.
How to Tell When Cheesecake is Done Baking
I like to use gloves and gently shake my cheesecake pan to get it to jiggle. You want the outer 2-3 inches of the cheesecake to look more set and less jiggly, and in the center to be the party that’s jiggly. It should wobble a bit, but not too much. If it looks liquid-y still and has kind of a sloshy wiggle, it’s not done it. If it’s just set and still jiggly, it should be good. Then you can move on to the cooling process, which allows it to finish cooking while also cooling. To read more, check out my guide for how to tell when your cheesecake is done baking.
Tips for Making the Best Cheesecake
- Use a springform pan. Trust me, folks. All you have to do is pop the sides off of the pan and your baked cheesecake is ready to decorate. If you try to use a standard cake pan, removing the cheesecake from the pan will be a messy nightmare.
- Room temperature cream cheese. Start with room-temperature cream cheese. If the cream cheese in the filling is too cold, it won’t combine smoothly with the other ingredients and you are thus likely to end up with a lumpy filling. If the cream cheese in the mousse is too cold, it won’t combine easily with the whipped cream, giving you a lumpy mousse.
- Don’t over-mix. When making the filling, over-mixing or mixing at too high of a speed can incorporate excess air into the batter. Those air bubbles will rise to the top of the cheesecake while it bakes, causing cracks in the top. So mix slowly and not too much.
- Scrape down the sides of the bowl. In order to make sure all of the ingredients make it into the cheesecake filling (and also into the mousse), scrape down the sides of the bowl intermittently as you add and mix in ingredients.
- Don’t over-bake. When you turn the oven off, the center of the cheesecake should be set, but still a little jiggly. It will continue to cook as it cools in the oven. So don’t bake it past this point.
- Cool slowly. Cooling the cheesecake in the closed oven and then in the cracked oven will give the cheesecake the extra time it needs to cook and set. This slow cooling process will also help prevent cracks from forming in the top. In addition, allowing the cheesecake to finish cooling completely on the counter before popping it in the fridge will help prevent condensation from forming on the cheesecake.
- Don’t skip the chill. This cheesecake needs to chill in the fridge for at least 5 hours before you decorate, slice, and serve it. Otherwise, it won’t set properly and it will fall apart when you slice into it.
- Chilled heavy cream. When making the mousse, start with chilled heavy cream. If it is too warm, it won’t whip up and hold volume properly, giving you a flat, runny mousse.
- Be gentle. When folding the whipped cream into the cream cheese for the mousse, do so very gently to prevent knocking the volume out of the whipped cream.
Proper Storage
- Refrigerator. Seal the cheesecake in an airtight cake carrier or wrap it in a double layer of plastic wrap (I like using toothpicks to prop the plastic away from the fluffy mousse). Alternatively, arrange slices in a single layer in an airtight container. You can store leftover coconut cheesecake in the fridge for up to 5 days.
- Freezer. Pop the cheesecake in the freezer for a couple of hours to firm up before wrapping it in a double layer of plastic wrap. You could also arrange slices in a single layer in an airtight container. This cheesecake will keep in the freezer for up to 3 months. Allow it to thaw in the fridge before slicing and serving.
For more information, check out my guide to storing cheesecake.
More Coconut Desserts
On a coconut kick? I don’t blame you. Here are a few of my other favorite coconutty dessert recipes to satisfy your craving.
- Coconut Custard Cake
- Coconut Cream Pie
- Outrageous Chocolate Coconut Cheesecake
- Coconut Cream Pie Cupcakes
- Coconut Poke Cake
- No Bake Toasted Coconut Cheesecake
Watch How to Make it
Print
Coconut Cheesecake
- Prep Time: 1 hour
- Cooling Time: 6 hours
- Cook Time: 1 hour 25 minutes
- Total Time: 8 hours 25 minutes
- Yield: 12-14 slices
- Category: Cake
- Method: Baking
- Cuisine: American
Description
This coconut cheesecake is made with a smooth, creamy coconut cheesecake filling, a graham cracker crust and a rich, fluffy coconut mousse! It’s full of amazing flavor and will be your new favorite coconut dessert!
Ingredients
Graham Cracker Crust
- 2 cups (268g) graham cracker crumbs
- 7 tbsp (98g) unsalted butter, melted
- 3 tbsp (39g) sugar
Coconut Cheesecake Filling
- 24 ounces (678g) cream cheese, room temperature
- 1 cup (207g) sugar
- 3 tbsp (24g) all-purpose flour
- 1/2 cup (115g) sour cream
- 3/4 cup (180ml) cream of coconut
- 1 1/2 tsp coconut extract
- 1/2 tsp vanilla extract
- 4 large eggs, room temperature
Coconut Mousse
- 2/3 cup (160ml) heavy whipping cream, cold
- 3 tbsp (22g) powdered sugar
- 2 tbsp (30ml) cream of coconut
- 1/4 tsp coconut extract
- 4 ounces (113g) cream cheese, room temperature
- Toasted coconut chips, for topping, optional
Instructions
Make the Crust
- Preheat oven to 325°F (163°C). Line a 9-inch (23cm) springform pan with parchment paper in the bottom and grease the sides.
- Combine the crust ingredients in a small bowl. Press the mixture into the bottom and up the sides of the springform pan.
- Bake the crust for 8-10 minutes, then set aside to cool.
- Cover the outsides of the pan with aluminum foil so that water from the water bath cannot get in (or see how I prepare my pan for a water bath). Set prepared pan aside.
Make the Filling
- Reduce oven temperature to 300°F (148°C).
- In a large bowl, beat the cream cheese, sugar and flour on low speed until completely combined and smooth. Be sure to use low speed to reduce the amount of air added to the batter, which can cause cracks. Scrape down the sides of the bowl.
- Add the sour cream, cream of coconut, coconut extract and vanilla extract and mix on low speed until well combined.
- Add the eggs one at a time, mixing slowly to combine after each addition. Scrape down the sides of the bowl as needed to make sure everything is well combined.
- Pour the cheesecake batter into the crust.
- Place the springform pan inside another larger pan. Fill the outside pan with enough warm water to go about halfway up the sides of the springform pan. The water should not go above the top edge of the aluminum foil on the springform pan.
- Bake for 1 hour 25-30 minutes. The center should be set, but still jiggly (See how to tell when your cheesecake is done baking).
- Turn off the oven and leave the door closed for 30 minutes. The cheesecake will continue to cook, but slowly begin to cool as well.
- Crack the door of the oven for 30 minutes to allow the cheesecake to continue to cool slowly. This process helps prevent cracking.
- Remove the cheesecake from the oven. If you have time, let it cool to room temperature before refrigerating it to avoid having as much condensation form on top. Remove the water bath wrapping and refrigerate until firm, 5-6 hours or overnight.
Make the Mousse
- When cheesecake has chilled and is firm, make the mousse topping. Add heavy whipping cream, powdered sugar, cream of coconut and coconut extract to a large mixing bowl and whip on high speed until stiff peaks form. Set whipped cream aside.
- In another bowl, beat cream cheese until smooth.
- Gently fold whipped cream into cream cheese in two parts until well combined.
- Remove cooled cheesecake from springform pan and place on a serving platter. Spread the mousse evenly on top of the cheesecake. The mousse will be a little softer at first, but firm up as it cools in the fridge. You can serve it immediately, or refrigerate it until the mousse is firm, 2-3 hours.
- Sprinkle cheesecake with toasted coconut chips and store in refrigerator until ready to serve. Cheesecake is best stored well covered or in a cake carrier. Best if eaten within 4-5 days.
Nutrition
- Serving Size: 1 slice
- Calories: 517
- Sugar: 25.8 g
- Sodium: 332.3 mg
- Fat: 33.8 g
- Carbohydrates: 40 g
- Protein: 7.8 g
- Cholesterol: 135 mg





Did you ever add toasted coconut to the filling?
I have not in my baked cheesecake, but I have done it in my no bake one. You could certainly add some, if you’d like.
Such a lovely texture and flavor. This was a huge hit!
Awesome! So glad to hear that!
This was such a hit that everyone was begging me to make another one, which I just did. This is an outstanding recipe. You have been and will continue to be my go to recipe creator. Thank you so much.
That’s so wonderful to hear. I’m glad it was a hit!
Please clarify cream of coconut:
is this the canned unsweetened kind ? The terms Coconut cream and cream of coconut can be confusing
Thank you
Yes, it can be confusing. But coconut cream and cream of coconut are different. This recipe uses cream of coconut. It’s the sweetened stuff that is often added to mixed drinks. I added a link in the recipe to the one I used, but there a couple of canned ones as well.