This post may contain affiliate sales links. Please read my disclosure policy.
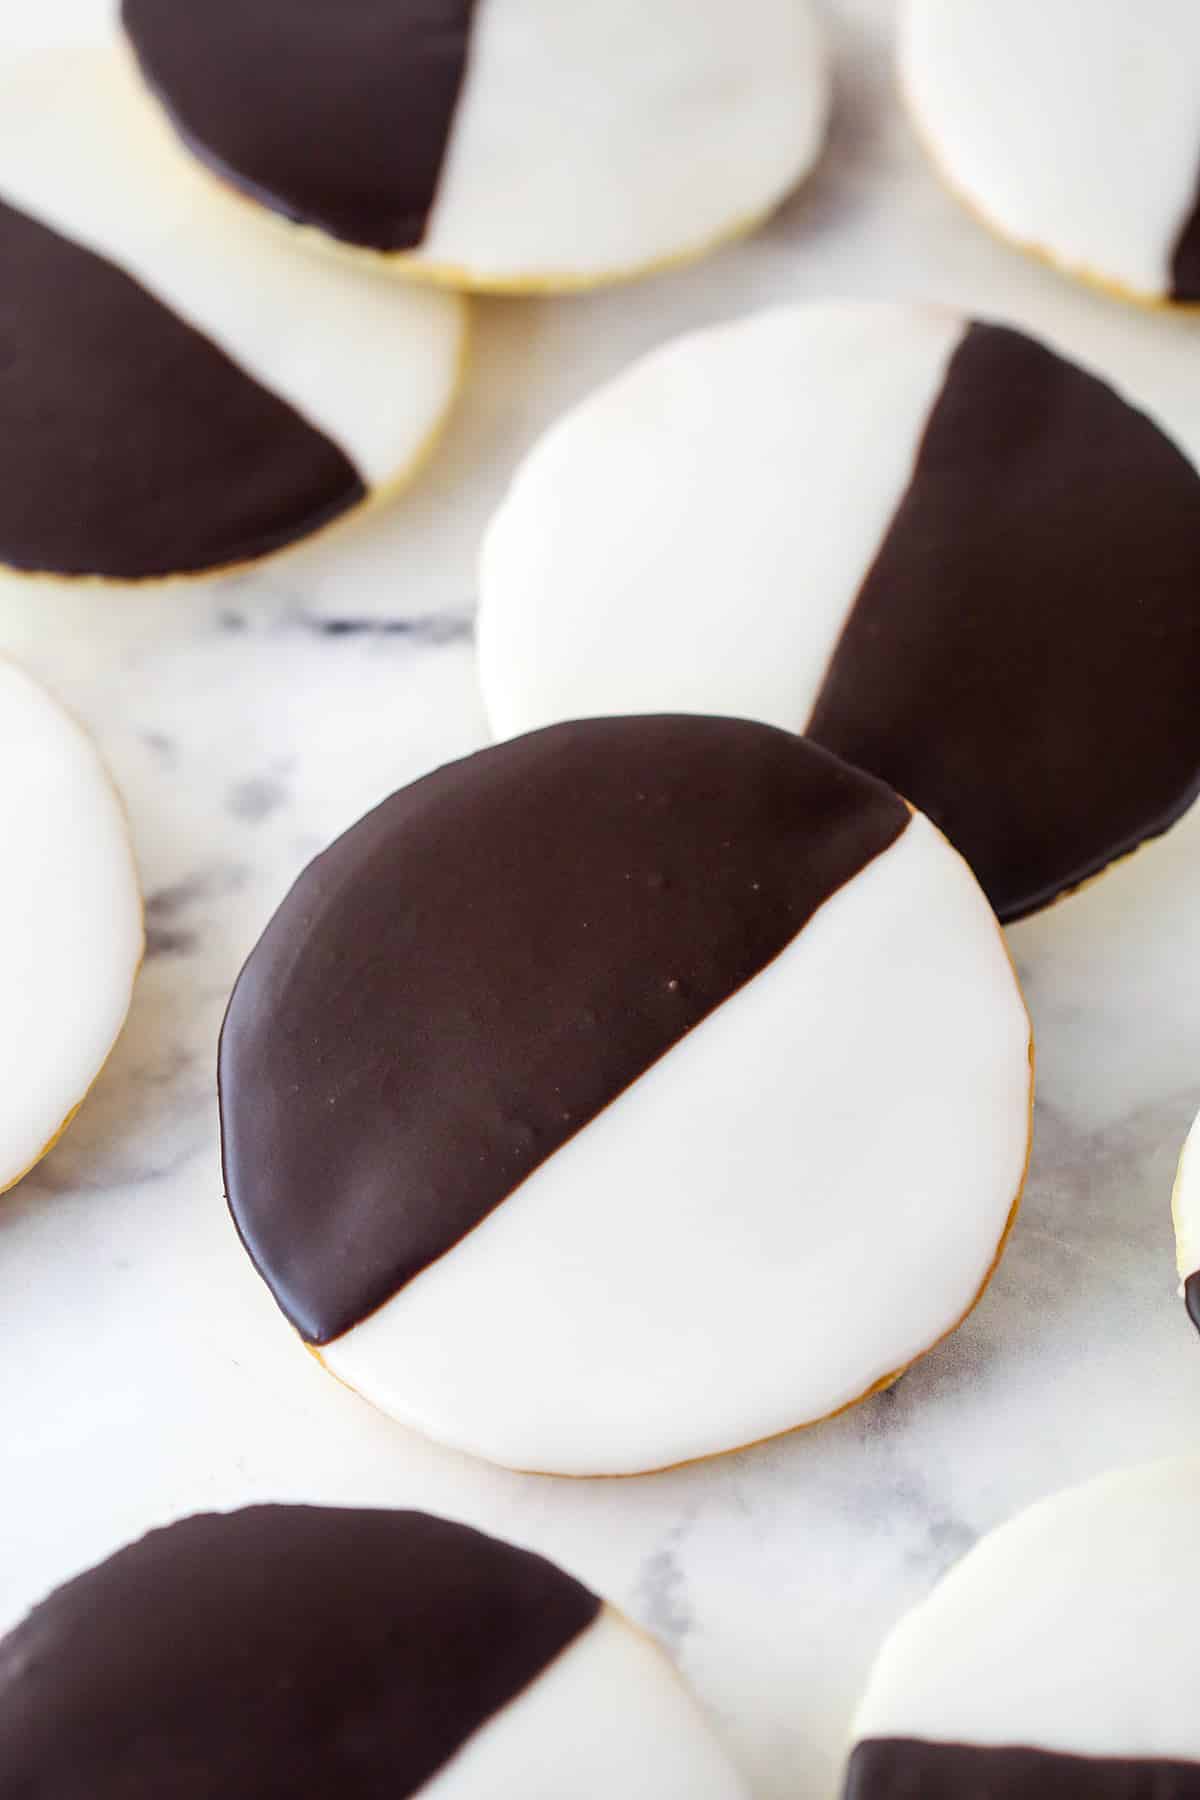
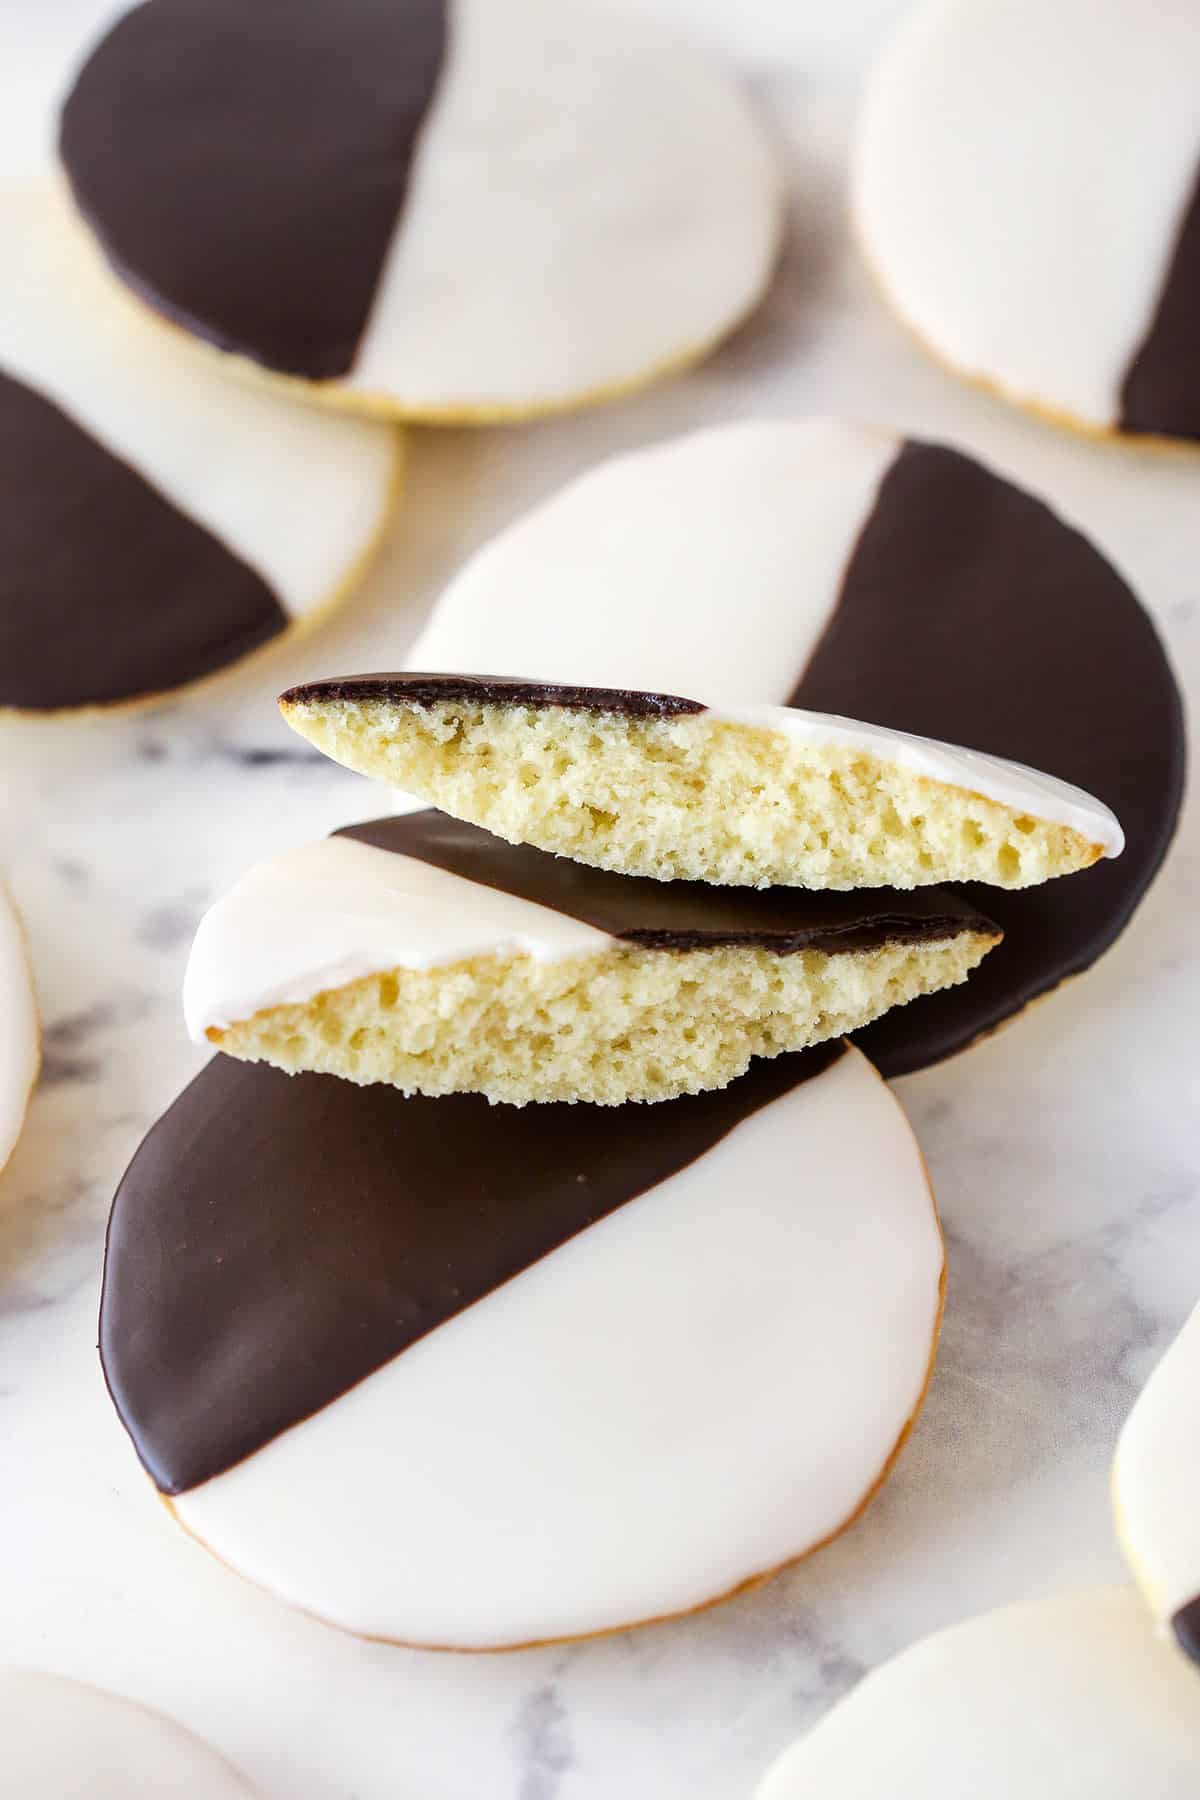
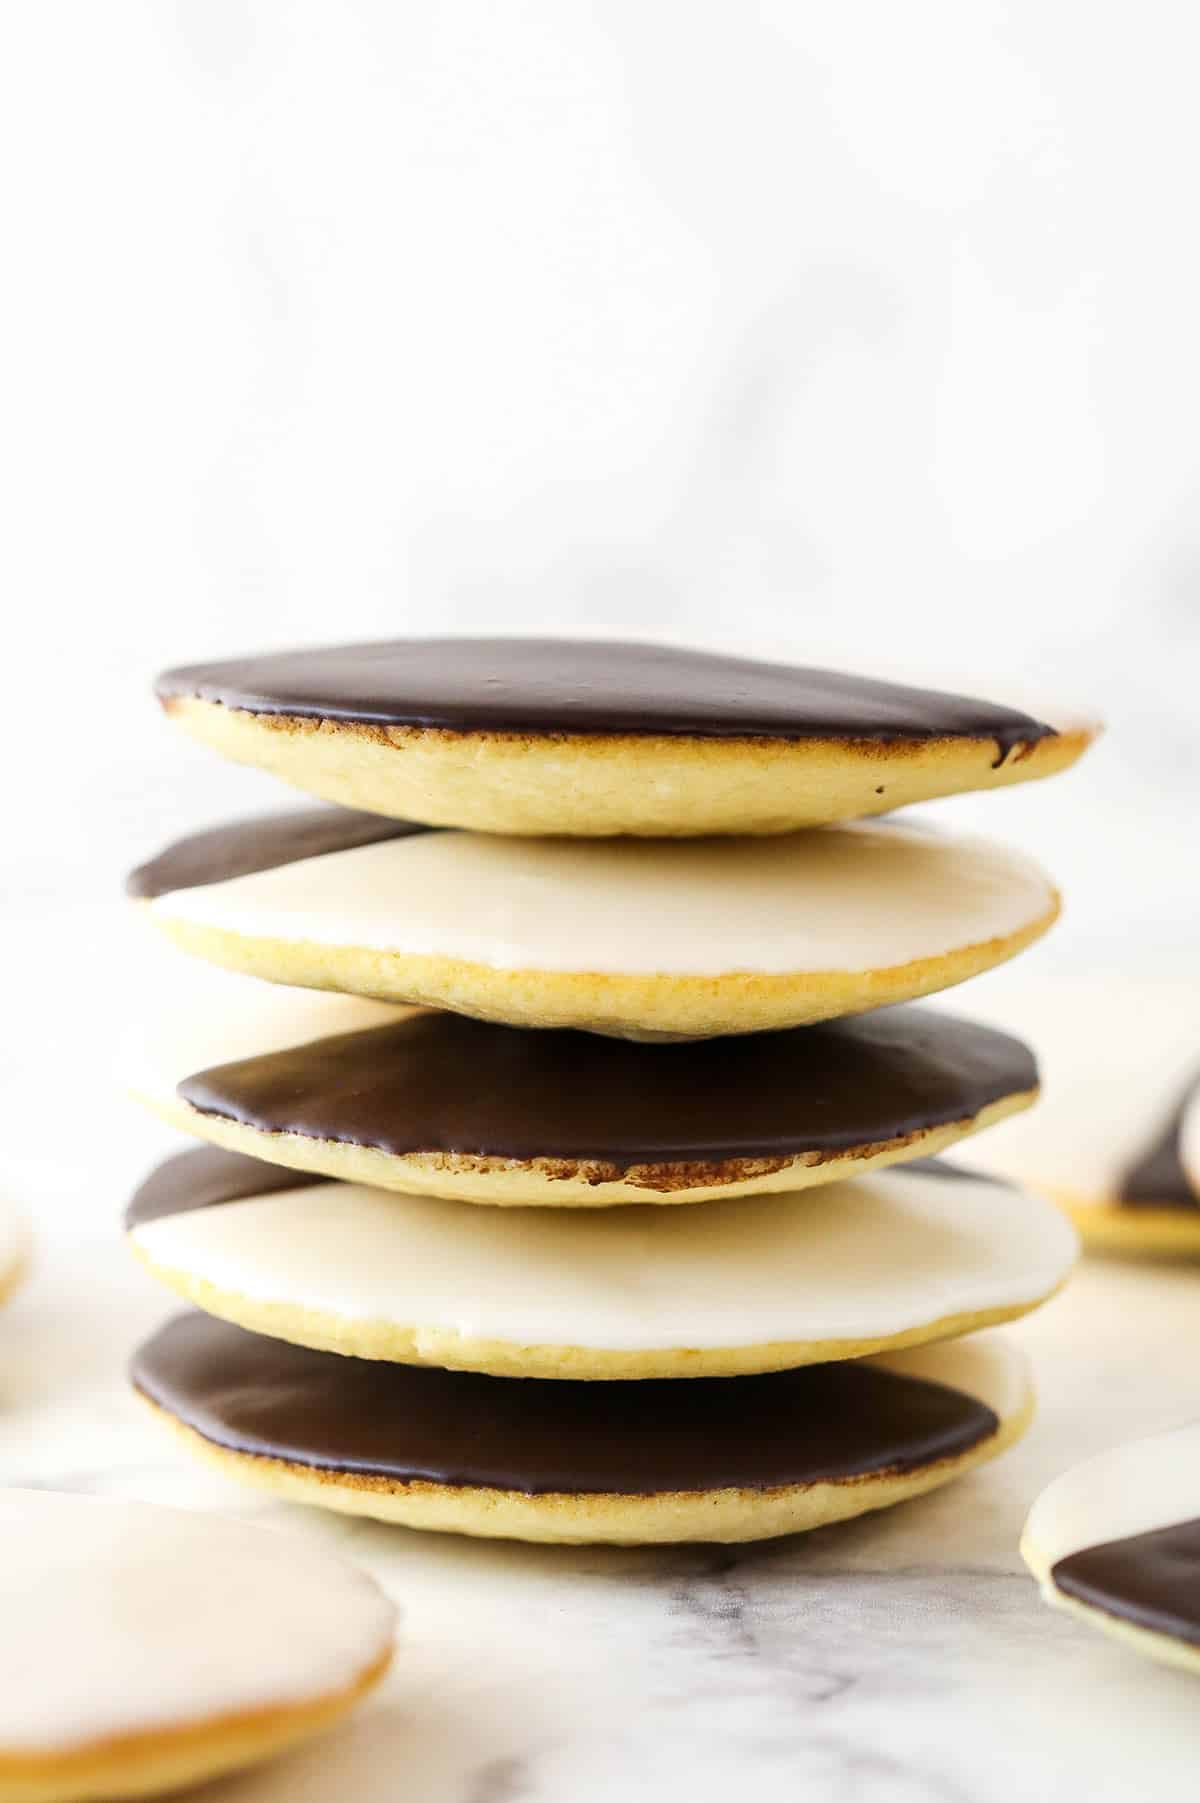
Black and White Cookies are a classic New York cookie that you need to try no matter where you are in the world. Soft, cake-like vanilla cookies are topped with both chocolate and vanilla icing to make a wonderfully elegant, utterly delicious treat!
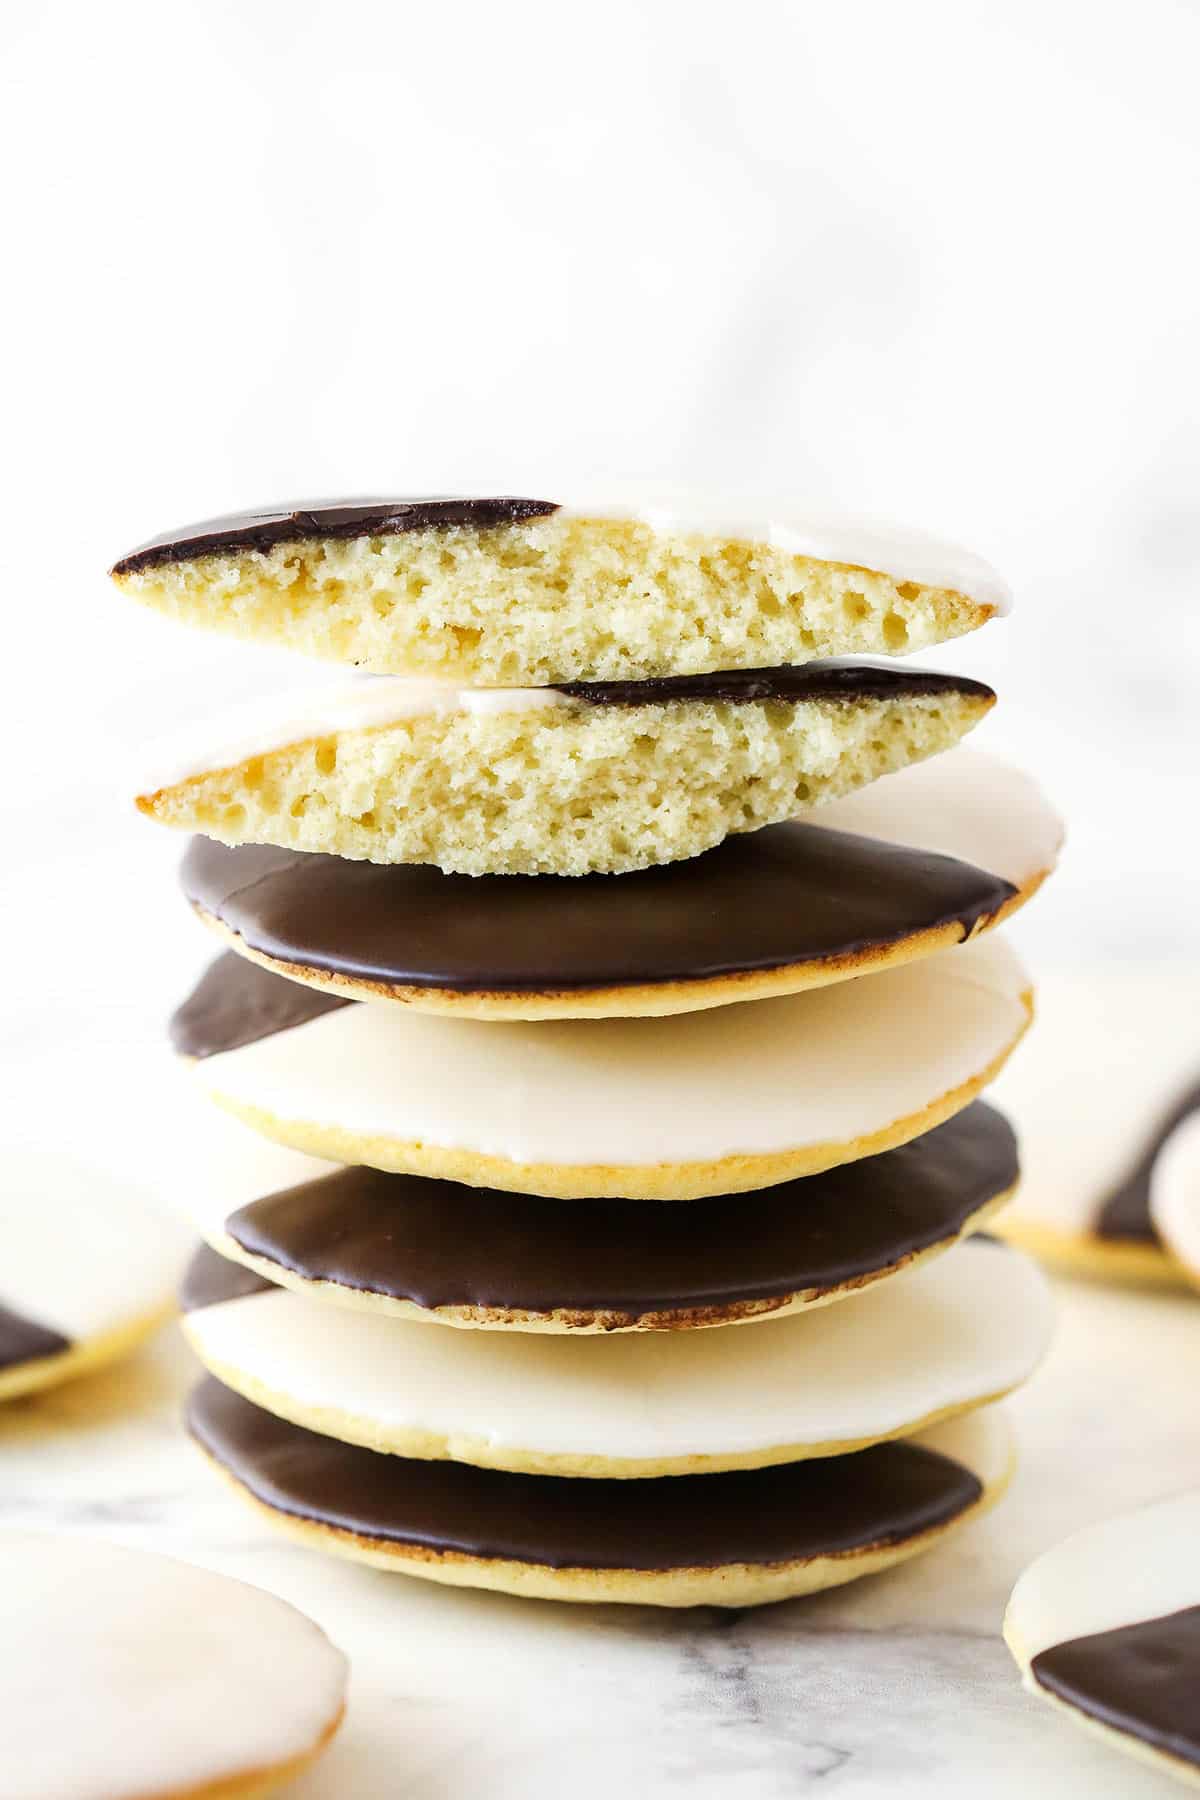
These deliciously cake-like black and white cookies are SO good! When I say “cake-like” I mean it. The recipe is actually based on my vanilla cupcakes recipe and adjusted just a tad to make light, tender, fluffy cookies. As if that weren’t enticing enough, once they cool, the cookies are frosted with half white and half “black” (chocolate) icing. So elegant and the perfect combo of chocolate and vanilla. Need more reasons why you should try this classic New York-style cookie today? Here are some things that I absolutely love about it and that I think you will too.
- Somewhere between a cake and a cookie. I love how fluffy, tender and cake-like these cookies are. But they’re also in the shape of a large cookie. I love that you get the portability of a cookie with a texture and flavor that’s similar to cake.
- Best of both worlds. Can’t decide between chocolate or vanilla? You don’t have to with these treats. They celebrate both classic flavors equally.
- They’re huge. These cookies are nice and big, making them a super satisfying treat.
- Easy to make. They may look intimidating, but they really aren’t hard. You are basically making cupcake batter, baking it into cookies and frosting them. You’ll be done in no time!
Black and white cookies are also called half moon cookies. They are a classic New York favorite. Cakey vanilla cookies are half coated in white icing and half in “black” (chocolate) icing. They are so delicious and wonderfully elegant.
Recipe Ingredients
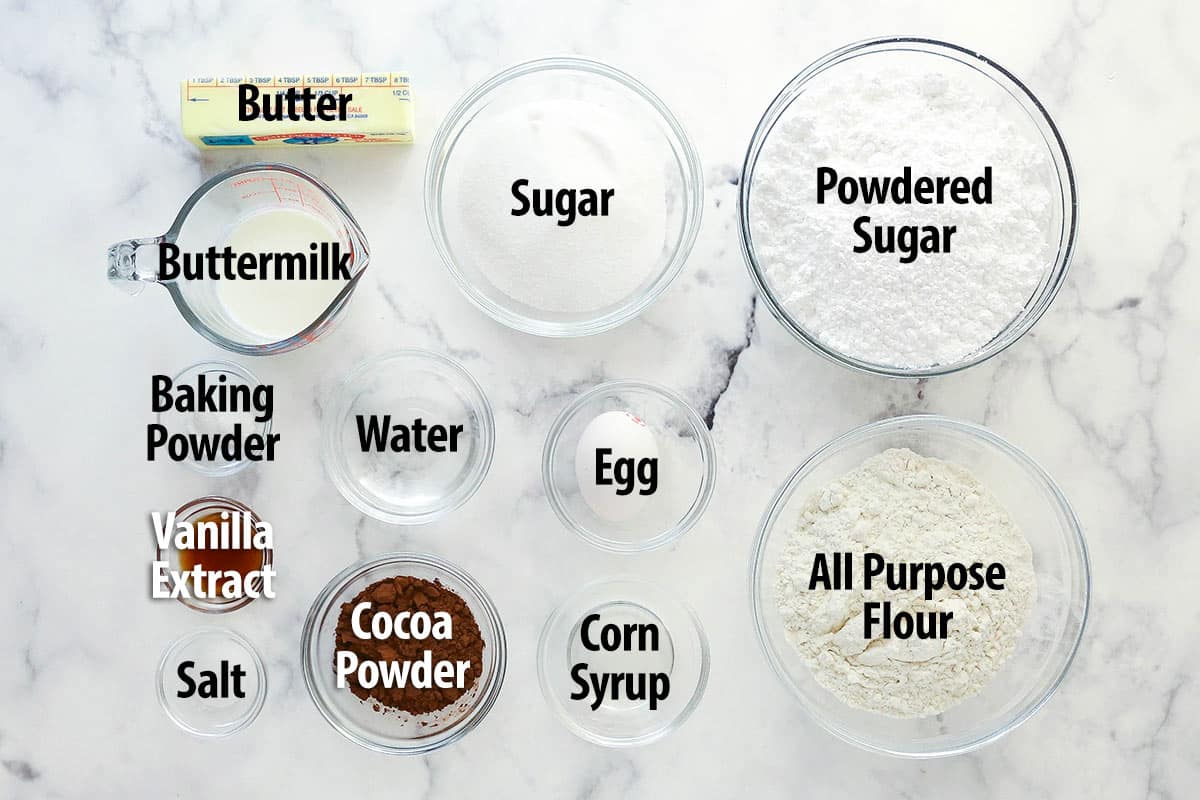
Here’s what you’ll need to make these elegant black and white cookies. For precise measurements, scroll to the recipe card below.
Cookies
- All-purpose flour – You really want to be sure to measure your flour accurately. If you over measure, you could end up with a dry cookie. I highly recommend a food scale, but you can also use the spoon and level method.
- Baking powder – I like the texture and rise baking powder gives these cookies when compared to baking soda. It feels more cake-like. Plus, it will give you with a lighter colored cookie, which I like here.
- Salt – Don’t leave it out and don’t underestimate it. It brings out the flavor of everything around it and keeps your cookies from being bland.
- Unsalted butter – The butter should be at room temperature otherwise it won’t cream properly with the sugar.
- Sugar
- Vanilla extract – This gives the cookies their flavor, so a good vanilla extract is recommended.
- Egg – Be sure to use large eggs, not medium or extra large.
- Buttermilk – The buttermilk helps make these cookies fluffy and tender. Use room-temperature buttermilk. If it is cold, it won’t mix as easily into the batter. I highly recommend the buttermilk, but whole milk would be fine too.
Icing
- Powdered sugar
- Water – You could use heavy cream here instead but using water means you won’t have to worry about refrigerating the cookies.
- Light corn syrup – You can leave the corn syrup out, but it gives the icing a nice glossy look.
- Vanilla extract – For flavor.
- Dutch-process cocoa powder – While you could use natural unsweetened cocoa, Dutch-process cocoa gives the icing a darker color that looks more black than brown (appropriate for black and white cookies).
Ready to start baking? Here’s a basic rundown of how to make half moon cookies. Don’t forget to scroll to the recipe card below for more detailed instructions.
- Prep. Preheat the oven to 350°F and line a baking sheet with parchment paper.
- Combine the dry ingredients. Whisk together the flour, baking powder, and salt.
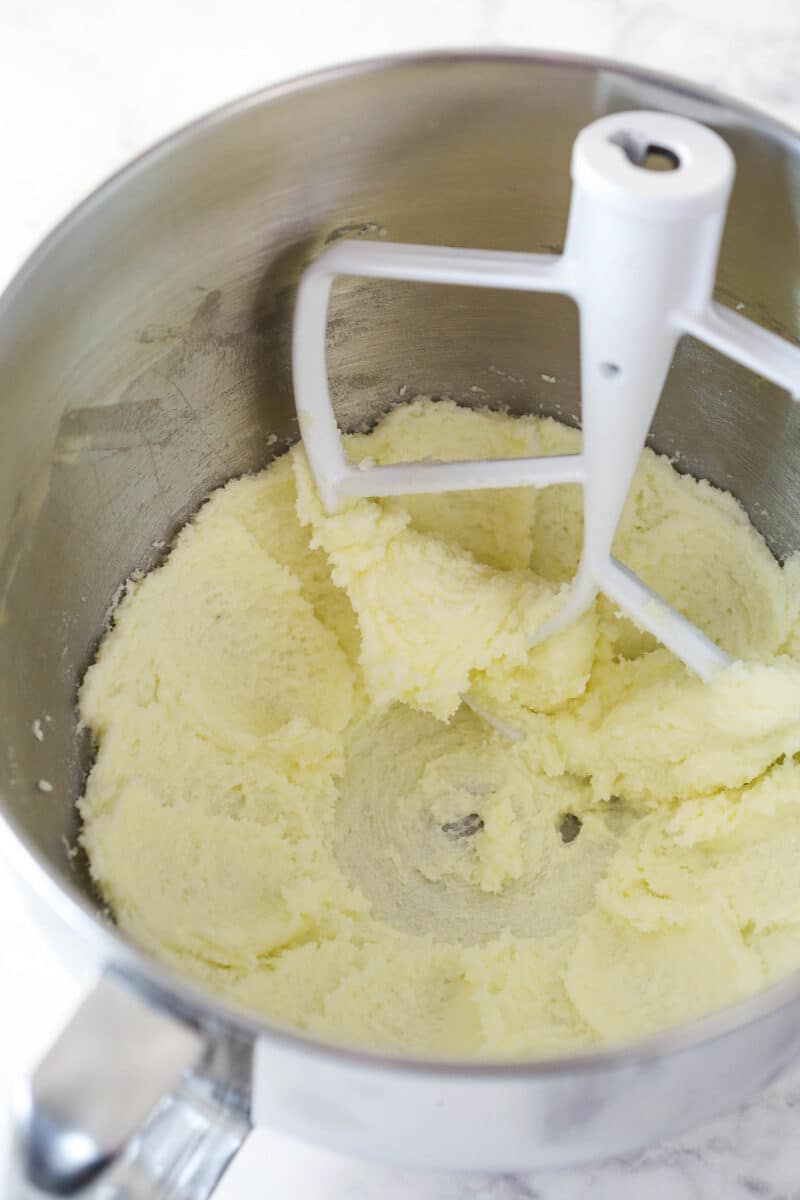
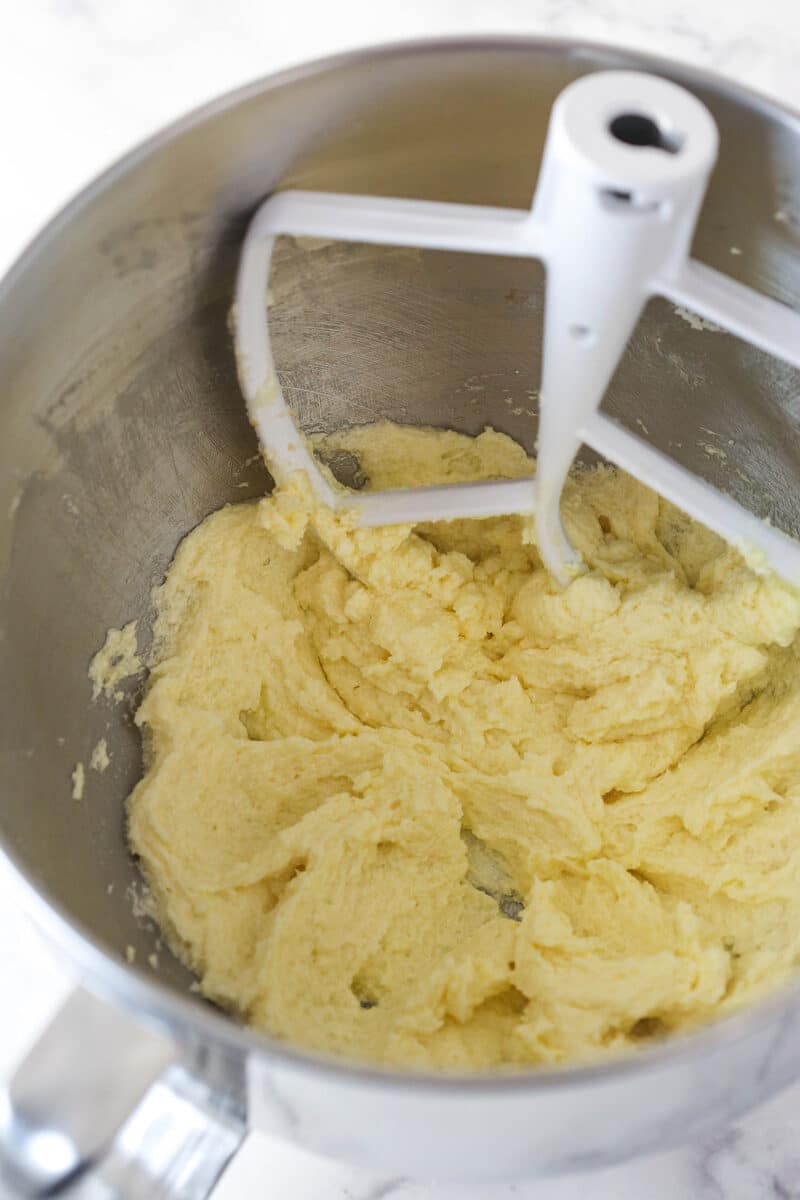
- Combine the wet ingredients. Cream together the butter, sugar, and vanilla until light in color and fluffy. Then, mix in the egg.
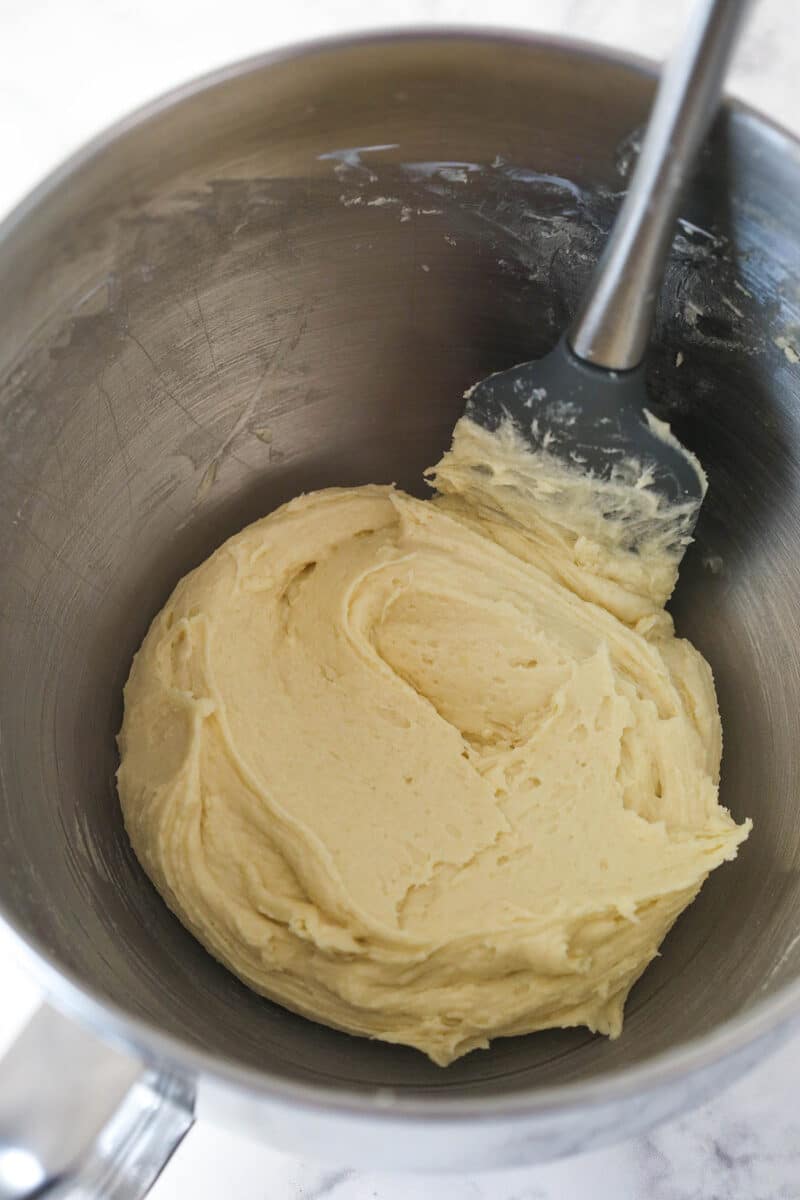
- Put it all together. Mix half of the dry ingredients into the batter followed by the milk and then the remaining dry ingredients.
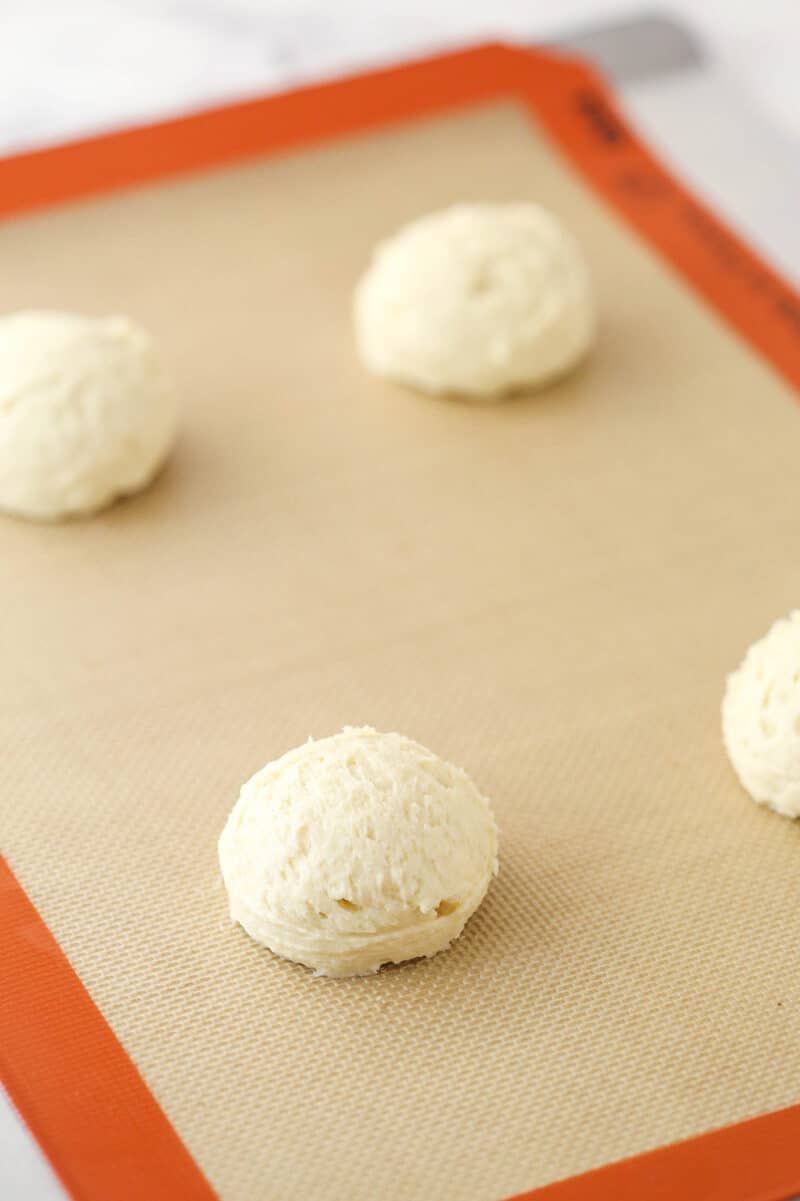
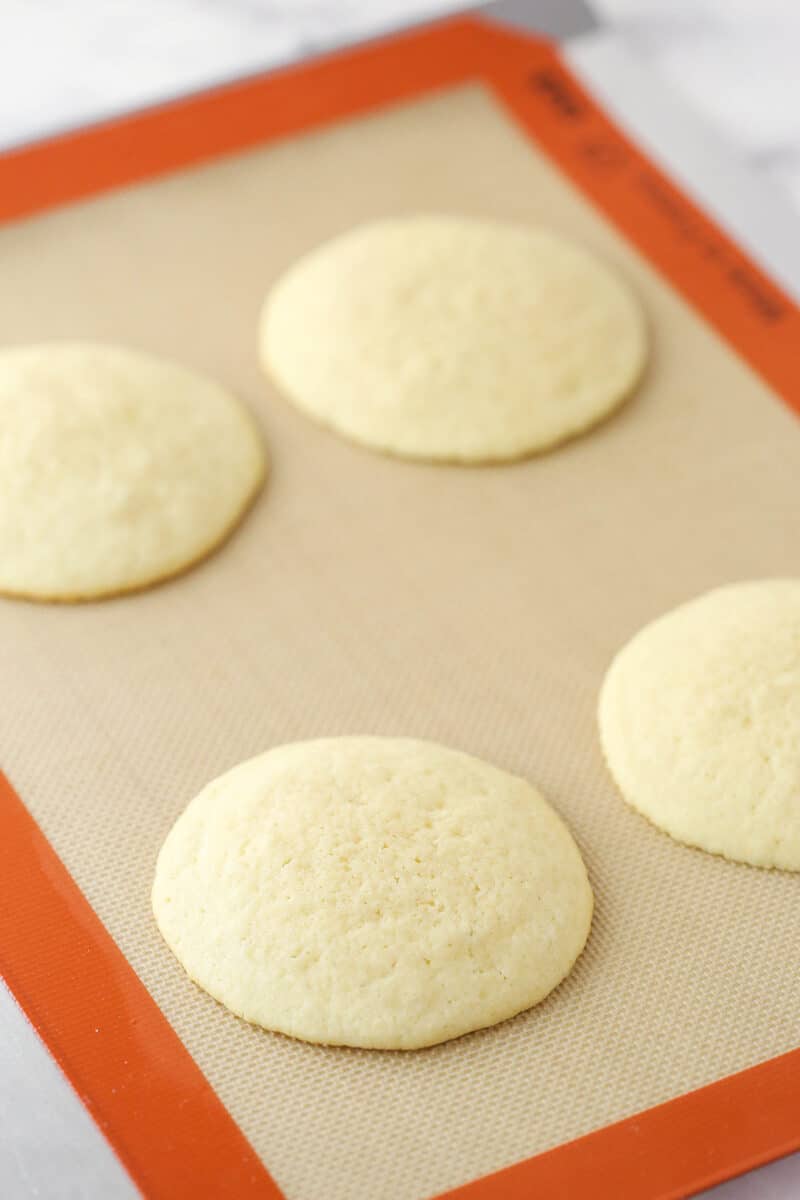
- Bake. Scoop 4 tablespoons of batter for each cookie onto the prepared baking sheets and shape the bottoms a bit. Bake for 13-15 minutes.
- Cool. Allow the cookies to cool on the baking sheet for 5 minutes before transferring to a wire wrack to cool completely.
- Make the icing. Whisk together the powdered sugar, 3 tablespoons of water, corn syrup, and vanilla extract.
- Make it chocolate. Transfer about 6 tablespoons of the icing to a separate bowl and whisk the cocoa powder into the rest of it along with another tablespoon of water (or more if needed).
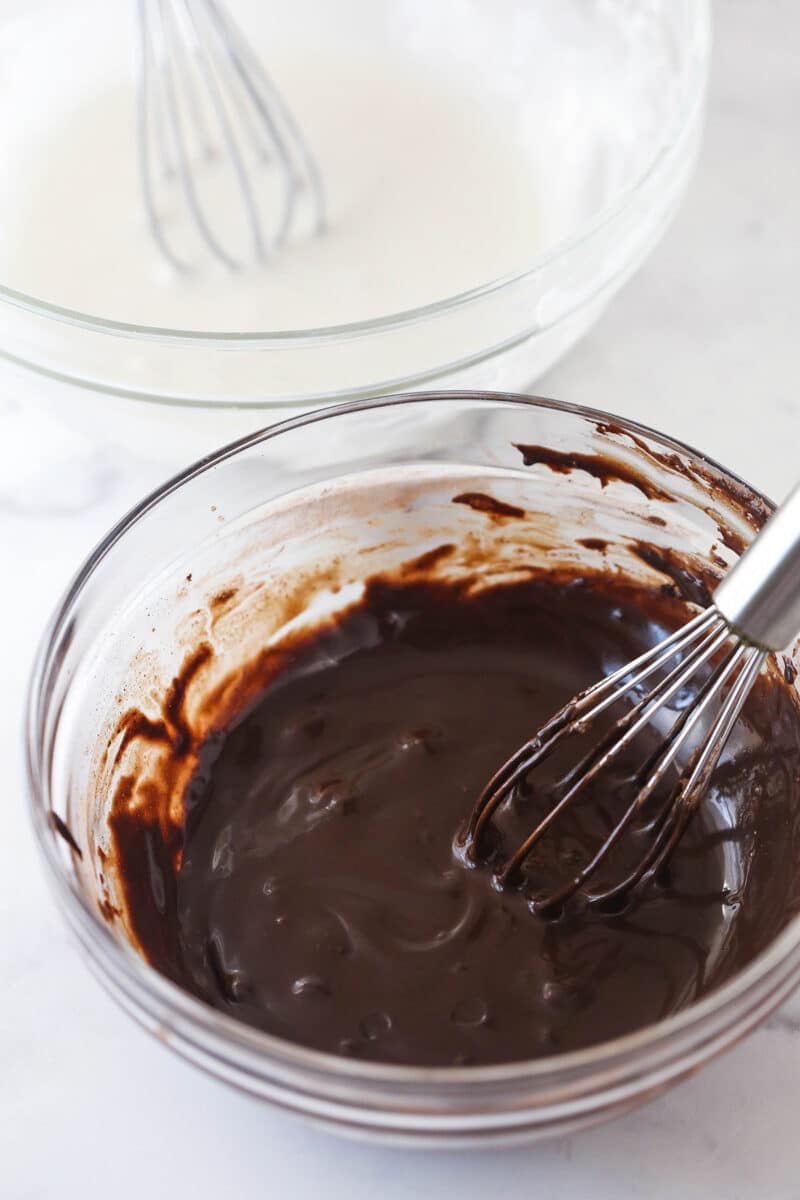
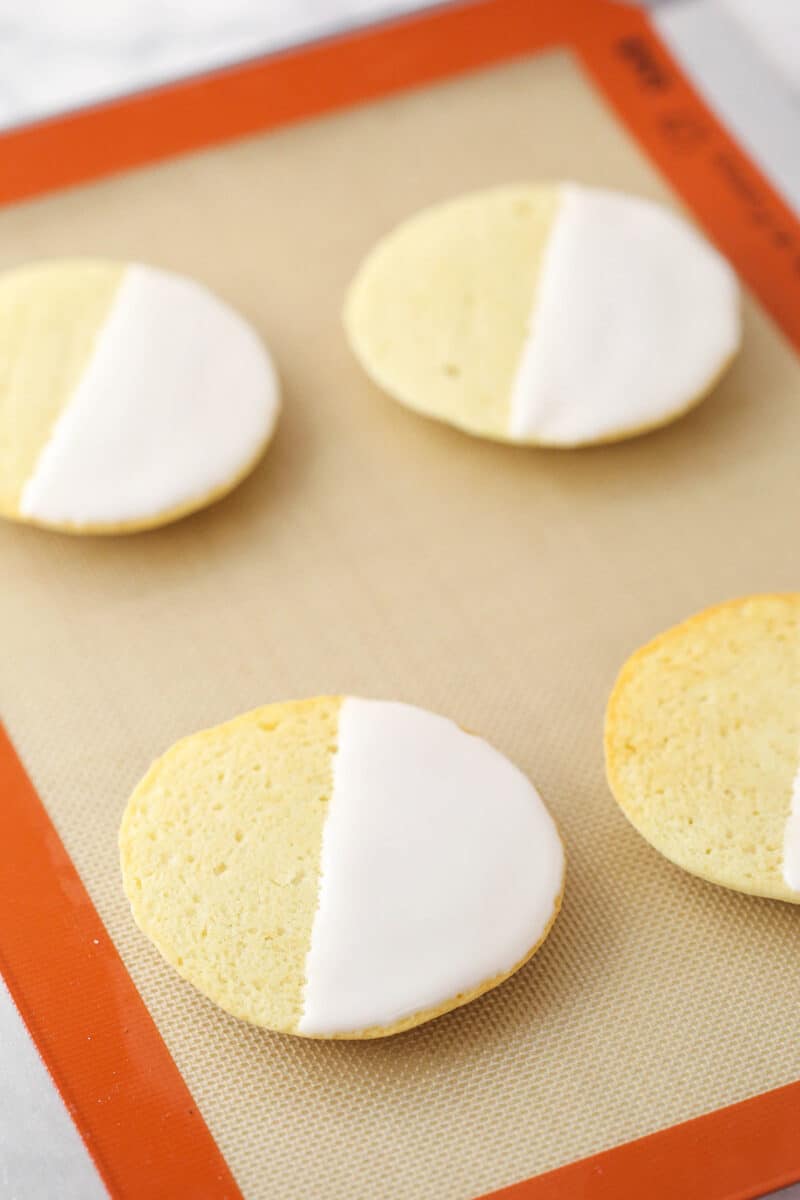
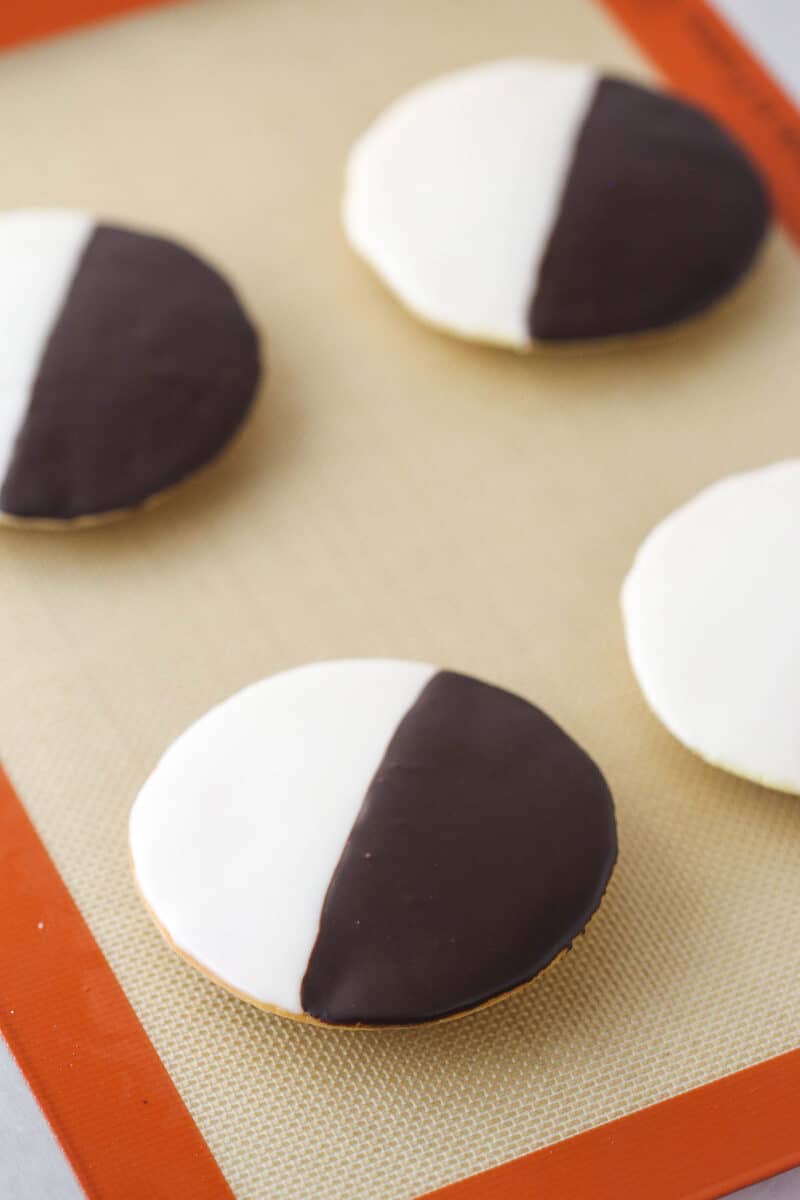
- Frost. Spread the vanilla icing onto one half of each cookie (on the flat side) and allow it to set for 20-30 minutes before spreading the chocolate icing over the other half.
- Set. Allow the icing to set for an hour or two.
Tips for Success
Do yourself a favor and have a quick read through these simple tips and tricks. They’ll help take these black and white cookies from good to great.
- Room temperature ingredients. You want to start with room-temperature butter, eggs, and buttermilk. If the butter is too cold (or melted), it won’t cream properly with the sugar (see my next point). If the eggs and/or buttermilk are too cold, they won’t incorporate smoothly and easily into the batter.
- Don’t skimp on creaming time. When creaming together the butter and sugar, do so until the mixture has significantly lightened in color and become fluffy in texture. This process incorporates air into the batter which helps make the cookies light and fluffy.
- Measure flour correctly. Baking is a science and, as such, these cookies won’t turn out the way you want them if you don’t measure your ingredients properly, especially the flour. Use a food scale or the spoon and level method.
- Don’t over-mix. When combining the wet and dry ingredients, be careful not to over-mix as this can cause the glutens in the flour to overdevelop, ending you with tough, dense cookies.
- Breathing room. These cookies will spread a good bit so leave about 2 inches of space between each.
- Use a cookie scoop. Using a cookie scoop will help you achieve even-sized cookies and, thus, even baking time.
- Frosting consistency. Add enough water to get the frosting thin enough to spread over the cookies but not so thin that it runs. Try testing it out on one cookie at a time and adjusting as needed.
- Cool. Wait for the cookies to cool completely before icing them. If the cookies are warm, the icing will slide right off.
- Frost the flat side. Don’t forget that you want to ice the flat side of the cookie. If you frost the round side, the icing might slide off.
- Let it set. Give the white icing 30 minutes or so to set before adding the chocolate icing. This will help ensure that the colors don’t bleed together.
Frequently Asked Questions
Can I make these in advance?
Yes, they hold up well for 4-5 days. The icing insulates them a bit to help them stay soft.
How do I store these cookies?
Once the icing has set, you can seal the cookies in an airtight container and store them at room temperature for up to 5 days. If you decide to use heavy cream instead of water in the icing, you will need to refrigerate the cookies for food safety reasons. If you want to freeze them, I recommend freezing them before adding the icing. The icing colors will bleed as they thaw. The un-iced cookies can be frozen for up to 3 months.
Can I make these cookies smaller?
While the large size is part of this cookie’s iconic appeal, you can make them smaller. Instead of using 4 tablespoons of batter per cookie, use 2 tablespoons and bake for 9-11 minutes.
Still searching for your perfect cookie? These half moon cookies might just be your answer but, if not, here are a few other amazing recipes for you to try.
- Chewy Snickerdoodle Cookies
- Copycat Crumbl Caramel Cheesecake Cookies
- Chewy Chocolate Chip Cookies
- Chocolate Sugar Cookies
- Classic Madeleines Recipe
- Soft and Chewy Oatmeal Raisin Cookies
- Prep Time: 1 hour 30 minutes
- Cook Time: 13 minutes
- Total Time: 1 hour 43 minutes
- Yield: 10 large cookies
- Category: Cookies
- Method: Baking
- Cuisine: American
Description
Black and White Cookies are a classic New York cookie that you need to try no matter where you are in the world. Soft, cake-like vanilla cookies are topped with both chocolate and vanilla icing to make a wonderfully elegant, utterly delicious treat!
Ingredients
Cookies
- 1 1/2 cups (195g) all-purpose flour (measured correctly)
- 1 1/4 tsp baking powder
- 1/4 tsp salt
- 1/2 cup (112g) unsalted butter, room temperature
- 3/4 cup plus 2 tbsp (181g) sugar
- 2 tsp vanilla extract
- 1 large egg, room temperature
- 1/3 cup (80ml) buttermilk, room temperature
Icing
- 2 1/2 cups (288g) powdered sugar
- 3–5 tbsp (45-75ml) water, plus more if needed
- 1 tbsp light corn syrup, optional
- ½ tsp vanilla extract
- 3 tbsp (21g) Dutch-process cocoa powder
Instructions
- Preheat the oven to 350°F and line a baking sheet with a silicone baking mat or parchment paper.
- Combine the flour, baking powder and salt in a medium sized bowl and set aside.
- Add the butter, sugar and vanilla extract to a large mixer bowl and beat together until light in color and fluffy, about 2-3 minutes. Do not skimp on the creaming time.
- Add the egg and mix until well combined. Scrape down the sides of the bowl as needed to be sure all ingredients are well incorporated.
- Add half of the dry ingredients to the batter and mix until mostly combined.
- Slowly add the milk and mix until well combined.
- Add the remaining dry ingredients and mix until well combined and smooth. Scrape down the sides of the bowl as needed to be sure all ingredients are well incorporated. Do not over mix the batter.
- Scoop 4 tablespoons (about 60g) of batter for each cookie. I use this cookie scoop. I like to use a spatula or spoon to shape the edges of the cookie so they are smooth and the cookie shape is round. The baked cookie will spread, but have a shape similar to the shape they are before baking.
- Bake for 13-15 minutes or until lightly golden on the edges.
- Remove cookies from the oven and allow to cool for about 5 minutes, then remove to a cooling rack to cool completely.
- When the cookies have cooled completely, make the icing. Whisk the powdered sugar, 3 tablespoons of water, corn syrup and vanilla extract together in a medium bowl.
- Transfer a little less than half of the mixture (about 6 tablespoons) to a separate bowl and add remaining the cocoa powder. Whisk until combined. Add another tablespoon of water and whisk until combined, only adding more, if needed.
- Spread vanilla icing onto one half of each cookie, on the flat side. Allow to set for 20-30 minutes or so, so that the icings do not bleed into each other. Spread chocolate icing onto the other side and allow the icing to set completely, about 1-2 hours.
- Store cookies in an air-tight container at room temperature. They are best if eaten within 4-5 days.
Notes
*To make smaller cookies, scoop 2 tablespoons of batter for each cookie and bake for 9-11 minutes.
Nutrition
- Serving Size: 1 cookie
- Calories: 351
- Sugar: 46.6 g
- Sodium: 79.2 mg
- Fat: 10.4 g
- Carbohydrates: 63 g
- Protein: 3.2 g
- Cholesterol: 43.9 mg









Can these be frozen? Better before or after iced?
Yes, and I would recommend before icing. The black icing may bleed a little after thawing, so it you want it to look right, I’d freeze before icing.
May I ask why it says to prepare a cupcake pan with liners in step 1 in the recipe? In the description it says to use a prepared baking sheet. Am I missing something? Thank you in advance.
Oh gosh, sorry. That was a typo. This recipe literally started from my vanilla cupcakes recipe and that got carried over. Sorry! It should be the baking sheet. Fixed!