This post may contain affiliate sales links. Please read my disclosure policy.
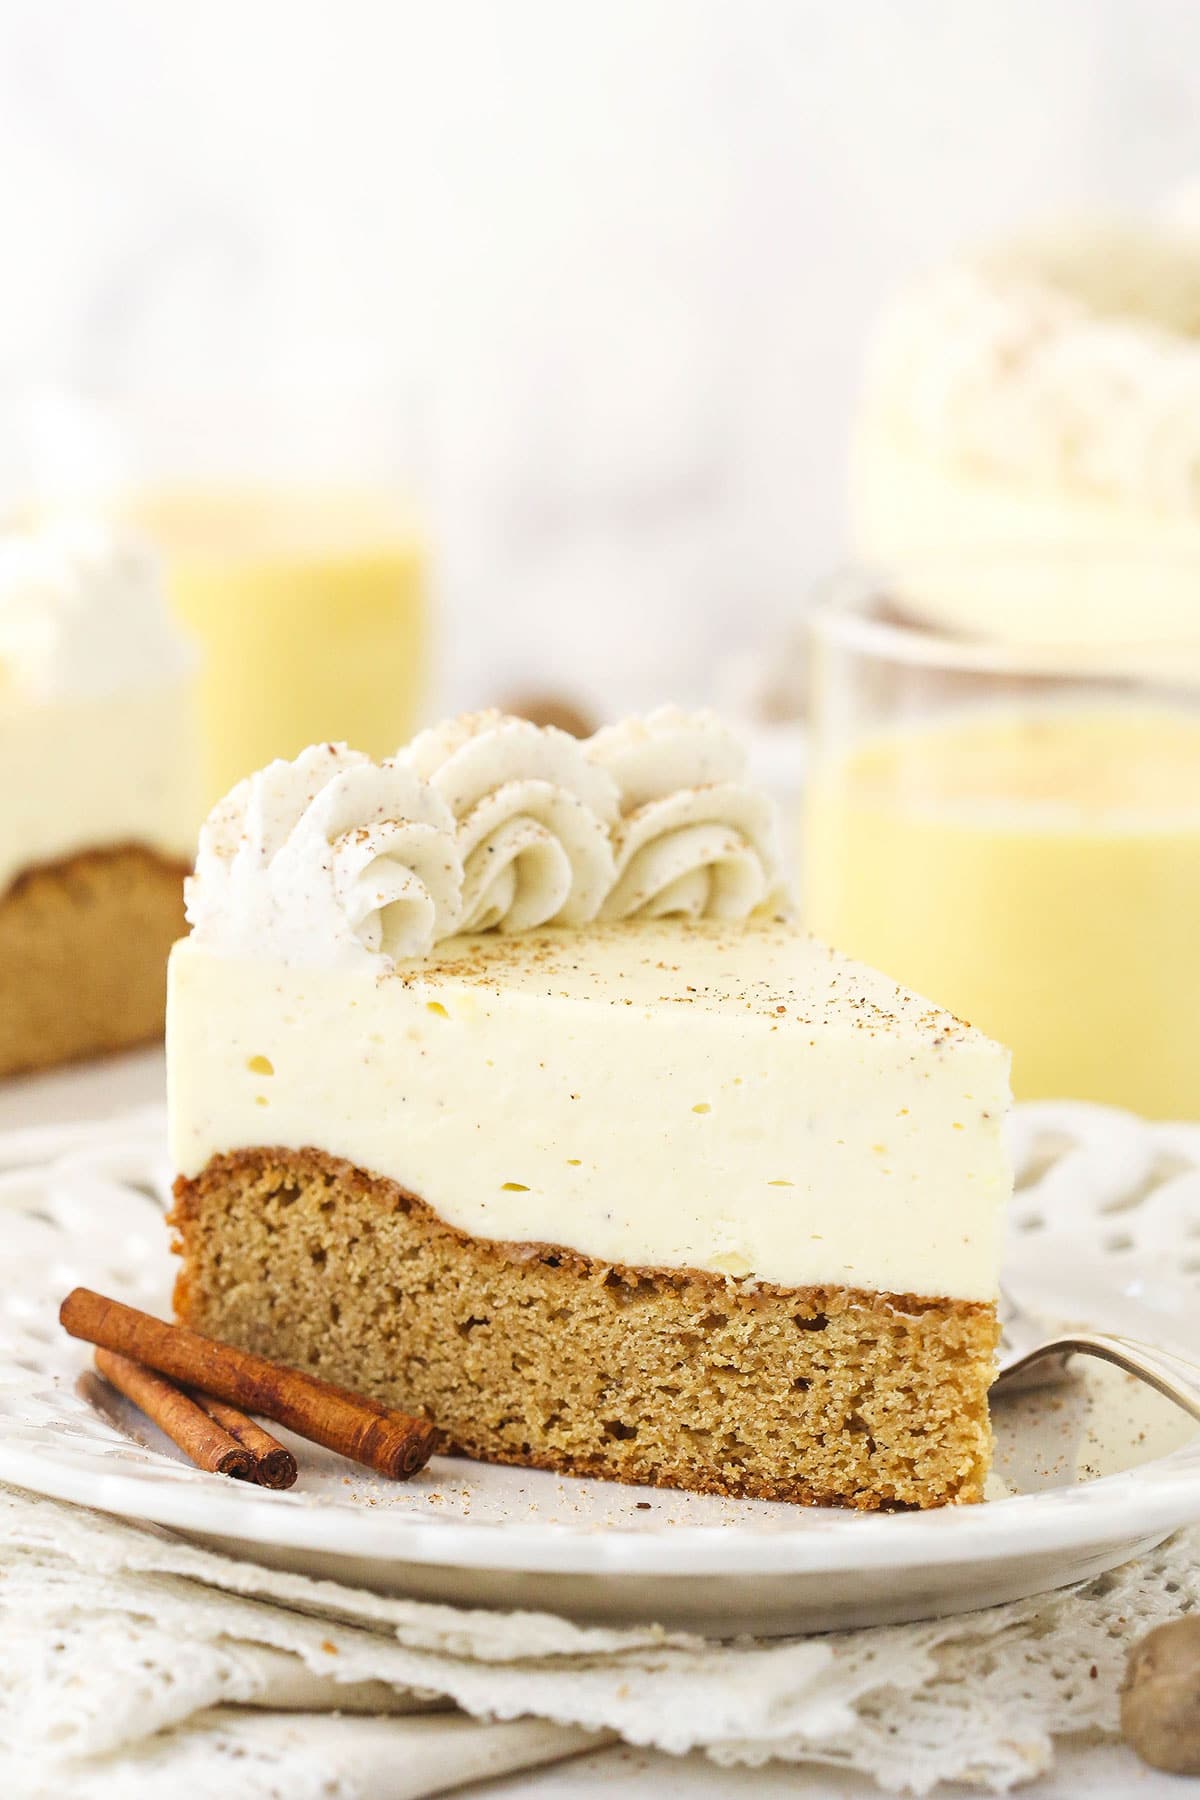
This festive Eggnog Blondie Cheesecake has a chewy blondie base that’s full of cinnamon, nutmeg and cloves. Topped with a smooth, creamy no-bake eggnog cheesecake filling and fluffy homemade whipped cream, it’s the ultimate Christmas dessert!
Looking for a classic cheesecake recipe? Try this easy cheesecake recipe, or this New York style cheesecake!
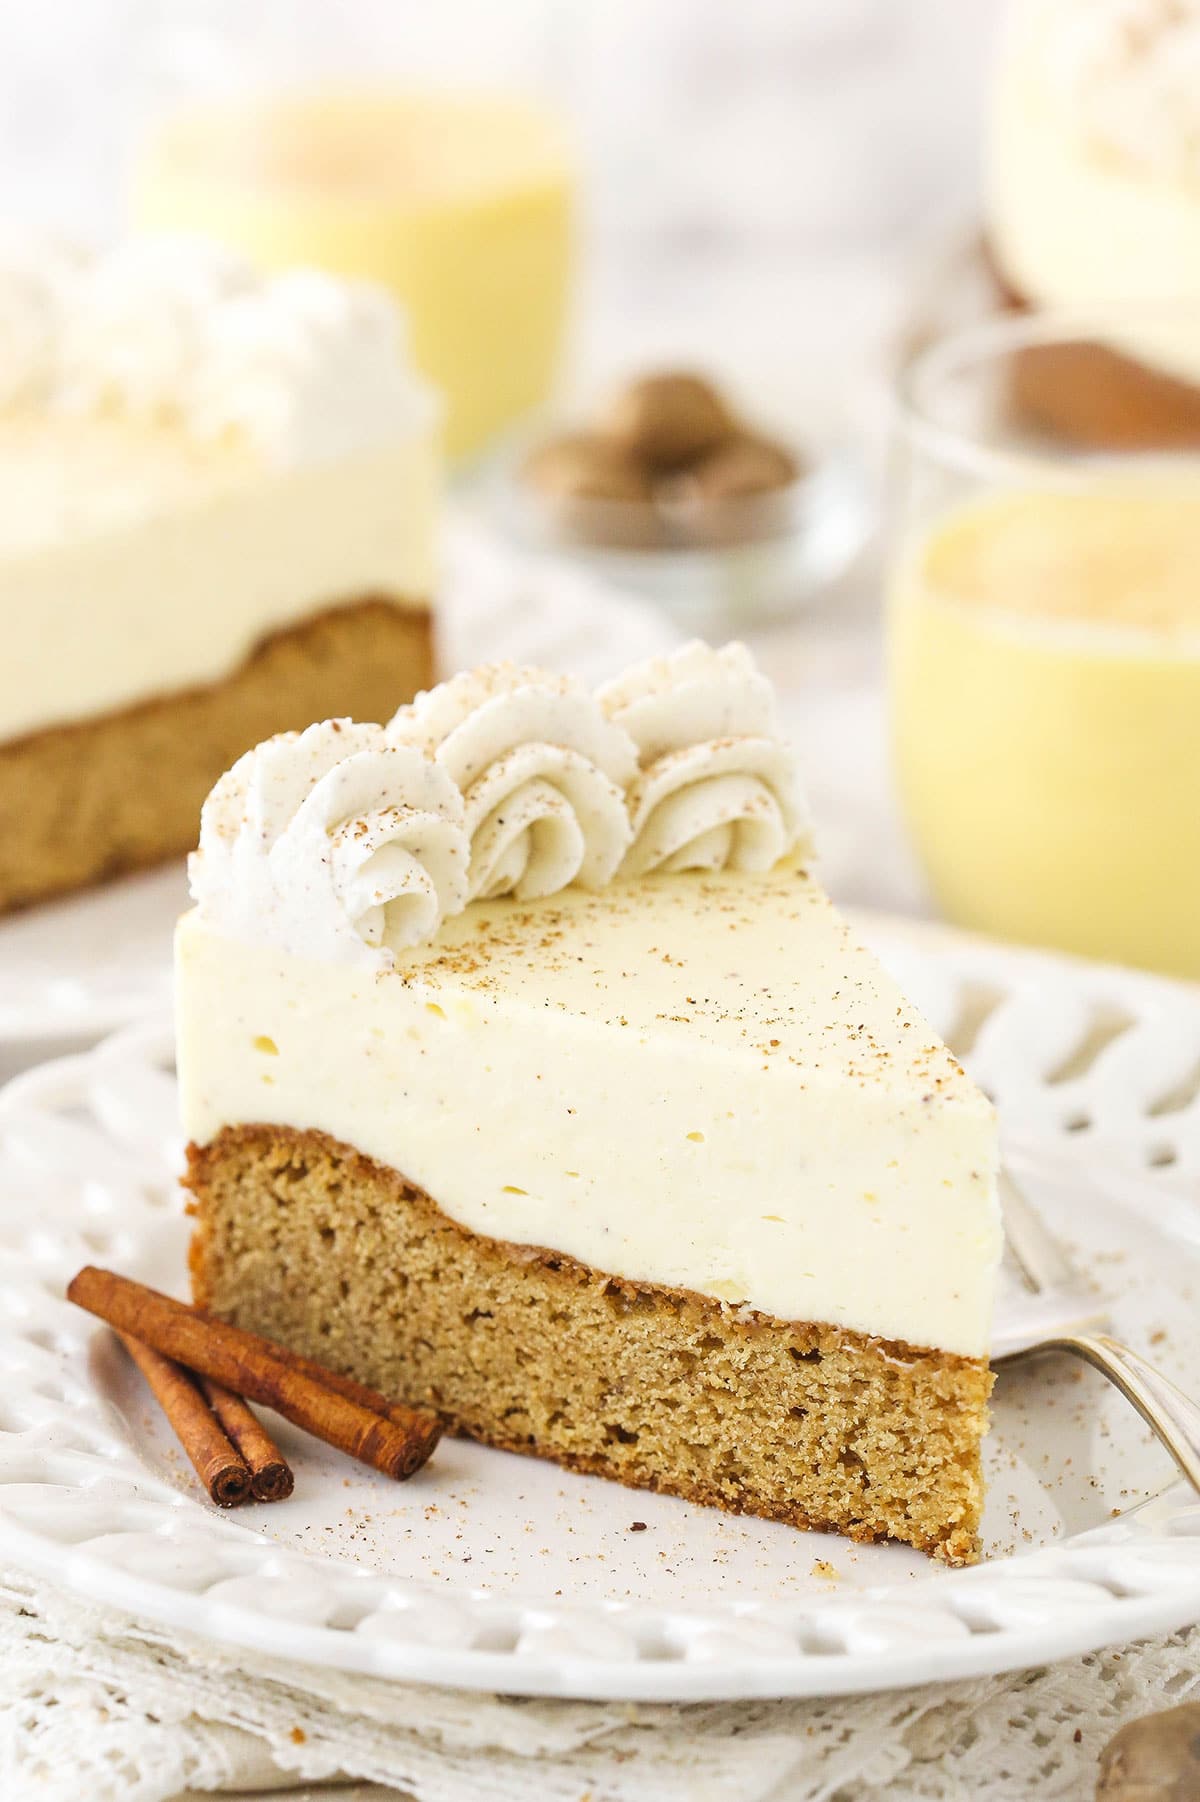
The Best No-Bake Eggnog Cheesecake for Christmas
Whenever Christmastime rolls around, you’ll often find me with a glass of eggnog in hand. The rich and creamy nutmeg-flavored beverage always hits the spot! And when it’s transformed into a cheesecake with a chewy blondie crust, it tastes better than ever.
Eggnog flavor can be a little tricky, because it’s often a little subtle in baked goods. We want to make sure that we don’t lose it in this no bake cheesecake. In order to make sure you have enough eggnog flavor in the cheesecake filling, cornstarch and gelatin are both used. I personally don’t love no bake cheesecakes that use a bunch of gelatin. The texture just isn’t right. But cornstarch alone won’t achieve the texture I want either. So I find that both are needed to get the texture and thickness just right.
So after the crust is baked, you don’t have to touch your oven. You’ll do a little work on the stove with the cornstarch and gelatin to thicken the filling, but then it just has to chill in the fridge for a few hours. Once it sets, you’re left with a thick and velvety cheesecake that’s packed with eggnog flavor.
The whipped cream on top is spiced with nutmeg and cinnamon to enhance the eggnog flavor even more. It’s super easy to make in just a few minutes. Once you pipe the whipped cream onto your cheesecake and cut yourself a slice, you just need a glass of Homemade Eggnog to enjoy it with!
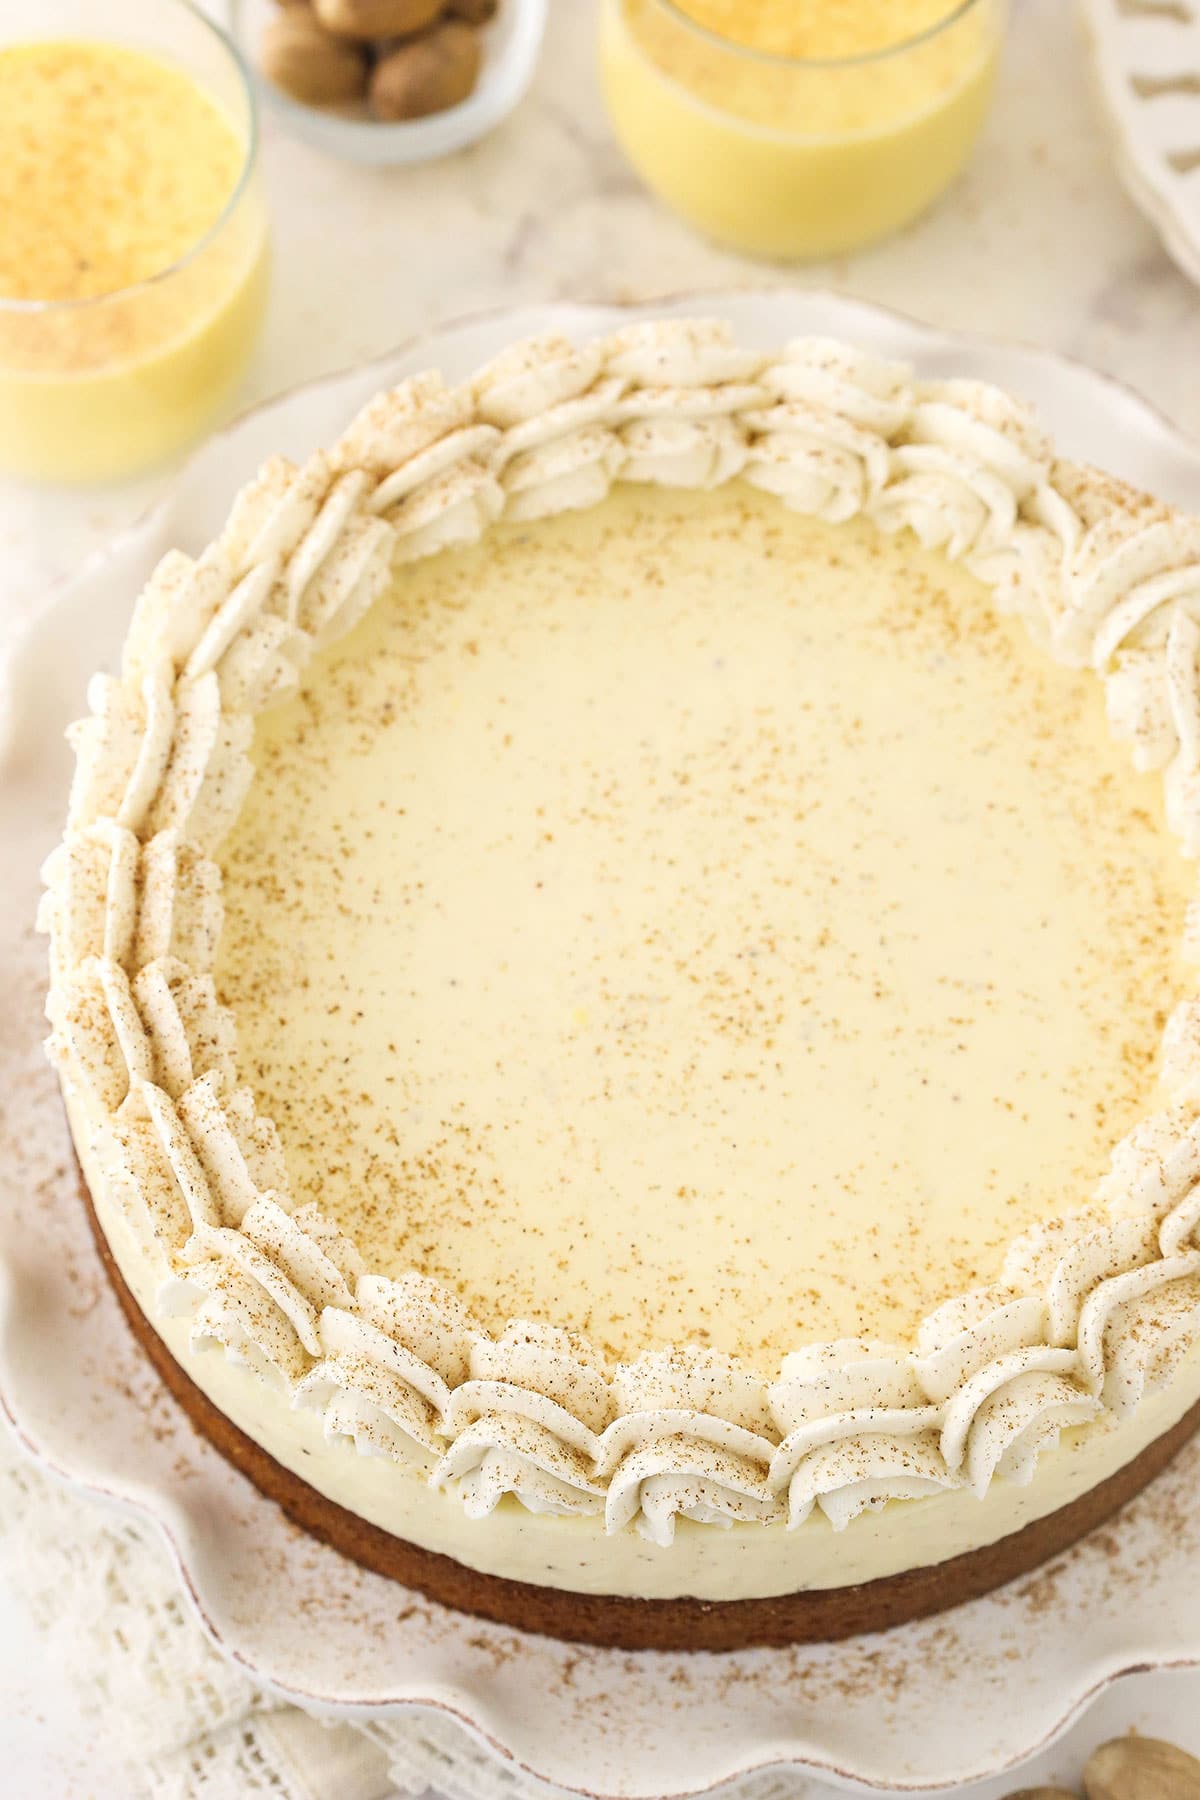
What You’ll Need
Let’s talk about the ingredients that go into this festive Christmas cheesecake. We’ll start with the crust and end with the whipped cream.
For the Blondie Crust
- All-Purpose Flour: Make sure you use the spoon and level method or a food scale when adding the flour to avoid over-measuring it.
- Cinnamon, Nutmeg & Cloves: This crust is spiced with a teaspoon of cinnamon and 3/4 teaspoon of nutmeg, as well as a pinch of cloves.
- Baking Powder & Baking Soda: The use of both leavening agents ensures the best texture.
- Salt: For flavor.
- Butter: Unsalted.
- Light Brown Sugar: Packed into the measuring cup.
- Vanilla Extract: Use a high-quality extract for the best flavor.
- Eggs: You will need one full egg, plus an additional yolk.
For the Eggnog Cheesecake Filling
- Eggnog: You’ll need half a cup and 2 additional tablespoons to combine with the gelatin.
- Cornstarch: This helps thicken the filling.
- Gelatin: Unflavored gelatin also helps thicken the cheesecake.
- Cream Cheese: Brought to room temperature.
- Sugar
- Ground Nutmeg
- Heavy Whipping Cream: Keep this refrigerated until you’re ready to use it.
- Powdered Sugar
For the Spiced Whipped Cream
- Heavy Whipping Cream: Cold.
- Powdered Sugar: This stabilized the whipped cream, so it doesn’t wilt.
- Vanilla Extract
- Ground Nutmeg
- Ground Cinnamon
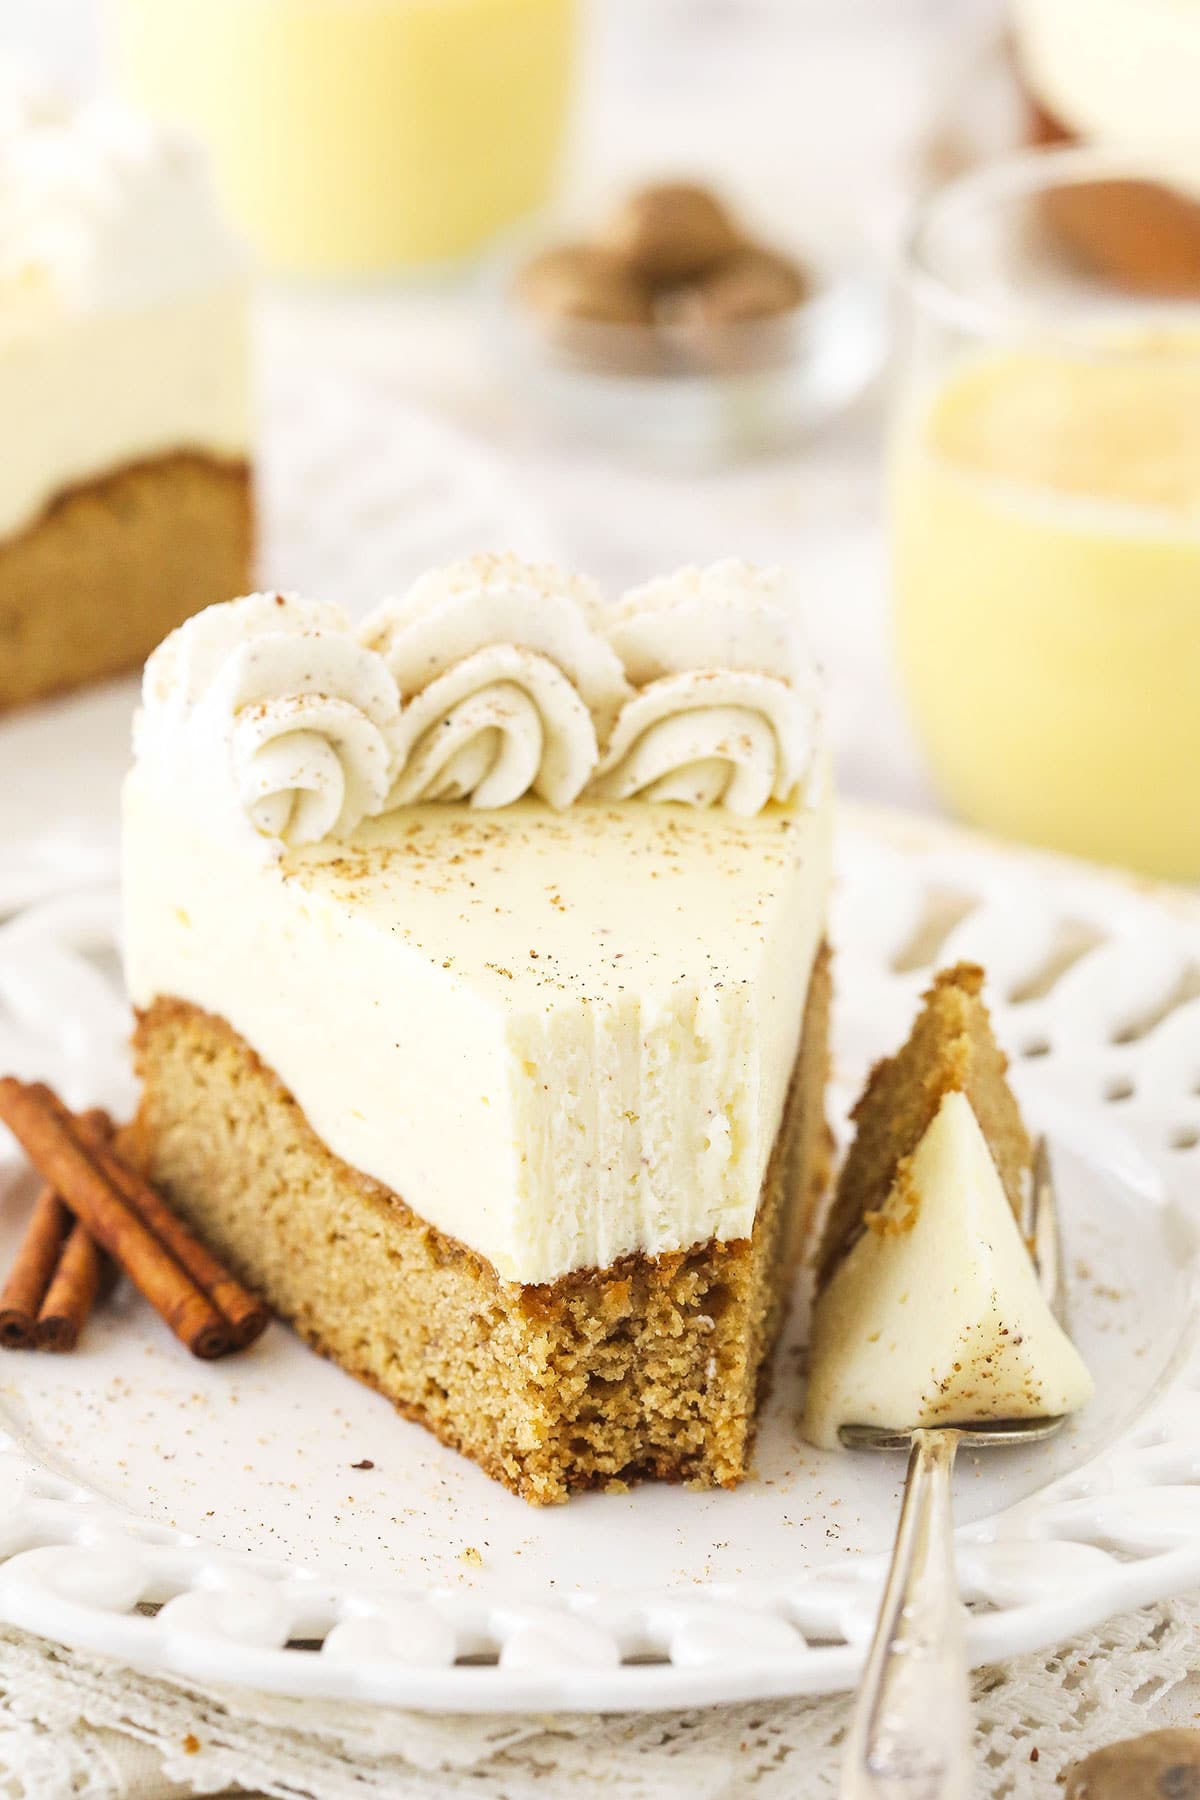
How to Make Eggnog Cheesecake
Everything about this cheesecake is very simple, but it does take a little time and effort to make. Just stick with the recipe and you’ll do great!
Make the Crust
- Prep for Baking: Line the bottom of a 9-inch springform pan with parchment paper and grease the sides. Preheat the oven to 350°F.
- Combine Dry Ingredients: Combine the flour, cinnamon, nutmeg, cloves, baking powder, baking soda and salt in a medium-sized bowl. Set the dry ingredient mixture aside.
- Melt Butter: Melt the butter in a microwave-safe bowl, then transfer it to a mixing bowl.
- Add Brown Sugar: Add the brown sugar and whisk together until well combined.
- Add Vanilla & Eggs: Add the vanilla, egg and egg yolk and whisk together until well combined.
- Combine Dry & Wet Ingredients: Add the dry ingredient mixture to the combined wet ingredients and whisk together until well combined.
- Bake: Pour the blondie batter into the prepared springform pan and spread it out evenly across the bottom of the pan. Bake the crust for 20-25 minutes, or until a toothpick inserted into the center comes out clean.
- Let Cool: Allow the crust to cool for about 5 minutes, then remove it from the pan to finish cooling.
- Clean Pan: Clean out your springform pan so that you can use it again later.
Make the Filling
- Set Aside 2 tbsp Eggnog: Add 2 tablespoons of eggnog to a small bowl and set it aside. This will be combined with the gelatin later.
- Combine Another 2 tbsp Eggnog with Cornstarch: Add another 2 tablespoons to a separate small bowl. Add the cornstarch and let it dissolve.
- Cook Cornstarch Mixture with Remaining Eggnog: Add the cornstarch mixture and the remaining 6 tablespoons of eggnog to a saucepan over medium heat, whisking constantly, until the eggnog begins to thicken. Do not let it boil. Remove the mixture from the heat and allow it to cool. Stir regularly so that it doesn’t get lumpy.
- Combine Set Aside Eggnog with Gelatin: Sprinkle the gelatin over the other small bowl of eggnog that was set aside beforehand and let it sit for about 5 minutes.
- Microwave: Heat the gelatin mixture in 10 second increments, stirring between each one, until it’s melted and smooth.
- Add to Cornstarch Mixture: Whisk the gelatin mixture into the warm eggnog/cornstarch mixture until smooth. Continue to let it cool until it’s slightly warmer than room temperature.
- Combine Cream Cheese & Sugar: When the eggnog mixture has cooled, add the cream cheese and sugar to a large mixing bowl and beat until well combined and smooth.
- Add Nutmeg & Eggnog Mixture: Add the cooled eggnog mixture to the cream cheese mixture along with the nutmeg and mix until well combined. Set aside.
- Combine Cream & Powdered Sugar: Add the heavy whipping cream and the powdered sugar to a large mixing bowl and whip on high speed until stiff peaks form.
- Add to Batter: Fold the whipped cream into the eggnog mixture in 2-3 parts, gently folding until well combined. Set aside.
- Return Crust to Pan: Line the sides of your springform pan with parchment paper and return the cooled blondie crust to the pan. The parchment paper should sit between the sides of the pan and the crust and stick up above the sides of the pan just a bit. The filling will rest up against the parchment paper instead of the sides of the pan. This prevents the cheesecake from sticking to the pan.
- Add Filling: Spread the cheesecake filling evenly on top of the blondie crust.
- Chill: Refrigerate the cheesecake until the filling is firm, 5-6 hours or overnight.
- Remove From Pan: Once the filling is firm, remove the cheesecake from the springform and place it on a serving plate. Gently peel the parchment paper off the sides of the cheesecake and use an offset spatula, if needed, to smooth out the sides.
Make the Whipped Cream
- Combine Ingredients & Whip: Add the whipped cream ingredients to a large mixing bowl and whip on high speed until stiff peaks form.
- Add to Cheesecake: Pipe a border of whipped cream around the outer edge of the cheesecake and dust the top of the cake with additional nutmeg, if desired. Refrigerate the cheesecake until you’re ready to serve it.
- Serve: Cut, serve and enjoy!
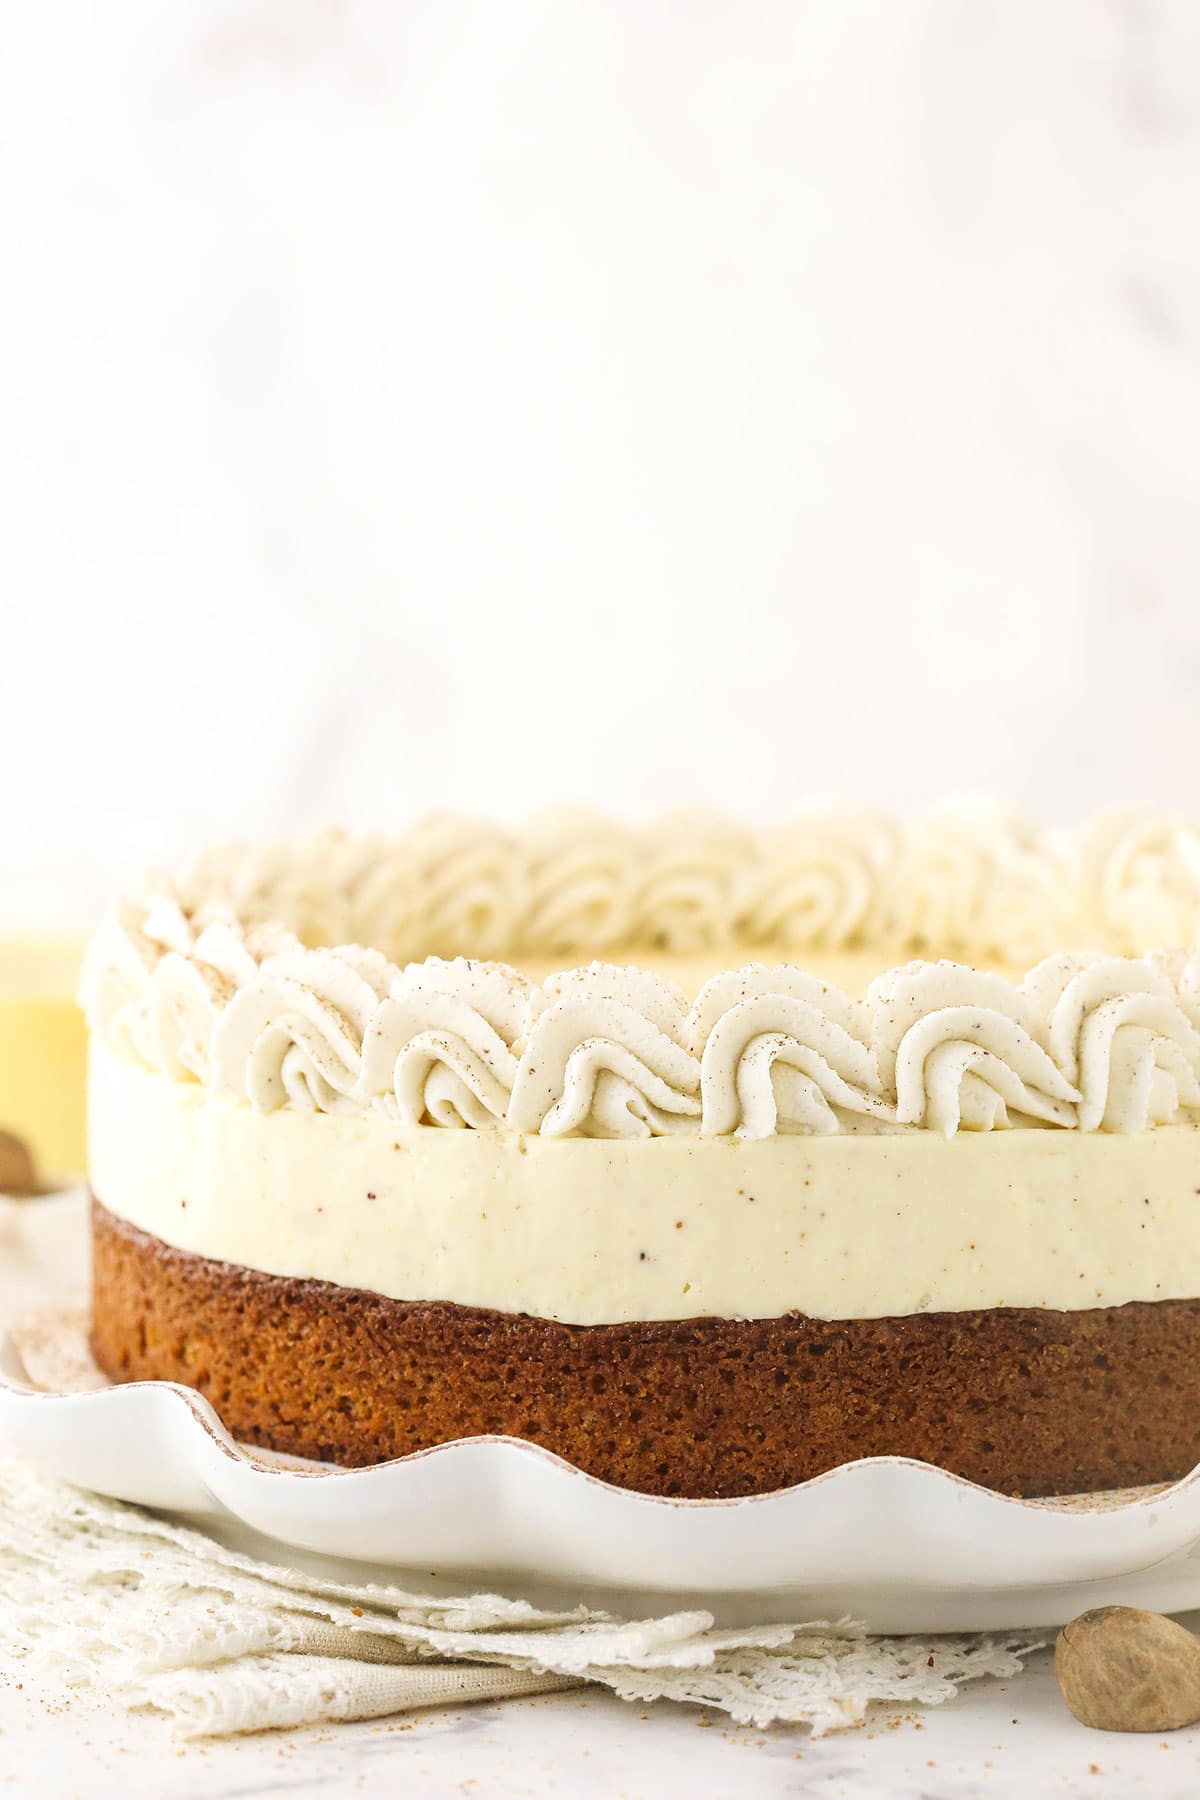
Tips for Success
I have a few quick notes that will help you perfect this eggnog cheesecake on your first try. Let’s jump right into them!
- Use Cold Cream: Keep your heavy cream chilled until you’re ready to use it. If it’s not cold, it won’t whip up properly.
- Why Do I Need Both Cornstarch & Gelatin? Since the eggnog adds a lot of liquid to this cheesecake filling, you need a little extra thickening power to achieve the proper consistency. You can technically use all gelatin, but I’m not a huge fan of cheesecakes with an overly gelatin-like texture. Using cornstarch in addition to the gelatin makes for a beautifully creamy cheesecake filling!
- Don’t Boil the Cornstarch Mixture: Boiling the cornstarch and eggnog mixture will kill the thickening power of the cornstarch. Whisk constantly to prevent the mixture from boiling, and don’t go above medium heat.
- Let the Gelatin Mixture Sit Before Microwaving: You need to let the gelatin “bloom” over the cold eggnog for about 5 minutes before you microwave the mixture. As the gelatin absorbs the liquid, the granules enlarge, giving you a super smooth and silky cheesecake.
- Line the Pan with Parchment Paper: Before you return your crust to the springform pan, line the sides with enough parchment paper so that the pan is fully covered with some sticking up above the sides. This prevents sticking and allows for easy removal. You’ll be able to peel the non-stick parchment paper off of the cheesecake easily and have fairly clean edges. If you’d like to smooth out the edges at all, you can do so with an offset spatula.
Variation Ideas
If you’d like to make your own adjustments to this recipe, go ahead! Here are some variations that work well:
- Use Another Crust: Feel free to use a different crust for this cheesecake if you’d like. I think it would taste equally amazing with a vanilla cake crust or a brownie crust!
- Make Rum Flavored Whipped Cream: The flavors of rum and eggnog go together like a dream. If you’d like to taste this heavenly combo in your cheesecake, simply substitute the vanilla extract in the whipped cream for rum extract.
- Add Different Toppings: There are plenty of tasty toppings that you can add to this Christmas cake. Try using chopped and toasted nuts or fresh cherries. Yum!
How to Store Leftover Cheesecake
This cheesecake should be stored in the fridge. Keep it well covered and eat it within 3-4 days.
Can I Freeze This?
Yes, you can freeze your eggnog cheesecake for a month or so if you’d like. Wrap the entire cake or individual slices in a layer of plastic wrap and a layer of heavy-duty foil. Thaw out frozen cheesecake in the fridge overnight before enjoying it. Keep in mind that after 1 month in the freezer, the texture of the cheesecake might begin to change.
Print
Eggnog Blondie Cheesecake
- Prep Time: 20 minutes
- Cook Time: 30 minutes
- Total Time: 50 minutes
- Yield: 13
- Category: Dessert
- Method: Oven
- Cuisine: American
Description
This festive Eggnog Cheesecake has a chewy blondie base that’s full of cinnamon, nutmeg, ginger and cloves. Topped with a smooth, creamy no-bake eggnog cheesecake filling and fluffy homemade whipped cream, it’s the ultimate Christmas dessert!
Ingredients
For the Blondie Crust
- 1 1/2 cups (195) all purpose flour
- 1 tsp ground cinnamon
- 3/4 tsp ground nutmeg
- Pinch of cloves
- 1/2 tsp baking powder
- 1/4 tsp baking soda
- 1/2 tsp salt
- 3/4 cup (168g) unsalted butter
- 1 cup (225g) packed light brown sugar
- 1 tbsp vanilla extract
- 1 large egg
- 1 large egg yolk
For the Eggnog Cheesecake Filling
- 1/2 cup plus 2 tbsp (150ml) eggnog, divided
- 1 tbsp cornstarch
- 2 1/4 tsp | 0.25 oz package unflavored gelatin
- 16 oz cream cheese, room temperature
- 3/4 cup (155g) sugar
- 1/2 tsp ground nutmeg
- 1/2 cup plus 2 tbsp (150ml) heavy whipping cream, cold
- 1/4 cup (29g) powdered sugar
For the Spiced Whipped Cream
- 3/4 cup (180ml) heavy whipping cream, cold
- 6 tbsp (43g) powdered sugar
- 3/4 tsp vanilla extract
- 1/4 tsp ground nutmeg
- Pinch of ground cinnamon
Instructions
Make the Crust
- Line the bottom of a 9-inch springform pan with parchment paper and grease the sides. Preheat oven to 350 degrees F.
- Combine the flour, cinnamon, nutmeg, cloves, baking powder, baking soda and salt in a medium sized bowl. Set aside.
- Melt the butter in a microwave safe bowl, then transfer to a mixing bowl.
- Add brown sugar and whisk together until well combined.
- Add the vanilla, egg and egg yolk and whisk together until well combined.
- Add the dry ingredients and whisk together until well combined.
- Pour batter into springform pan, spread evenly and bake for 20-25 minutes or until a toothpick inserted comes out clean.
- Allow to cool for about 5 minutes, then remove from pan to finish cooling.
- Clean your springform pan so that you can use it again later.
Make the Filling
- Add 2 tablespoons of eggnog to a small bowl and set aside.
- Add the other 2 tablespoons to another small bowl. Add the cornstarch and let it dissolve. Add the eggnog/cornstarch mixture and the remaining 6 tablespoons of eggnog to a sauce pan and heat over medium heat, whisking constantly, until the eggnog begins to thicken. Do not boil. Remove from heat and allow to cool. Stir regularly so that it doesn’t get lumpy.
- Sprinkle gelatin over the other small bowl of eggnog that was set aside before and let it sit for about 5 minutes, then heat the gelatin in 10 second increments, stirring between, until it’s melted and smooth.
- Whisk the gelatin mixture into the warm eggnog/cornstarch mixture until smooth. Continue to let it cool until it’s a little warmer than room temperature.
- When the eggnog mixture has cooled, add the cream cheese and sugar to a large mixing bowl and beat until well combined and smooth.
- Add the cooled eggnog mixture and nutmeg to the cream cheese mixture and mix until well combined. Set aside.
- Add the whipping cream and the powdered sugar to a large mixing bowl and whip on high speed until stiff peaks form.
- Fold the whipped cream into the eggnog mixture in 2-3 parts, gently folding until well combined. Set aside.
- Grab your springform pan and place the blondie back into the bottom of it. Cut a strip of parchment paper and wrap it around the inside sides of the pan, so that it sits between the sides of the pan and the blondie and sticks up above the sides of the pan just a bit. The cheesecake layer will rest up against the parchment paper instead of the sides of the pan. Then, when you remove the sides of the pan later, the no-bake cheesecake won’t stick to the pan. You’ll be able to peel the non-stick parchment paper off easily and have fairly clean edges.
- Spread the cheesecake filling evenly on top of the blondie.
- Refrigerate until firm, 5-6 hours or overnight.
- When firm, remove the cheesecake from the springform and place on a serving plate. Gently peel the parchment paper off the sides of the cheesecake and use an offset spatula, if needed, to smooth out the sides.
Make the Whipped Cream
- Add all the whipped cream ingredients to a large mixing bowl and whip on high speed until stiff peaks form.
- Pipe a border around the outer edge of the cheesecake and dust with additional nutmeg, if desired.
- Refrigerate cheesecake until ready to serve.
Notes
- Makes 12-14 servings.
- To Store: Refrigerate well-covered and eat within 3-4 days.
- To Freeze: Wrap entire cake or individual slices in a layer of plastic wrap and a layer of heavy-duty foil, then freeze. Eat within 1 month for the best results. Thaw frozen cheesecake in the fridge overnight before enjoying.
Nutrition
- Serving Size: 1 Slice
- Calories: 438
- Sugar: 31.9 g
- Sodium: 193.4 mg
- Fat: 27.2 g
- Carbohydrates: 44.1 g
- Protein: 5.5 g
- Cholesterol: 88.5 mg
More Eggnog Desserts to Try
Want more easy eggnog desserts for your favorite winter holiday? Check out the recipes featured below!





Can I use a flavored, vanilla eggnog?
Sure!
The pictures alone want me to make this for the holidays! This cheesecake sounds delicious and I’ll be making it for a gathering the day after Christmas. Thank you for the detailed steps. Merry Christmas! 🎄
Awesome! I hope you enjoy it!