This post may contain affiliate sales links. Please read my disclosure policy.
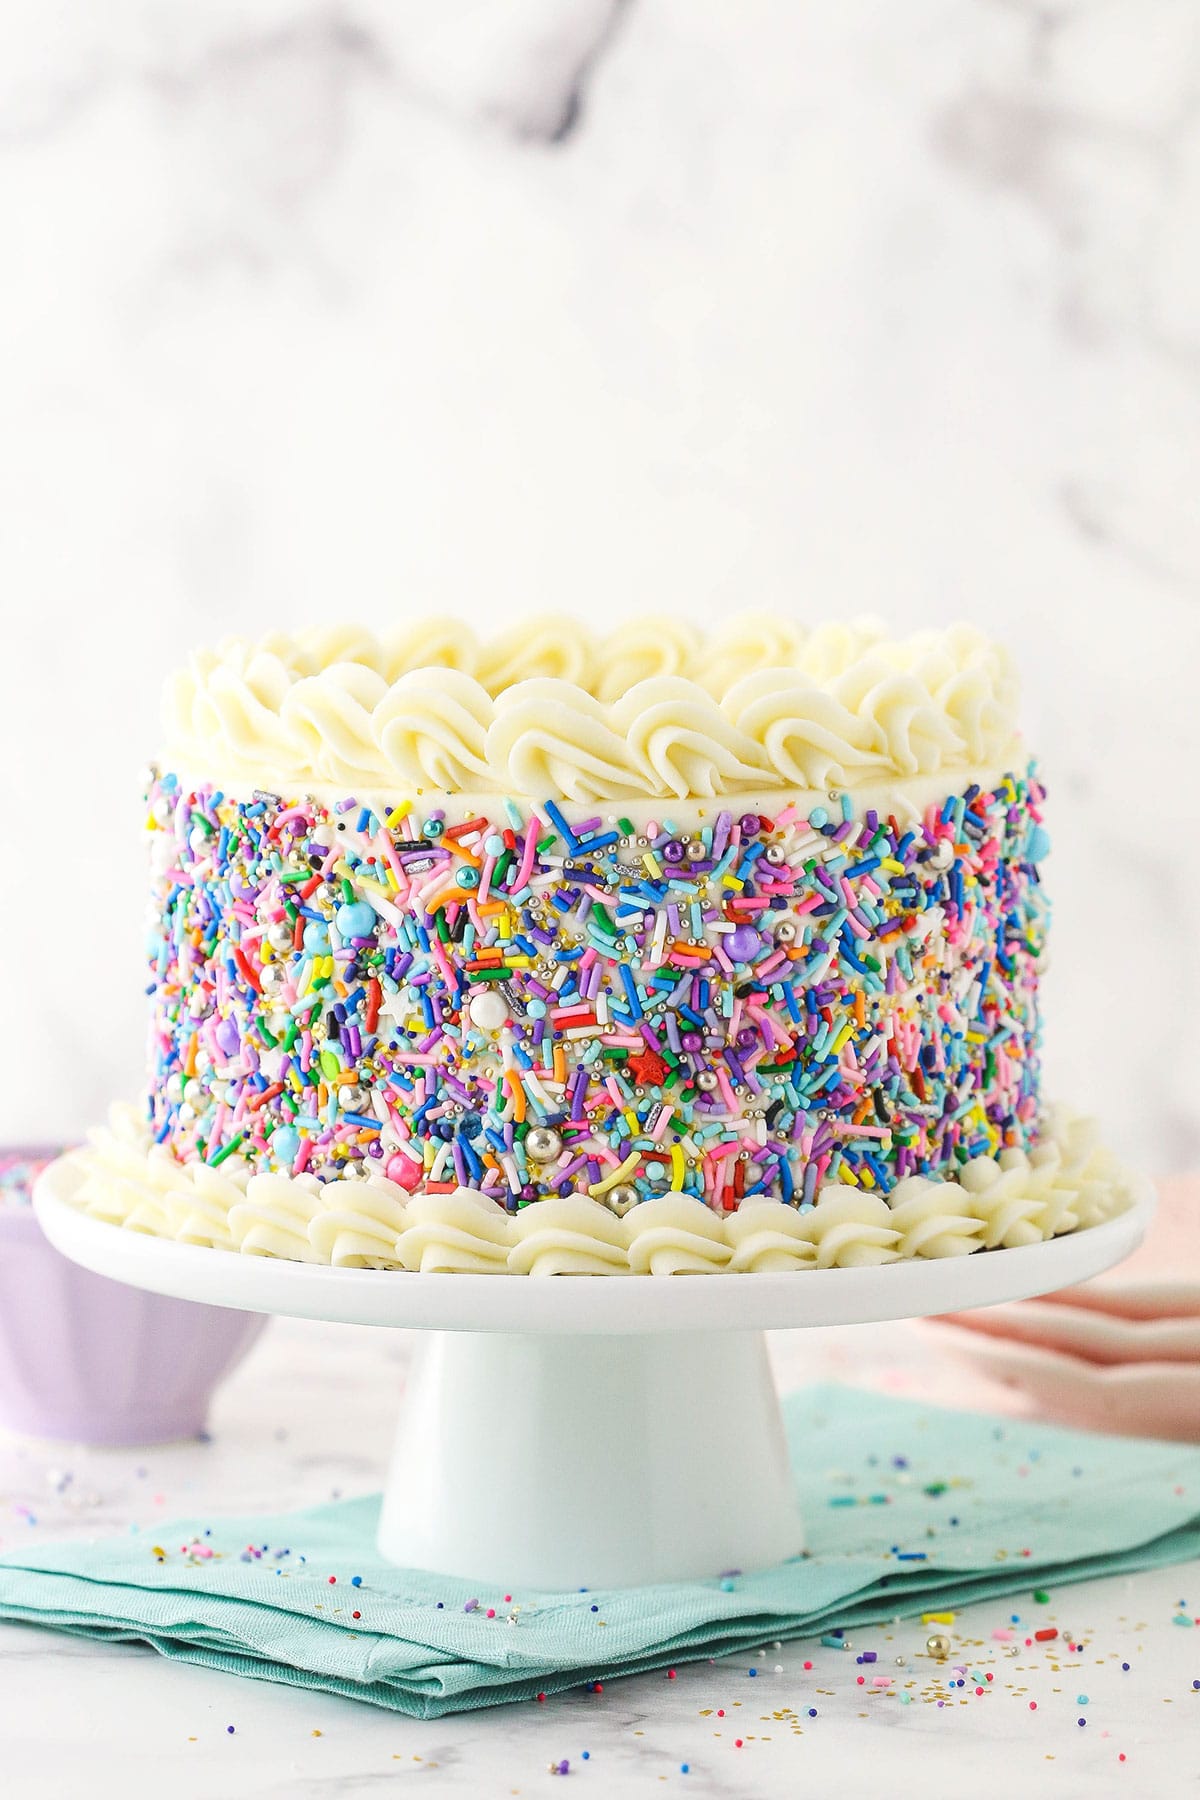
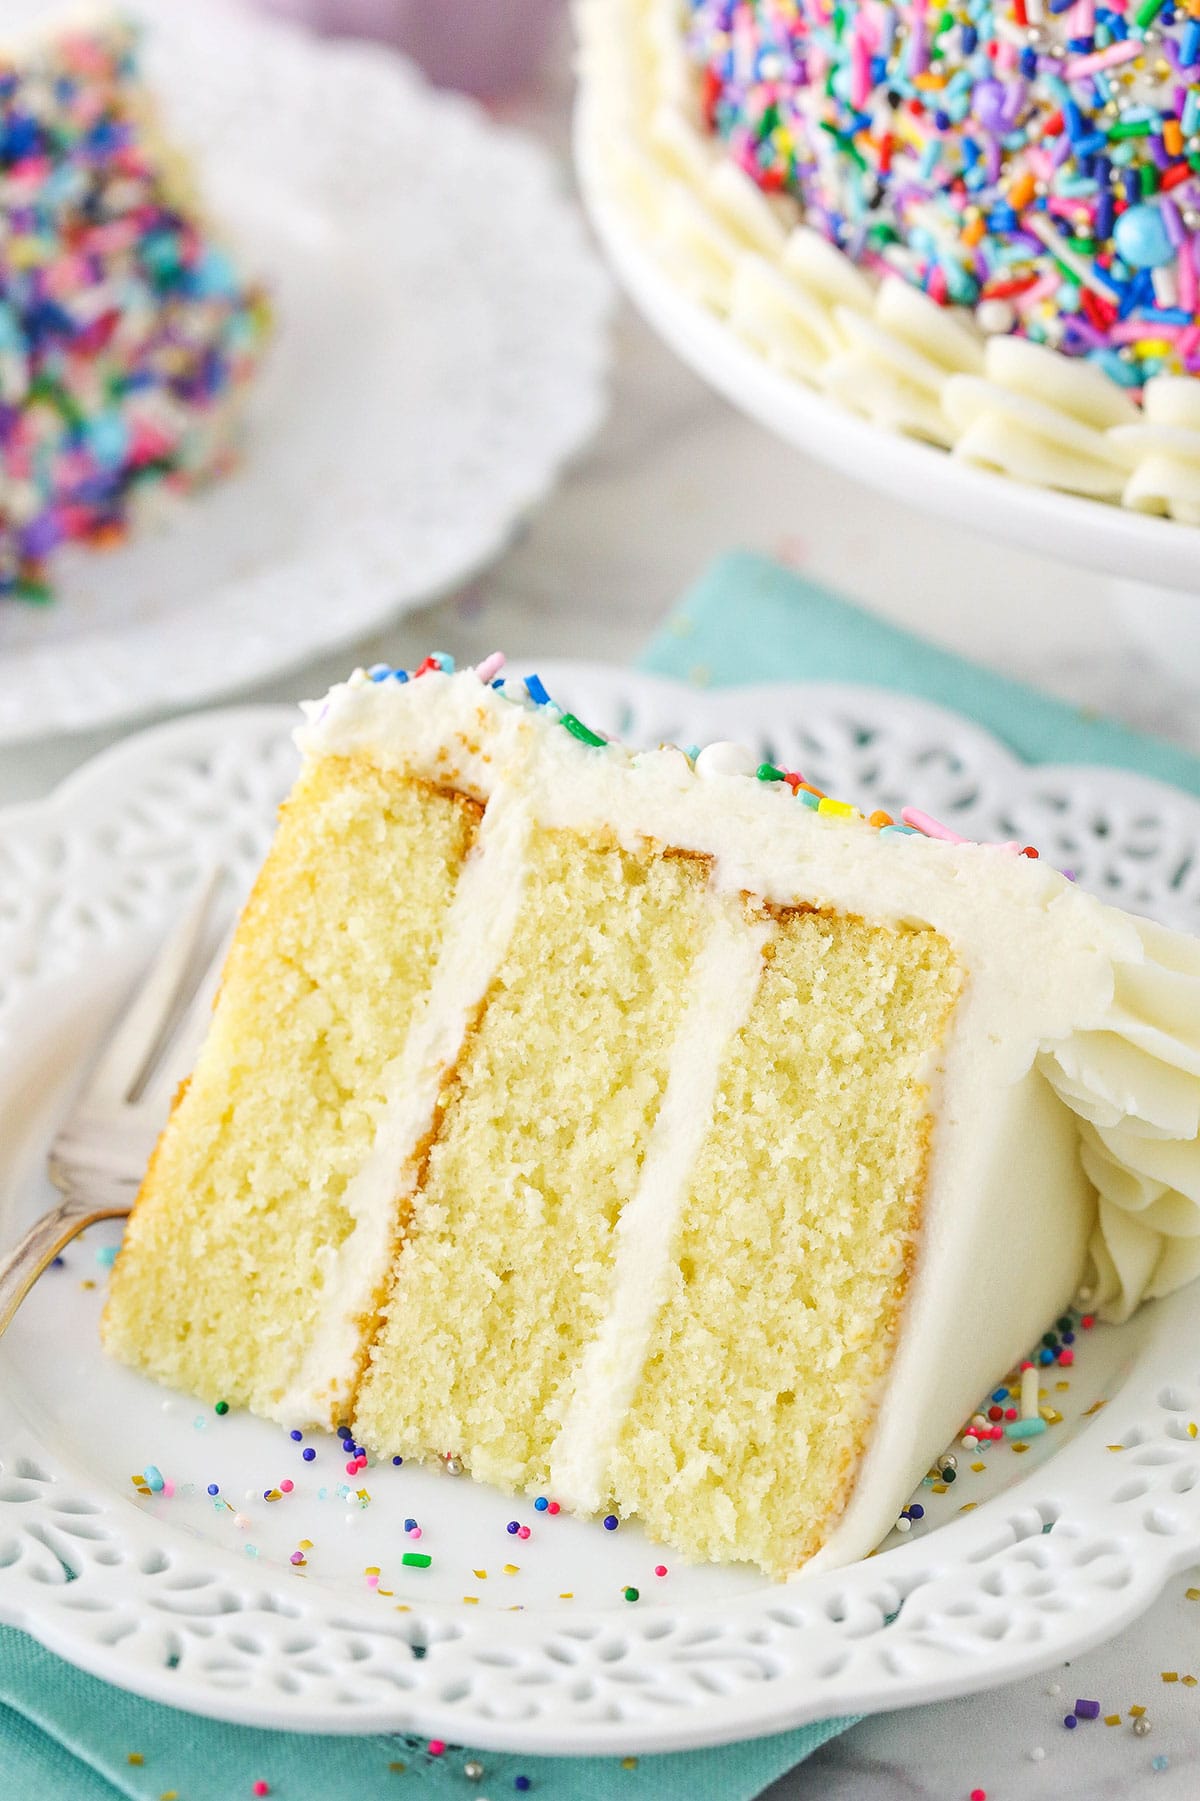
This 6 inch vanilla cake is perfect for smaller groups, smash cakes and so much more! Make a moist, delicious vanilla cake and learn how to adapt many of my cake recipes for use as 6 inch cakes!
Small Batch Cakes
Over the years, I’ve found that one of the most common questions I get is about turning my cakes into smaller 6 inch cakes. The smaller cakes are usually great for small family occasions, smash cakes, etc. They could even be great if you wanted to have a couple cake flavors at an event without ending up with too much cake. There are really endless reasons for 6 inch cakes.
So I finally got around to testing them a bit so that I could answer these questions. What really is the best way to adapt an 8 inch cake recipe to 6 inch pans? Should you reduce the ingredients and get a shorter cake, or keep it the same and get a taller cake? My personal preference is to reduce it. So how much?
Reduce Cake Batter by Half
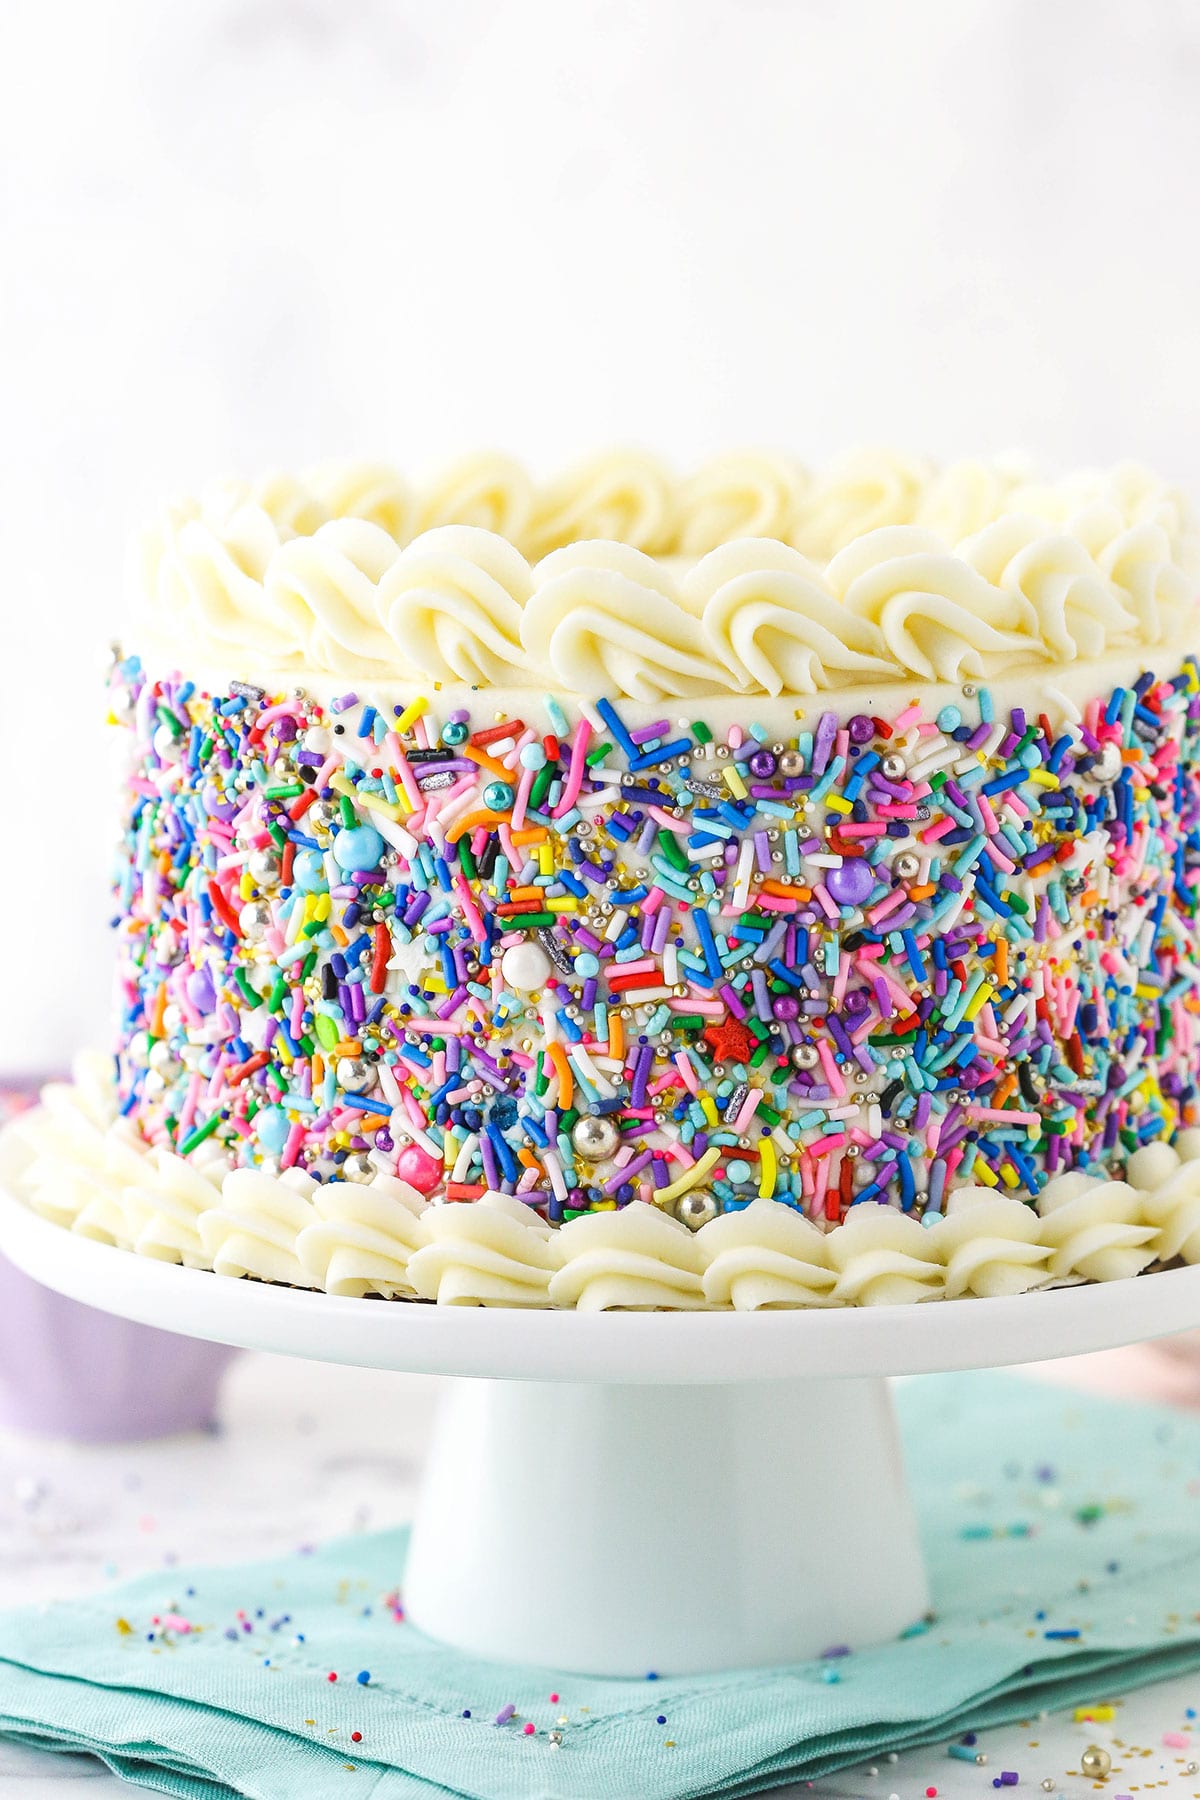
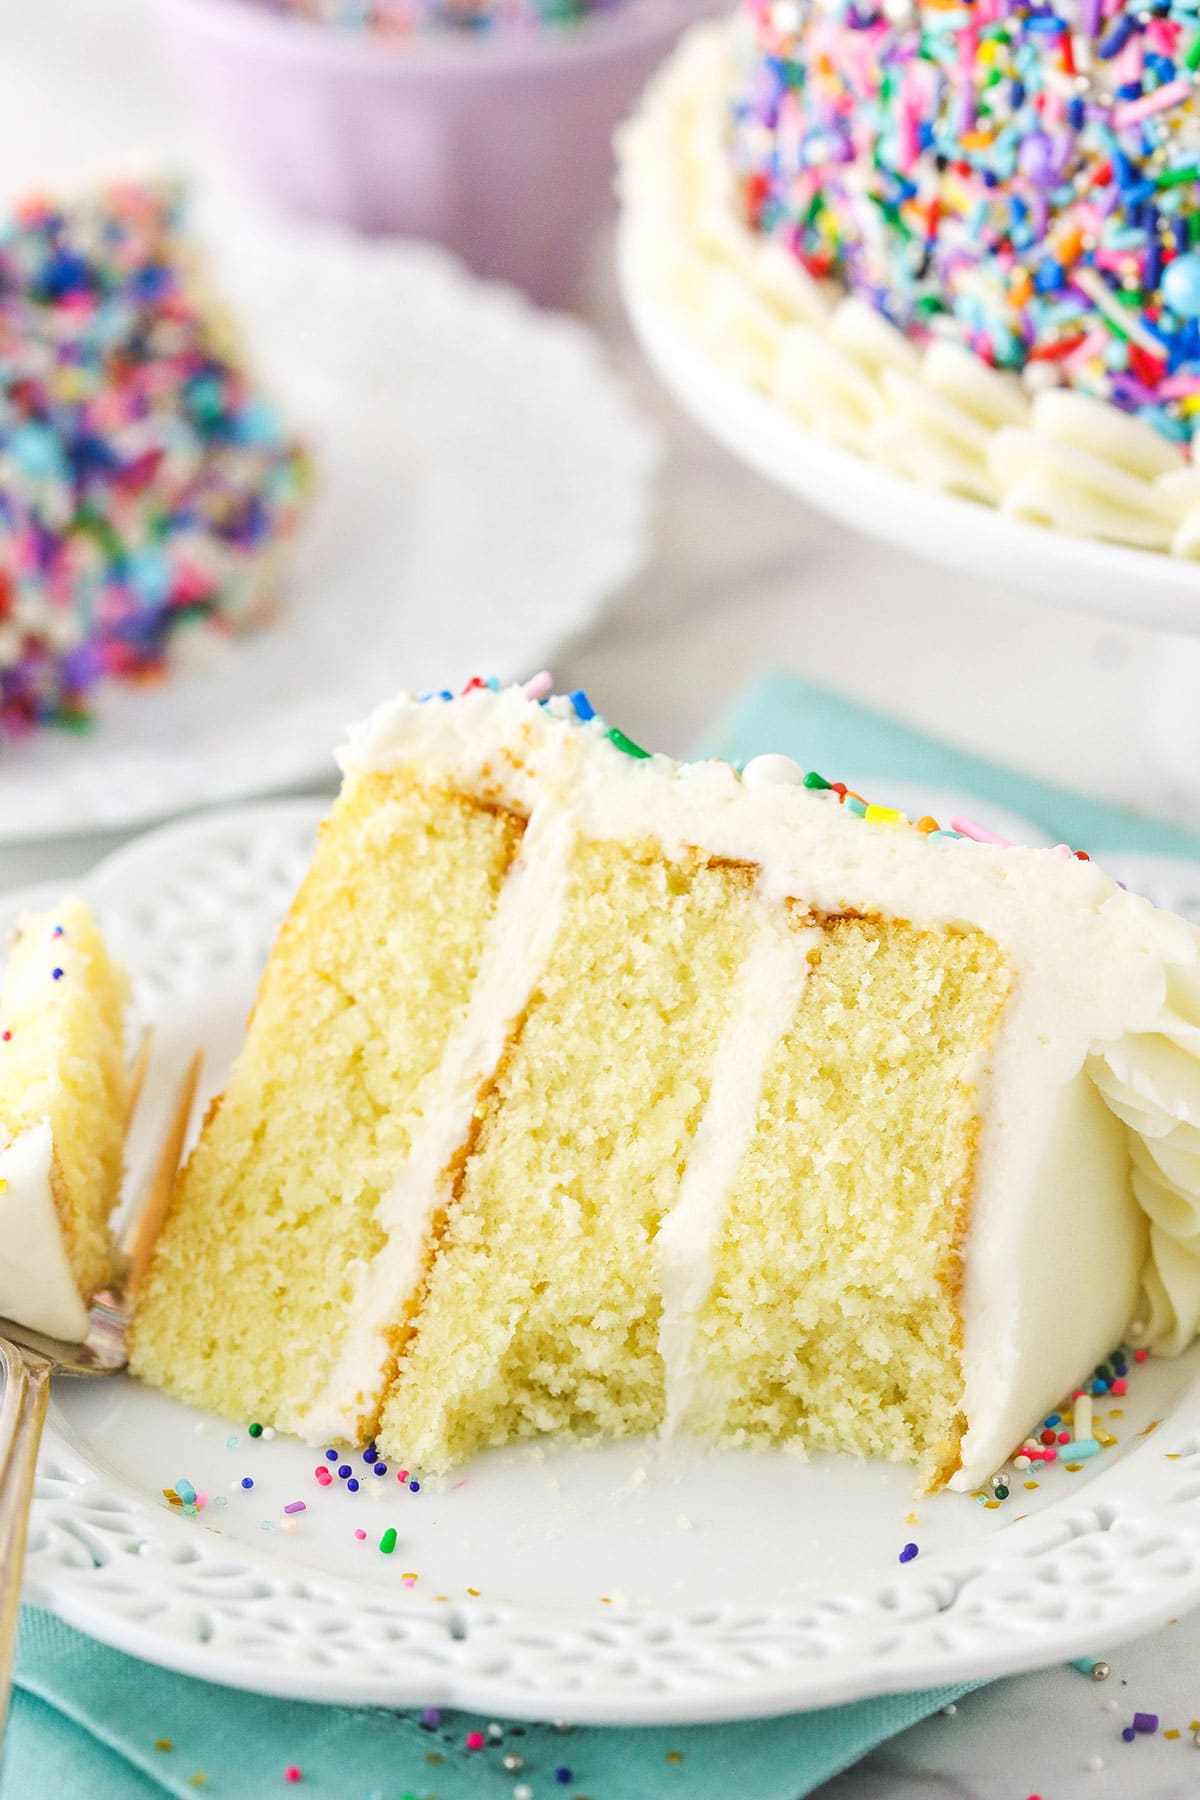
Fortunately, the answer was far simpler than I expected! All you need to do is reduce the cake batter by half and you have the perfect amount for three 6 inch pans. Each cake layer should bake up to be about an inch tall. When you add frosting between the layers and frost the cake, it should end up being roughly 3 1/2 inches tall or so. Perfection!
And guess what this means?! Not only can you easily convert cake recipes to 6 inch pans by cutting them in half, you can also easily use my cupcake recipes for 6 inch cake pans. The majority of my cupcake recipes are made using half of my cake recipe, giving you about 12-14 cupcakes. So, any cupcake recipe that produces 12-14 cupcakes (or so) should be perfect for 6 inchs pan too. Yay!
Endless 6 inch Cake Options
So armed with that information, this gives you endless 6 inch cake options to try. I have this vanilla cake written out for you below, but you’ll notice that it’s the same as half of my Moist Vanilla Layer Cake and exactly the same as my Easy Homemade Vanilla Cupcakes recipe. So here are some other classics that would be great to try, but you really could really try most any on this site.
- Chocolate Cake
- Strawberry Cake or try these Fresh Strawberry Cupcakes in cake form
- Carrot Cake
- Pumpkin Cake
- Peanut Butter Cake
- Coconut Cake
- Lemon Cake
- Hummingbird Cake
- Yellow Cake
- Italian Cream Cake
- Strawberry Shortcake Cake
- Gingerbread Cake
- Spice Cake
- Champagne Cake
Most non-chocolate cakes should take about 15-20 minutes to bake. My chocolate cakes that are based on my Best Moist Chocolate Cake will take closer to 20-25 minutes. It’s a slow bake cake, so the smaller version is as well and it just takes a little longer.
How Much Buttercream Do I Need?
When making this 6 inch vanilla cake, I used half the amount of buttercream that I used for the 8 inch cake and it was just the right amount. Generally speaking, about half should work well. Some people like more or less frosting though, so feel free to adjust to your liking. I tend to use a fair amount of frosting.
How to Make a 6 inch Cake
The process for a 6 inch cake is really no different than any other. You’re just working with less of each ingredient and smaller cake pans.
- Prep your equipment: Prepare three 6 inch cake pans with parchment paper circles in the bottom and grease the sides. Preheat oven to 350°F (176°C).
- Mix dry ingredients: Combine the flour, baking powder and salt in a medium sized bowl and set aside.
- Cream butter and sugar: Add the butter, sugar, oil and vanilla extract to a large mixer bowl and beat together until light in color and fluffy, about 3-4 minutes. Do not skimp on the creaming time.
- Add the eggs one at a time, mixing until mostly combined after each. Scrape down the sides of the bowl as needed to be sure all ingredients are well incorporated.
- Add half of the dry ingredients to the batter and mix until mostly combined.
- Slowly add the milk and mix until well combined. The batter may look a touch curdled, but that’s ok.
- Add the remaining dry ingredients and mix until well combined and smooth. Scrape down the sides of the bowl as needed to be sure all ingredients are well incorporated. Do not over mix the batter.
- Bake: Divide the batter evenly between the cakes pans and bake for 15-20 minutes, or until a toothpick comes out with a few crumbs.
- Cool: Remove the cakes from the oven and allow to cool for about 2-3 minutes, then remove to cooling racks to cool completely.
To make the buttercream
- Cream: Beat the butter until smooth.
- Add sugar: Slowly add half of the powdered sugar and mix until smooth.
- Add vanilla: Add the vanilla extract and 4-5 tablespoons of water or cream and mix until smooth.
- Add rest of the sugar: Slowly add the remaining powdered sugar and mix until smooth.
- Adjust as needed: Add additional water or milk, as needed to get the right consistency of frosting.
To build the cake
I have a several helpful posts that show you the process of building cakes – from how to level cakes, to how to fill and stack them, to how to frost a smooth cake, so be sure to check those out too. The process is the same, just a little easier with smaller 6 inch layers to work with.
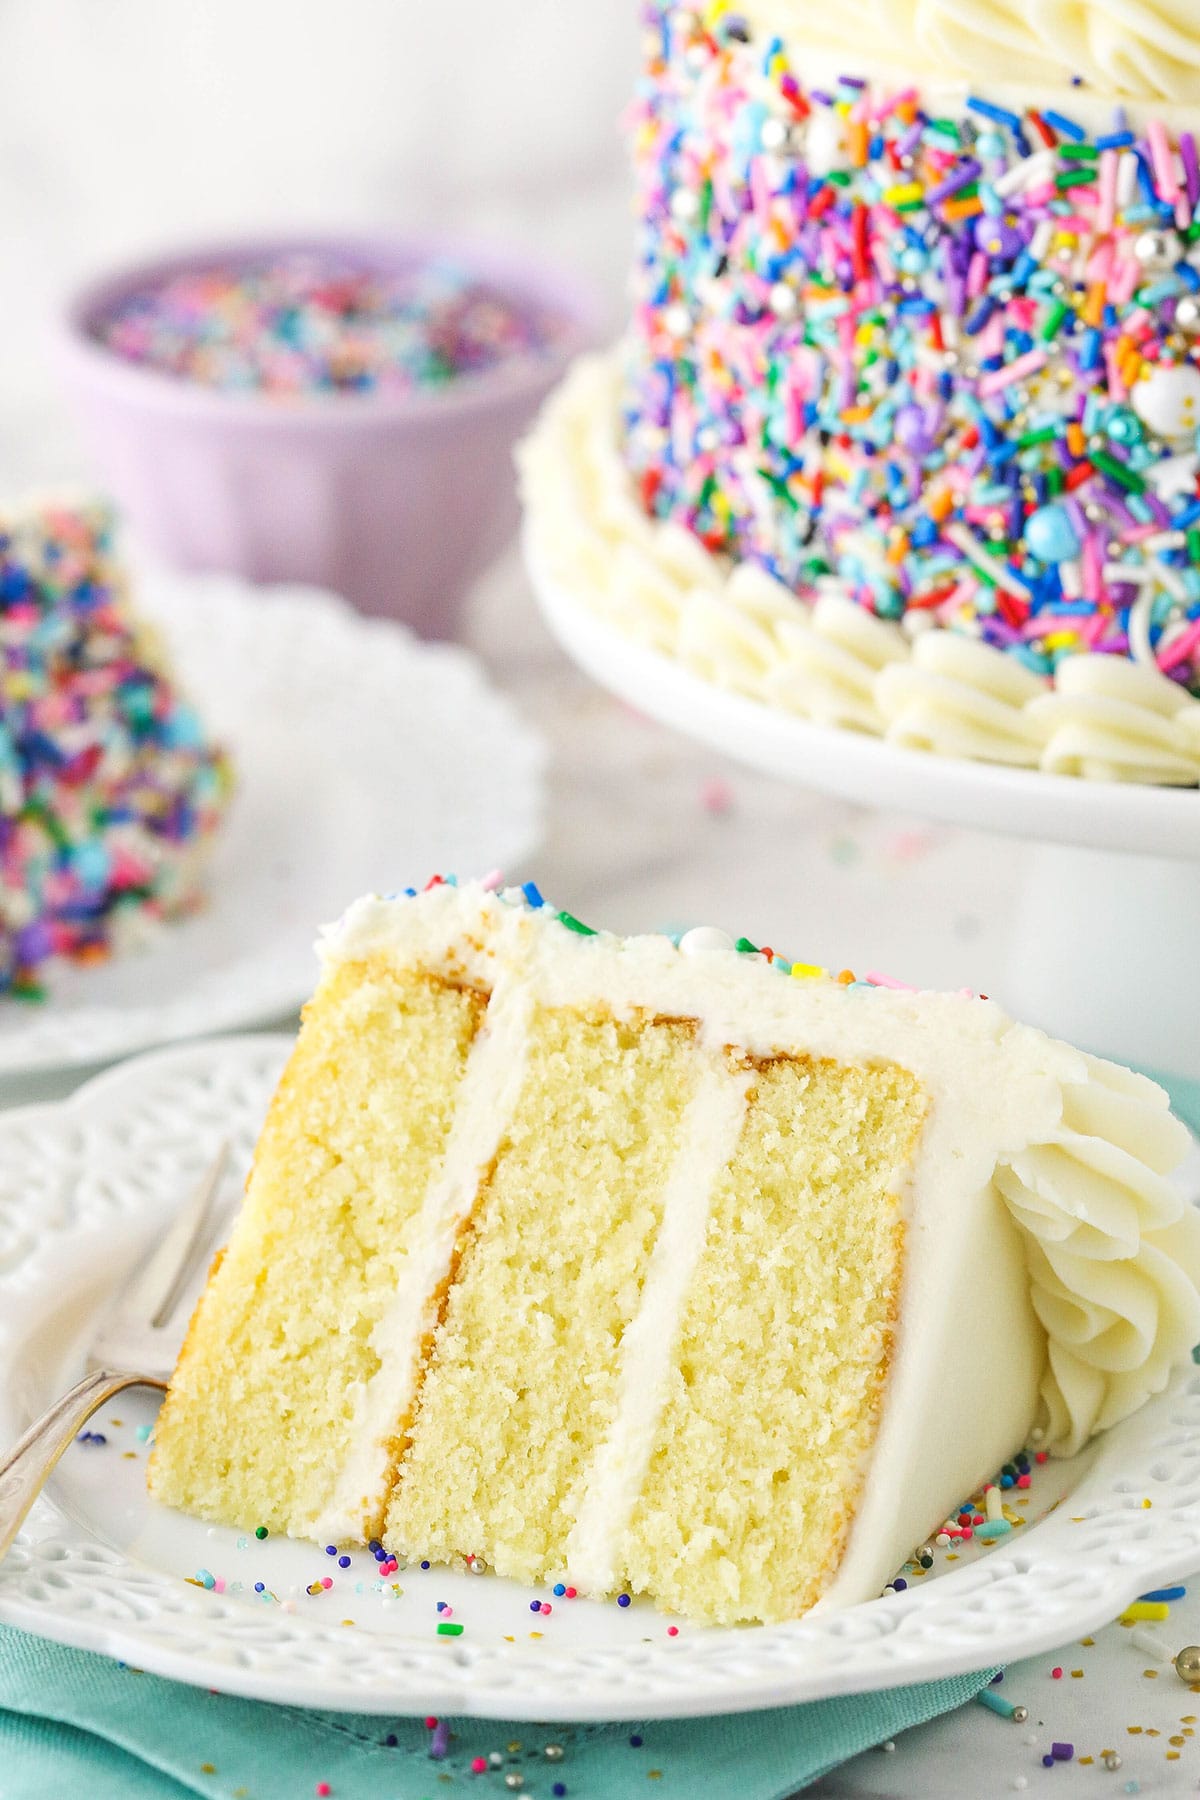
Easy 6 inch Vanilla Cake
If you love the ease and lesser portions of small 6 inch cakes, then this vanilla cake is for you! As mentioned, there are lots of options for great 6 inch cake flavors. With only the need to cut the recipe in half (or use one of my cupcakes recipes), there’s immediately an endless number of cakes to try. Try your favorites and let me know what you think!
Print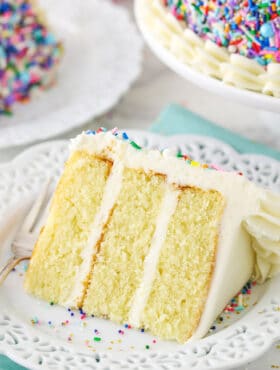
6 inch Vanilla Cake
- Prep Time: 1 hour
- Cook Time: 15 minutes
- Total Time: 1 hour 15 minutes
- Yield: 6-8 servings
- Category: Dessert
- Method: Oven
- Cuisine: American
Description
This 6 inch vanilla cake is perfect for smaller groups, smash cakes and so much more! Make a moist, delicious vanilla cake and learn how to adapt many of my cake recipes for use as 6 inch cakes!
Ingredients
Vanilla Cake Layers
- 1 1/4 cups (163g) all-purpose flour
- 1 1/4 tsp baking powder
- 1/4 tsp salt
- 6 tbsp (84g) unsalted butter, room temperature
- 3/4 cup (155g) sugar
- 2 tbsp (30ml) vegetable oil
- 1 1/2 tsp vanilla extract
- 2 large eggs
- 1/2 cup plus 2 tbsp (150ml) milk
Vanilla Buttercream
- 1 1/2 cups (336g) unsalted butter, room temperature
- 6 cups (690g) powdered sugar
- 2 tsp vanilla extract
- 4–6 tbsp (60-90ml) water or heavy cream
- Salt, to taste
- Sprinkles, optional
Instructions
For the Cake:
- Prepare three 6 inch cake pans with parchment paper circles in the bottom and grease the sides. Preheat oven to 350°F (176°C).
- Combine the flour, baking powder and salt in a medium sized bowl and set aside.
- Add the butter, sugar, oil and vanilla extract to a large mixer bowl and beat together until light in color and fluffy, about 3-4 minutes. Do not skimp on the creaming time.
- Add the eggs one at a time, mixing until mostly combined after each. Scrape down the sides of the bowl as needed to be sure all ingredients are well incorporated.
- Add half of the dry ingredients to the batter and mix until mostly combined.
- Slowly add the milk and mix until well combined. The batter will look curdled, but that’s ok.
- Add the remaining dry ingredients and mix until well combined and smooth. Scrape down the sides of the bowl as needed to be sure all ingredients are well incorporated. Do not over mix the batter.
- Divide the batter evenly between the cakes pans and bake for 15-18 minutes, or until a toothpick comes out with a few crumbs.
- Remove the cakes from the oven and allow to cool for about 2-3 minutes, then remove to cooling racks to cool completely.
For the Frosting:
- To make the frosting, beat the butter until smooth.
- Slowly add half of the powdered sugar and mix until smooth.
- Add the vanilla extract, 4 tablespoons of water or cream and salt and mix until smooth.
- Slowly add the remaining powdered sugar and mix until smooth. Add additional water or milk, as needed to get the right consistency of frosting.
To Assemble the Cake:
- To put the cake together, use a large serrated knife to remove the domes from the top of the cakes so that they’re flat. These cakes don’t have a large dome, but I like to make sure they’re completely flat.
- Place the first cake on a serving plate or a cardboard cake round.
- Spread about 1/2 a cup of frosting evenly on top of the cake.
- Add the second layer of cake and another half cup of frosting.
- Top the cake with the remaining layer and frost the outside of the cake. Refer to my tutorial for frosting a smooth cake, if needed.
- Press sprinkles into the sides of the cake. Pipe a shell border around the top edge and bottom of the cake. I used Ateco tip 844.
- Store in an air-tight container. Cake is best eaten within 3-4 days.
Nutrition
- Serving Size: 1 slice
- Calories: 947
- Sugar: 108 g
- Sodium: 107.7 mg
- Fat: 49.3 g
- Carbohydrates: 125.4 g
- Protein: 4.7 g
- Cholesterol: 165.5 mg





Can i use olive oil
I haven’t tried olive oil in cakes. I imagine you could, but the flavor would be different.
So good oh my god. Supposed to be on a caloric deficit- ended up eating it all 😂
Lol! Glad you enjoyed it!
Hello , what if my oven has no fan. What would the temperature be for this recipe ?
I’m not sure. I only test with my oven. It’s a convection oven, but I use the regular bake setting.
Hi Lindsay absolutely love your recipes! Such an inspiration! I have a question, what do I do if I don’t want to separate the batter into separate tins and just use one? How many minutes does it then have to be in the oven?
It would be too thick/tall in a 6 inch pan and might not bake evenly or could be more dense. I might try baking it all in an 8 inch pan for maybe 20 minutes or so.
I made this recipe twice, and both times I made it, it only made 2 cakes, and both were rather short – maybe 1 inch max. Why is this, I definitely creamed the butter enough.
It’s really hard to say from a distance. You want to cream it enough, but not too much, or that can actually cause it to not rise properly either. You also want to make sure your baking powder is good, and then you don’t want to over mix after adding your dry ingredients. I hope that helps!
Same. Only 2 pans. I’m a pretty good baker to.
The cake was good, however, it took me almost 20 minutes longer to bake the cake than the bake time said. I ended up raising the temperature by 10 degrees. I followed all of the instructions.
Hmm, there must be quite a difference between our ovens. Did you happen to bake it in 2 pans instead of 3? Glad you enjoyed it otherwise!
Hi can I put all of the batter in to a 6×3 inch tin instead of using three separate tin?
No, it won’t bake properly. It’ll end up too dense and likely brown too much around the edges.
Can I use self raising flour for this recipe if I don’t have all purpose. If so how much would I need?
Thanks
I don’t know. I’m guessing it wouldn’t have the right amount of leavening.
Can I add lime juice for a citrus flavor? If so, how much and do I need to lessen the amount of milk?
Lime juice is acidic, so it can change the results. I’d recommend using my lemon cake, which is based on this vanilla cake base recipe, and use lime instead of lemon. If you’re looking for a 6 inch cake, cut the recipe in half.
Hi Lindsay!
If I wanted to use this recipe to make cupcakes, do you have any adjustments or recommendations? Cook temperature and time changes?
Thank you
You can find this recipe as vanilla cupcakes here.
How many would this triple layer cake feed please
You should get about 6 to 8 servings, depending on the size of the serving.
Does it matter if it’s a 6×2 or 6×3 inch pan?
No, it doesn’t matter.
hi, could i half this recipe and bake in just one tin?
Sure. That should be fine.
Can i put oil instead of butter? And do I need to change other ingredients if I do that?
Not in this recipe. In order for it to cream properly, you need butter as listed. Some vegetable oil has been added in order to add additional moisture. If you would like an oil based recipe, I would use this vanilla cupcake recipe. It works very well as a cake too.
I just sent you a comment about small batch baking. I am so sorry that I addressed it to “Sally”! I should have checked first.
Dear Sally, I am a huge fan of your blog, recipes, and books. Everything I have made of yours has been wonderful. My problem now is that we are empty nesters and I need small batch recipes, mainly cakes, pies, no-bakes. Cookies are not a problem as they are convenient to freeze. Would you please consider a cookbook addressing this need? I think that there would be a huge market for this. Thanks so much.
I am so glad to hear that you’ve enjoyed the recipes! That is certainly something I will consider in the future. Thank you for the feedback!