This post may contain affiliate sales links. Please read my disclosure policy.
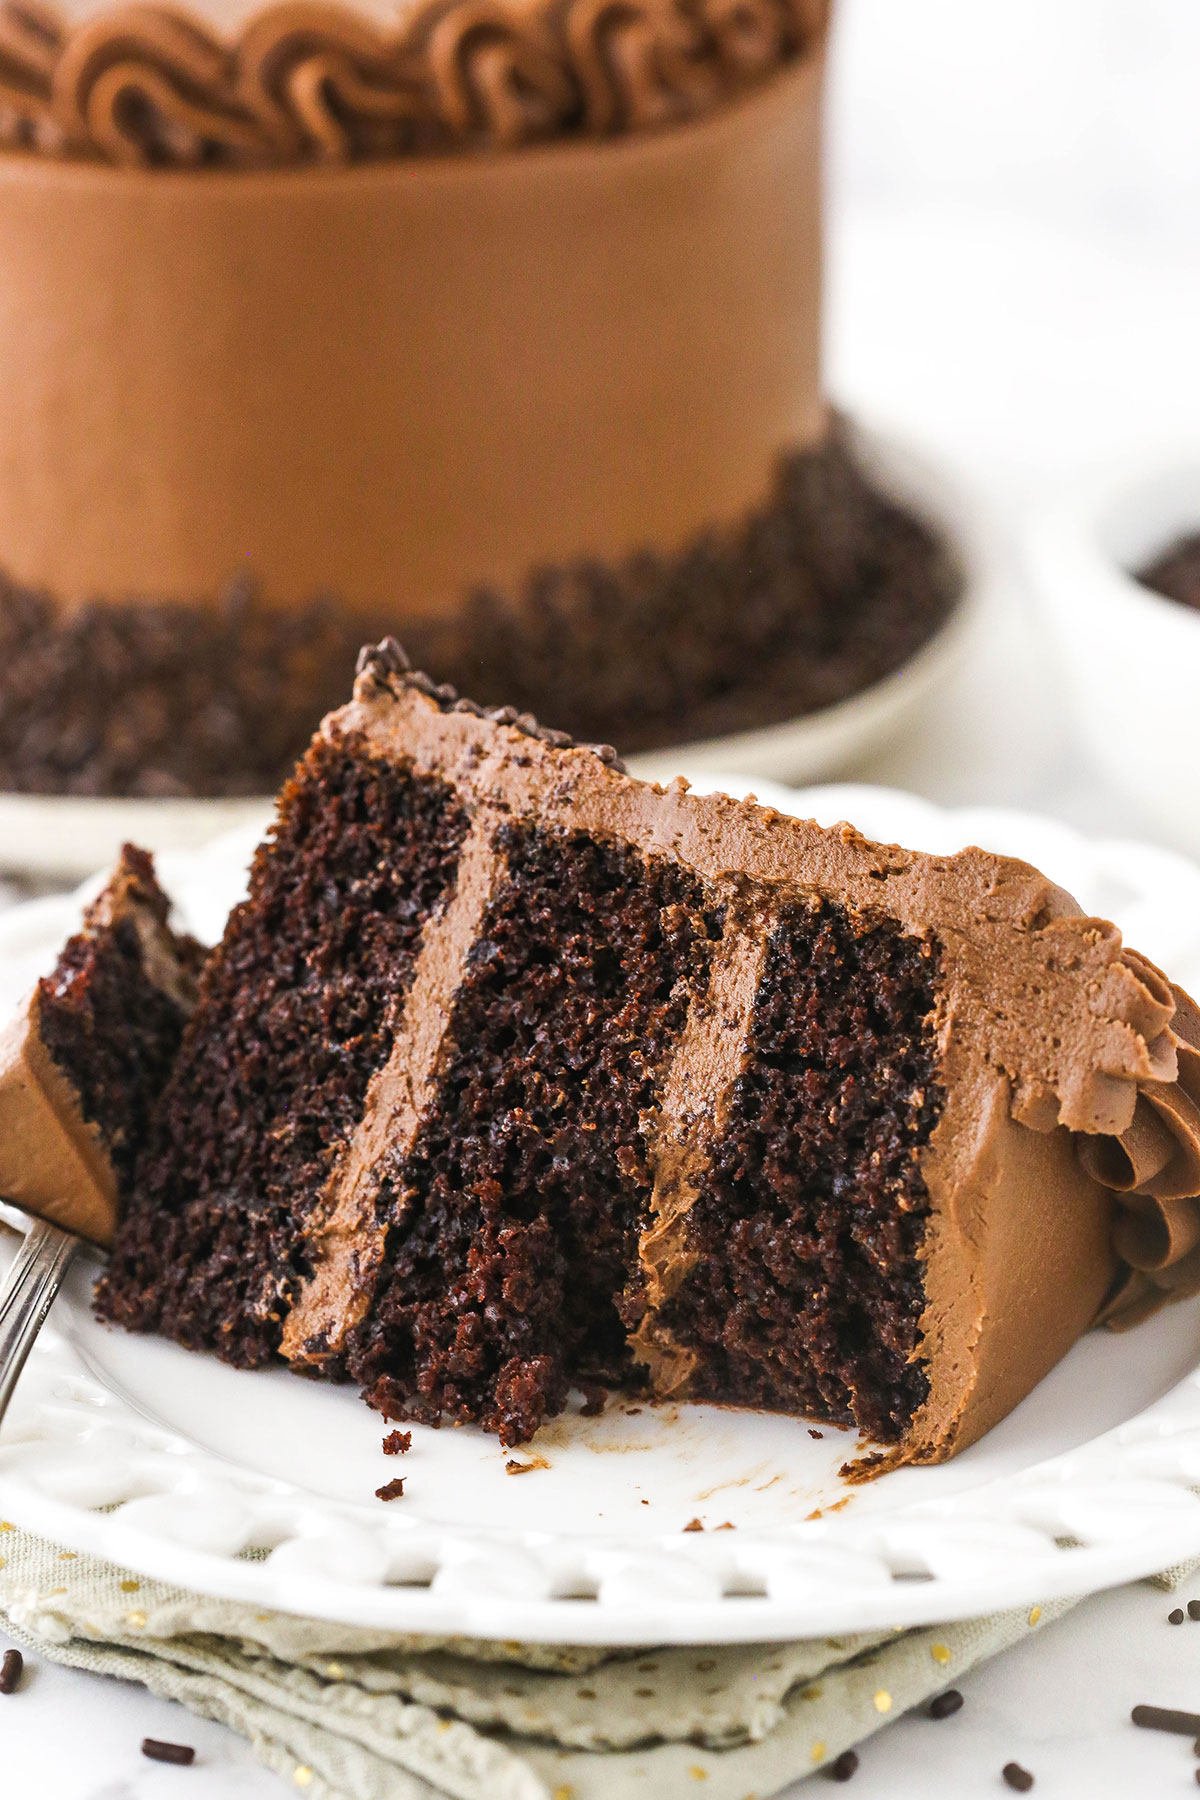
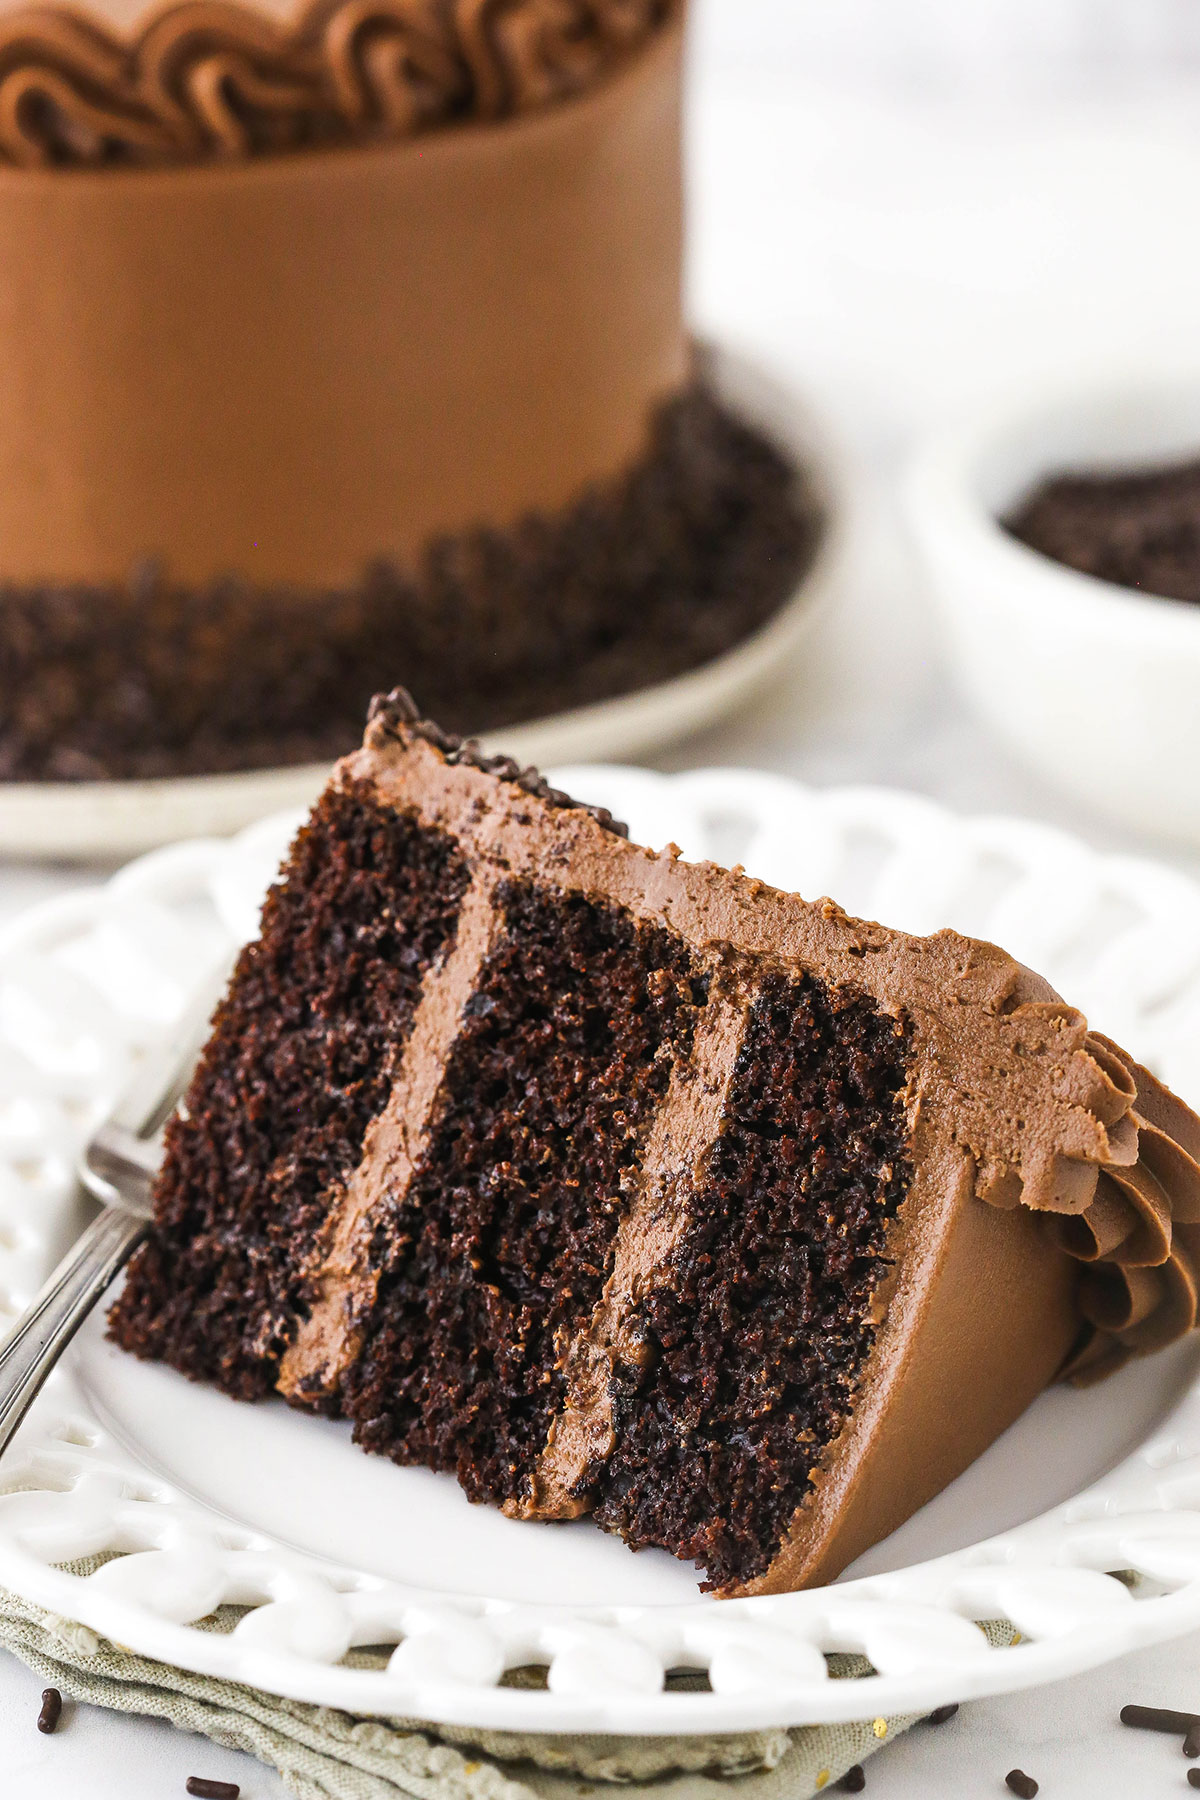
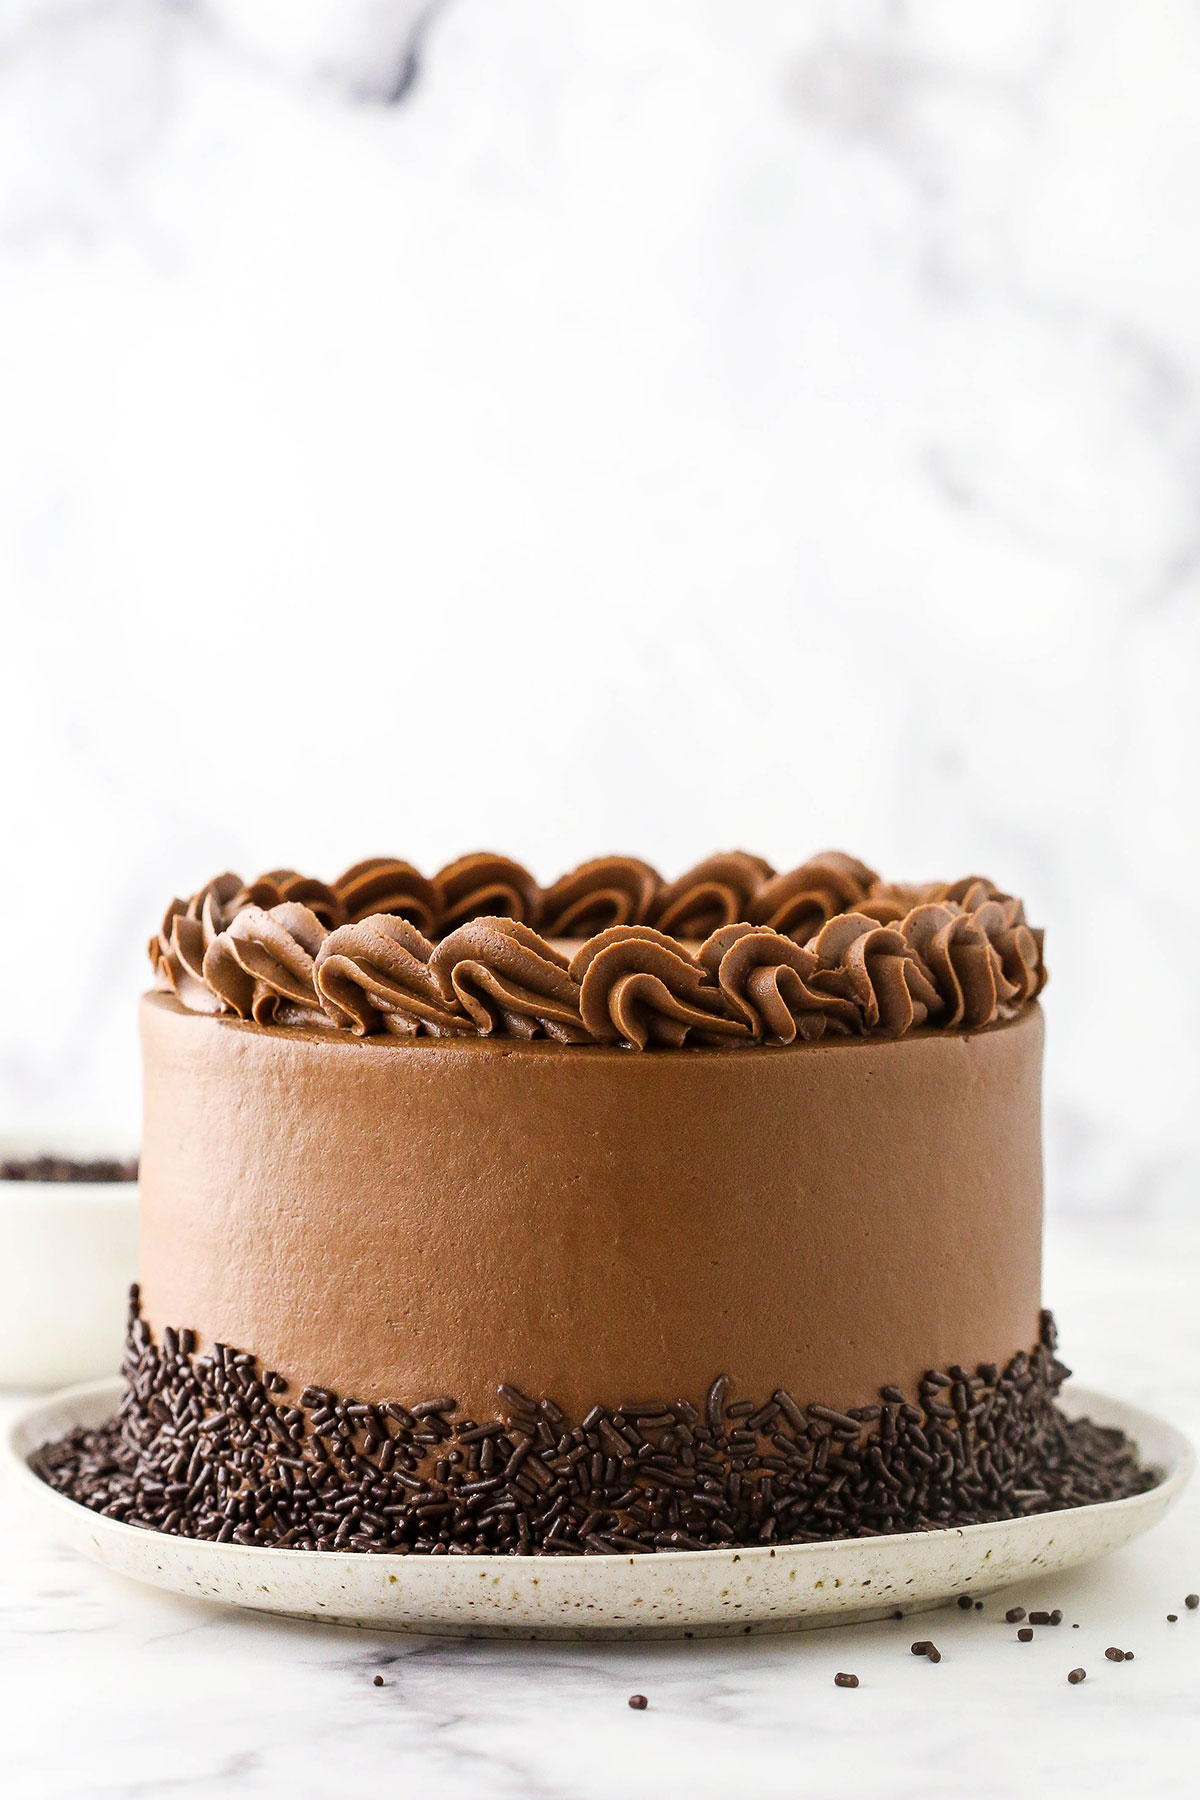
Moist and fluffy chocolate cake is layered up with creamy chocolate frosting in this super easy 6 Inch Cake! It may be half the size of your average cake, but it’s guaranteed to make every chocolate lover fall head over heels in love.
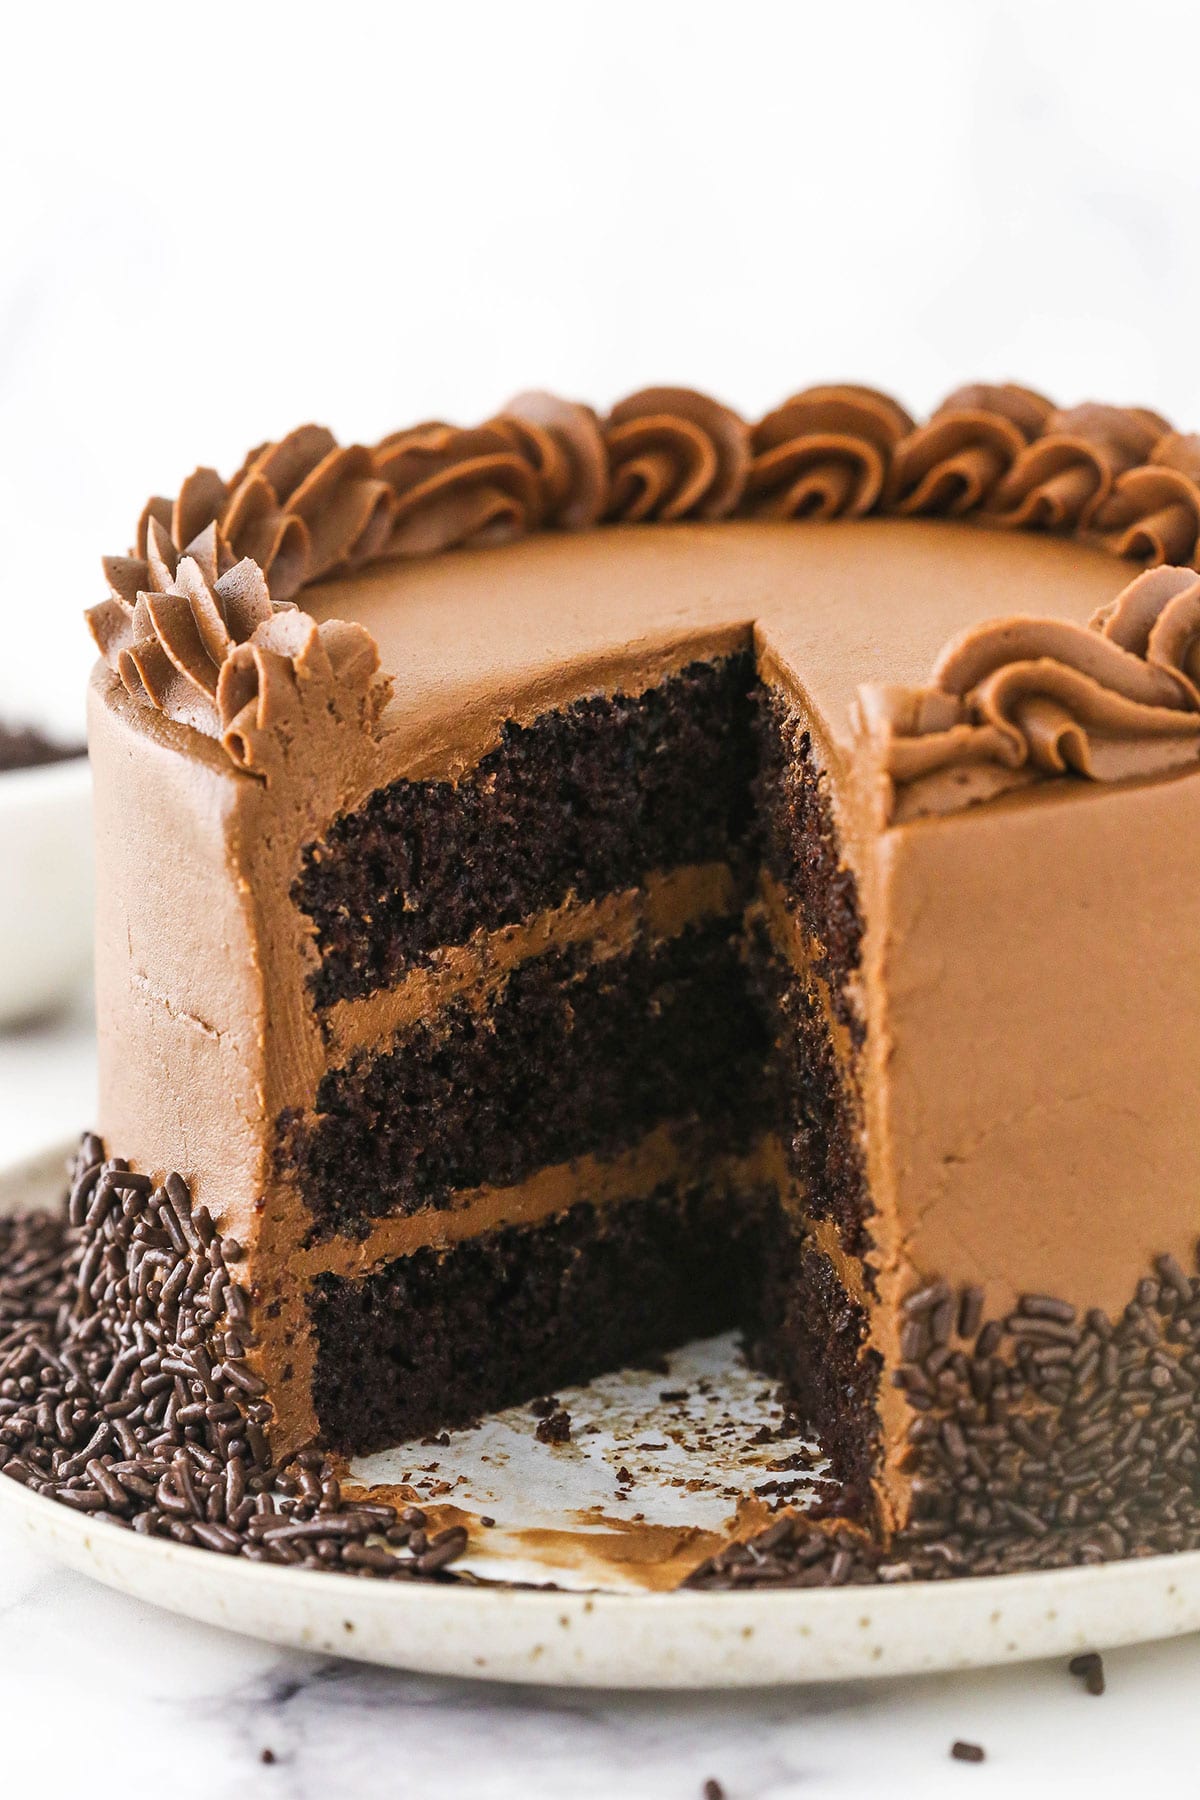
Mini Chocolate Layer Cake with Chocolate Buttercream
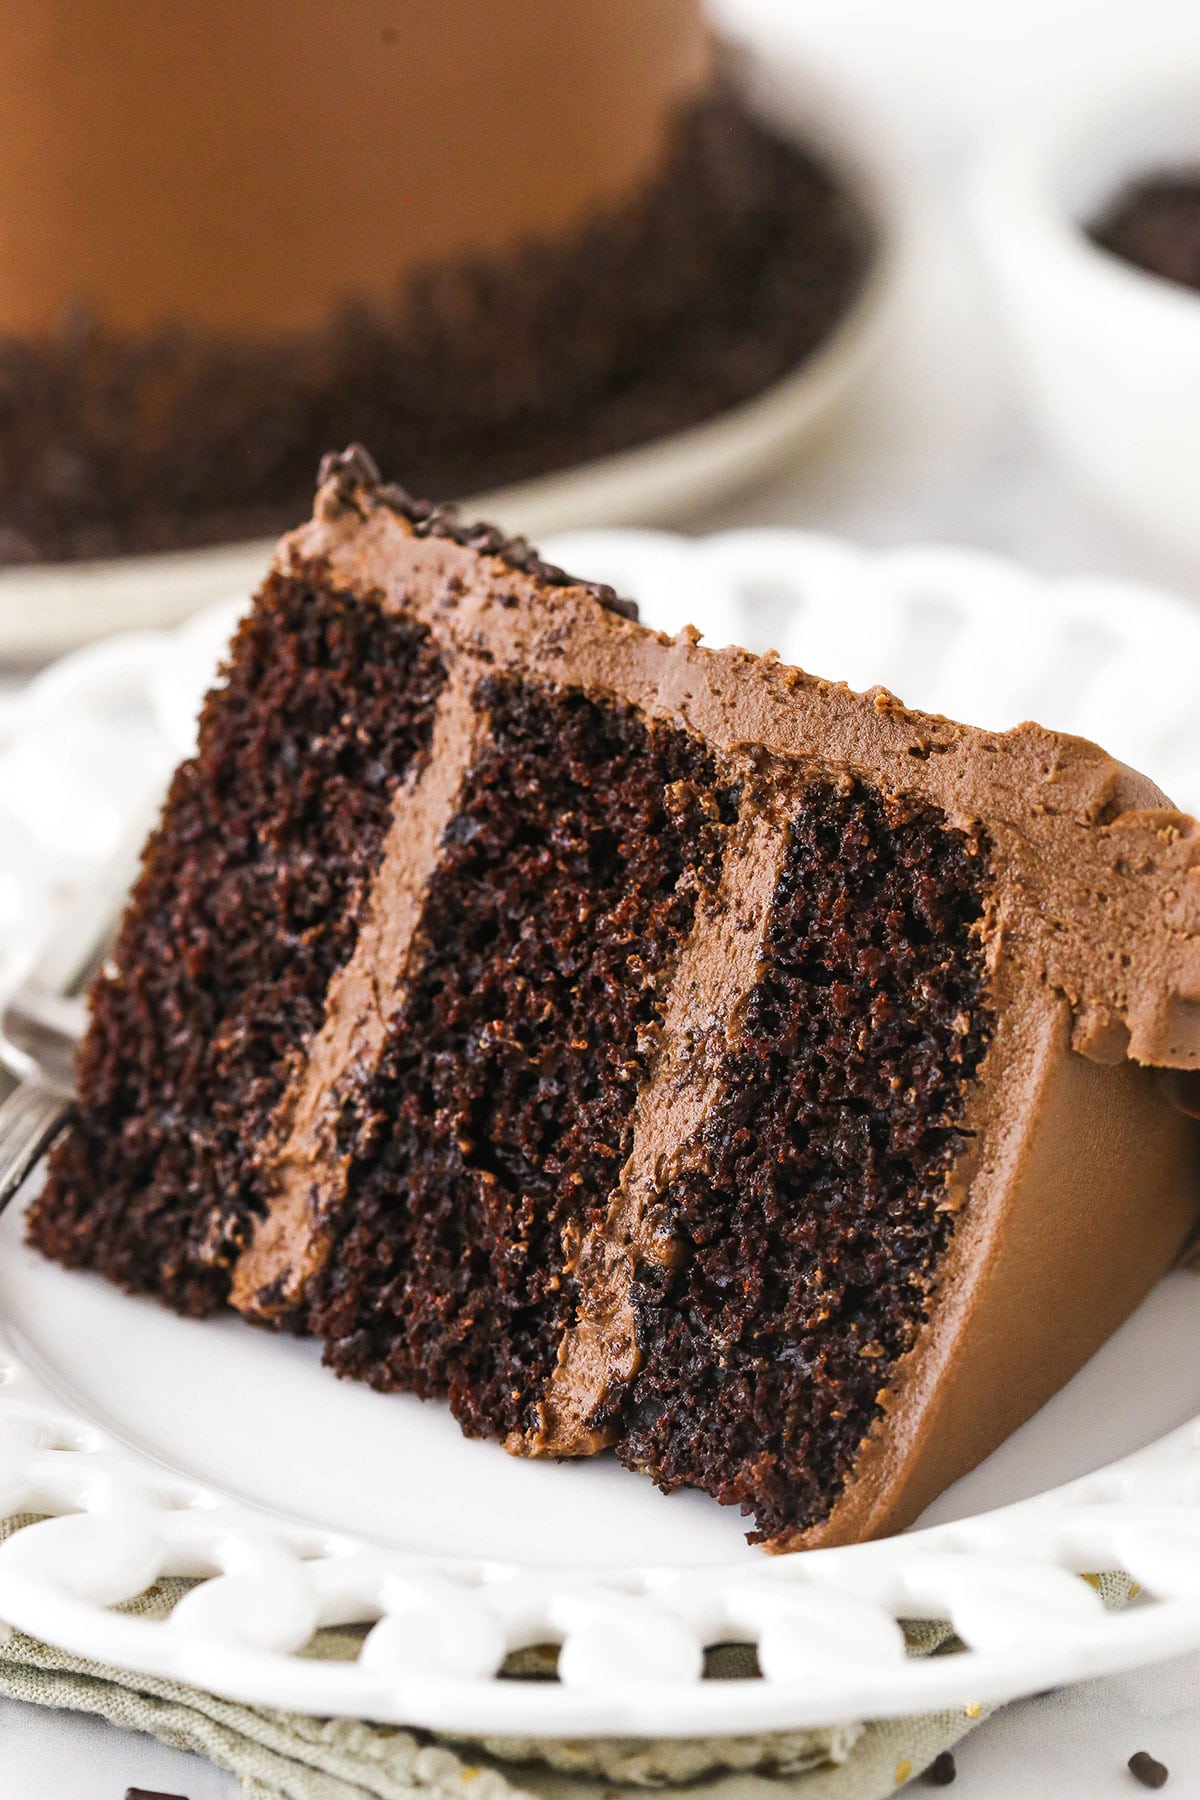
This recipe is for all of you chocoholics who’ve been looking forward to my chocolate version of this 6 Inch Vanilla Cake. I promise that it will be well worth the wait! It’s a mini version of the World’s Best Chocolate Cake, so you already know it’s going to be downright irresistible. The moist, rich, tender cake and the smooth, creamy frosting will have you licking every little crumb off of your plate!
And you don’t need any fancy ingredients to make it happen. Hot water is used in the cake to “bloom” the cocoa powder, or draw out its flavor and richness. As a result, the chocolatey goodness in this dessert is unmatched! If you have a chocolate lover in your family who prefers a small cake, this is the annual birthday cake they need in their life.
Why Make a 6 Inch Cake?
There are many reasons why you may not want a full 8 or 9 inch cake. Maybe you want a smash cake for your baby’s birthday, maybe you have a small family, or perhaps you just want to try something new and not have a ton leftover! All excuses to make this cake are completely valid.
What You’ll Need
Let’s talk ingredients. We’ll start with the cake and move on to the buttercream.
For the Chocolate Cake
- All-Purpose Flour: You can use cake flour, as well.
- Sugar
- Cocoa Powder: Natural and unsweetened.
- Baking Soda: Not baking powder. They are not interchangeable.
- Salt: For flavor. Definitely don’t leave it out.
- Egg
- Milk: I use 2 %.
- Vegetable Oil
- Vanilla Extract
- Hot Water: To “bloom” the cocoa powder.
For the Chocolate Buttercream
- Butter: Brought to room temperature.
- Powdered Sugar
- Vanilla Extract
- Cocoa Powder
- Cream: Or water.
How to Make 6 Inch Chocolate Cake
Putting together this cake is incredibly simple. First, we’ll work on making the batter. Once the cake is baked and cooled, it’s frosting time!
Make the Cake Layers
- Prep for Baking: Prepare three 6 inch cake pans with parchment paper circles in the bottom and grease the sides. Preheat the oven to 300°F.
- Combine Dry Ingredients: Add all of the dry ingredients to a large bowl and whisk until combined.
- Add Egg, Milk & Oil: Add the egg, milk and vegetable oil to the dry ingredients and mix well.
- Combine Vanilla & Water: Add the vanilla to the hot water, then add the mixture to your batter. Mix well.
- Bake: Divide the batter evenly between the cake pans and bake the layers for 15-20 minutes, or until a toothpick inserted into the center comes out with a few loose crumbs.
- Let Cool: Remove your cake layers from the oven and allow them to cool for about 3-5 minutes, then transfer them to wire racks to cool completely.
Make the Frosting
- Beat Butter: Once the cake layers are cool, make the buttercream. Add the butter to a large mixing bowl and beat until it’s nice and smooth.
- Start Adding Powdered Sugar: Add half of the powdered sugar and mix until smooth.
- Add Vanilla, Cocoa & Cream: Add the vanilla extract, cocoa powder and 2 tablespoons of cream or water. Mix until the frosting is well combined and smooth.
- Finish Adding Powdered Sugar: Add the remaining powdered sugar and mix until smooth.
- Adjust Consistency: Add additional cream or water as needed to get the right consistency.
Build the Cake
- Level Cake Layers: Use a large serrated knife to remove the domes from the top of the cakes so that they’re flat. These cakes don’t have large domes, but I like to make sure they’re completely level before I start stacking them.
- Frost First Layer: Place the first cake layer onto a serving plate or a cardboard cake round. Spread about half a cup of frosting evenly on top of the cake.
- Add Another Layer: Add the second layer of cake and another half cup of frosting.
- Finish Layering & Frosting: Top the cake with the remaining layer and frost the outside and top of the cake. Refer to my tutorial for frosting a smooth cake if needed.
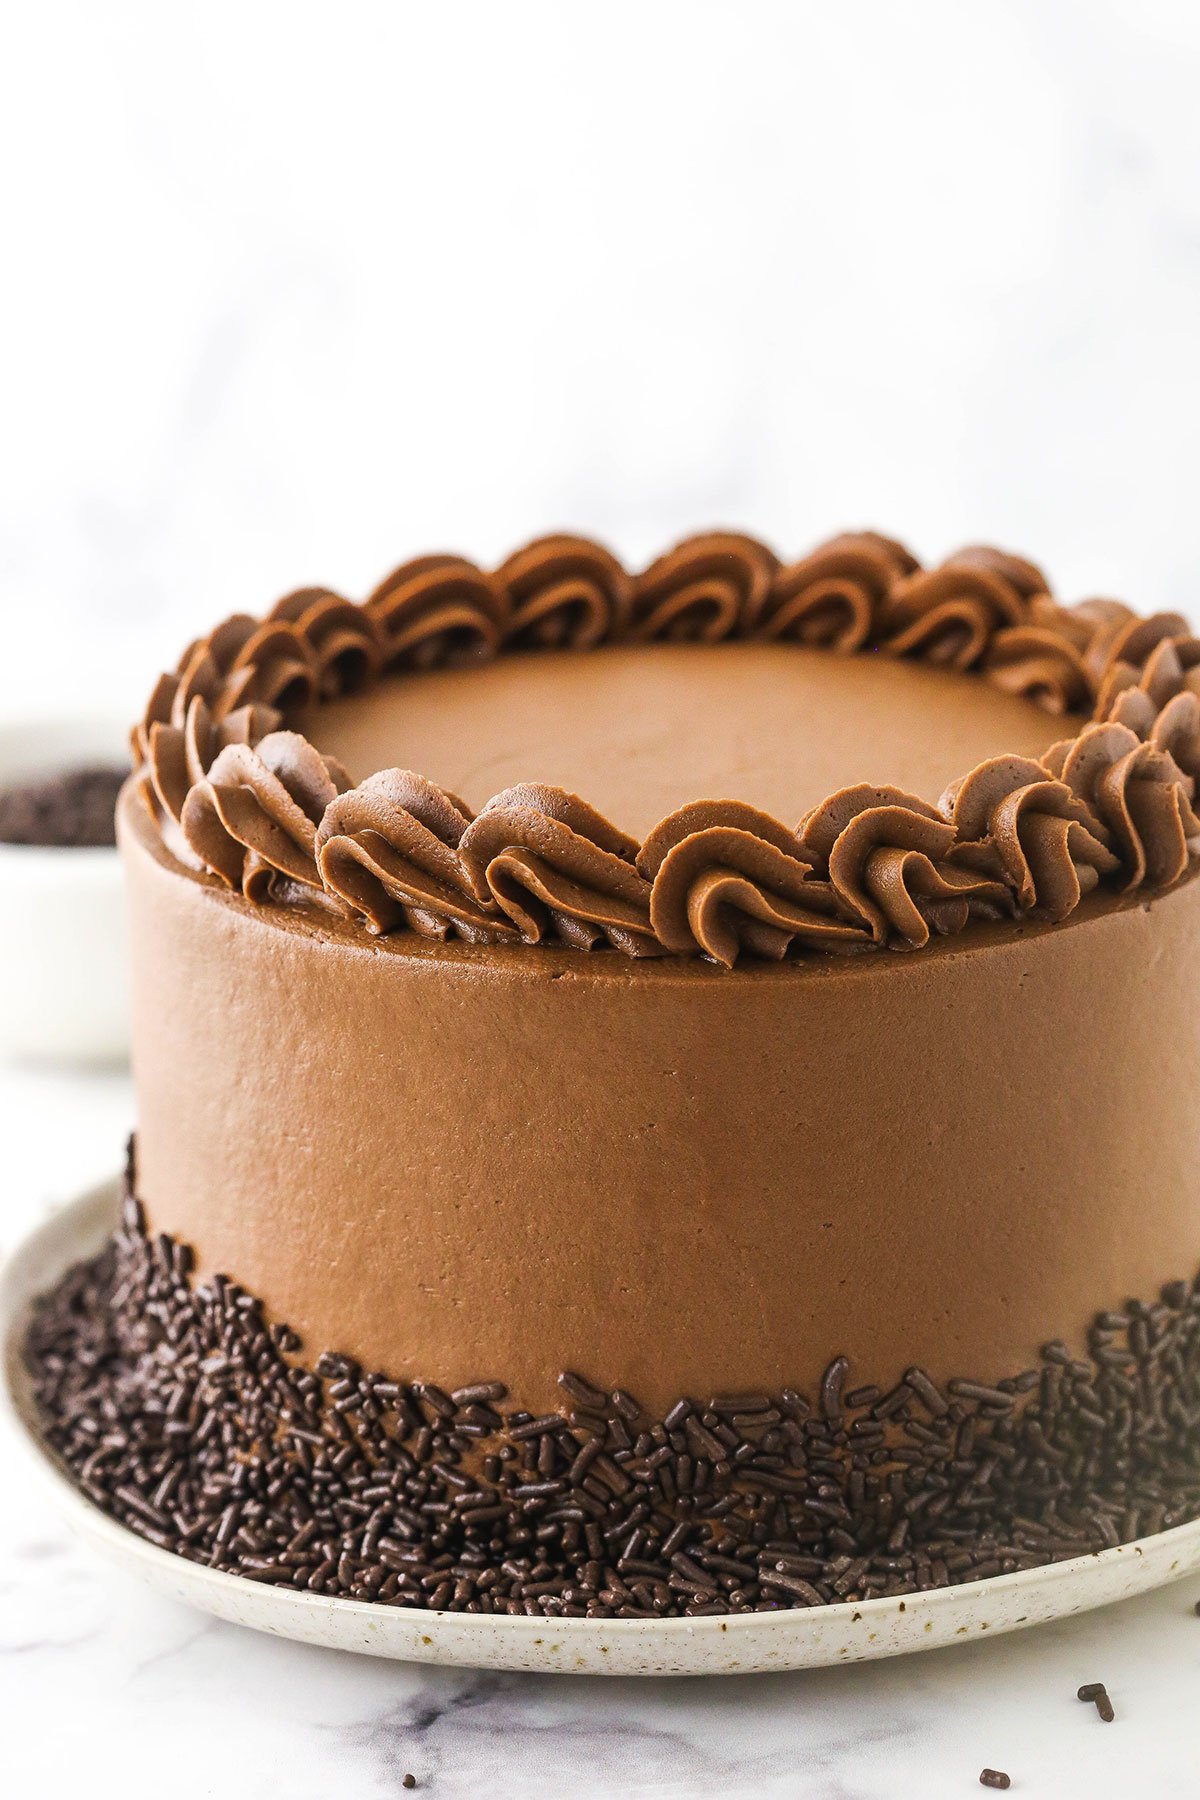
- Decorate: Press chocolate sprinkles into the sides of the cake if you’d like. Pipe a shell border along the top and bottom edges of the cake. I used Ateco tip 847 to do this.
- Serve: Slice, serve and enjoy!
Tips for Success
Before you recreate this crave-worthy cake at home, be sure to check out the tips and tricks below.
- Make Sure the Water is Hot: If your water isn’t hot when you add it to the cake batter, it won’t bloom the cocoa powder and intensify its flavor. The hotter it is, the better. I usually heat it in the microwave just until it begins to boil.
- Bake in Batches if Needed: If you can’t fit all of the cake layers on the center rack of your oven at the same time, bake them in batches. If they’re on the top or bottom racks, one side will cook faster than the other.
- Adjust the Frosting’s Consistency: You may need to add extra cream or water to your frosting if it’s too thick for your taste. Mix in a little bit at a time until you’re happy with the consistency.
- Store if Not Serving Immediately: Unless you’re serving your cake right away, you should keep it in an airtight container to preserve its freshness. I like to store mine in a cake carrier to avoid messing up the frosting.
Variation Ideas
I have based so many different chocolate cakes on the full-sized version of this recipe. You’ll find a few of my very favorites linked below! To make them work in the 6 inch size, simply reduce each ingredient by half.
- Nutella Cake
- Guinness Chocolate Layer Cake
- Chocolate Pumpkin Cheesecake Cake
- Mint Chocolate Chip Layer Cake
- Orange Chocolate Cake
- Chocolate Turtle Poke Cake
- Hot Chocolate Cake
Saving Extra Cake for Later
Leftover cake should be kept in a cake carrier or another airtight container at room temperature. It’s best if it’s enjoyed within 3-4 days.
Can I Freeze This?
Yes! You can either freeze the cake layers before you add the frosting or freeze the finished, frosted cake. To freeze the layers, simply wrap each one in two layers of plastic wrap and freeze them for up to 3 months. Thaw them out in the fridge before assembling the cake.
To freeze the frosted cake, place it on a baking sheet and freeze the whole thing for about 1-2 hours, or until the icing is hard. If you can’t fit the whole cake in your freezer, cut it into individual slices instead, which can be frozen the same way. Once the frosting is hard, wrap the cake in two layers of plastic wrap and freeze it for up to 3 months. Unwrap it and thaw it out in the fridge before enjoying it.
Print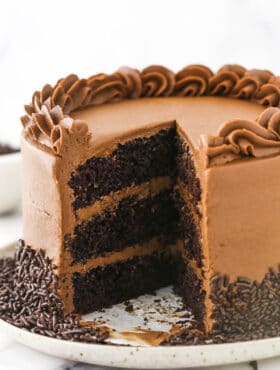
6 Inch Chocolate Cake
- Prep Time: 1 hour
- Cook Time: 15 minutes
- Total Time: 1 hour 15 minutes
- Yield: 8
- Category: Dessert
- Method: Oven
- Cuisine: American
Description
Moist and fluffy chocolate cake is layered up with creamy chocolate frosting in this super easy 6 Inch Cake! It may be half the size of your average cake, but it’s guaranteed to make every chocolate lover fall head over heels in love.
Ingredients
For the Chocolate Cake
- 1 cup (130g) all purpose flour
- 1 cup (207g) sugar
- 6 tbsp (43g) unsweetened cocoa powder
- 1 tsp baking soda
- 1/2 tsp salt
- 1 large egg
- 1/2 cup (120ml) milk
- 1/2 cup (120ml) vegetable oil
- 3/4 tsp vanilla
- 1/2 cup (120ml) hot water
For the Chocolate Buttercream
- 1 1/2 cups (336g) butter, room temperature
- 5 cups (575g) powdered sugar
- 1 tsp vanilla extract
- 1/2 cup (57g) natural unsweetened cocoa powder
- 2–3 tbsp (60-75ml) cream
Instructions
Make the Cake Layers
- Prepare three 6-inch cake pans with parchment paper circles in the bottom, and grease the sides.
- Preheat oven to 300°F (148°C).
- Add all dry ingredients to a large bowl and whisk together.
- Add egg, milk and vegetable oil to the dry ingredients and mix well.
- Add vanilla to hot water and add to mixture. Mix well.
- Divide batter evenly between cakes pans and bake for 15-20 minutes, or until a toothpick comes out with a few crumbs.
- Remove cakes from oven and allow to cool for about 3-5 minutes, then remove to cooling racks to cool completely.
Make the Frosting
- When the cake layers are cool, make the buttercream. Add the butter to a large mixing bowl and beat until smooth.
- Add half of the powdered sugar and mix until smooth.
- Add vanilla extract, cocoa and 2 tablespoons of cream or water and mix until well combined and smooth.
- Add the remaining powdered sugar and mix until smooth.
- Add additional cream or water as needed to get the right consistency.
Build the Cake
- Use a large serrated knife to remove the domes from the top of the cakes so that they’re flat. These cakes don’t have a large dome, but I like to make sure they’re completely flat.
- Place the first cake on a serving plate or a cardboard cake round.
- Spread about 1/2 a cup of frosting evenly on top of the cake.
- Add the second layer of cake and another half cup of frosting.
- Top the cake with the remaining layer and frost the outside of the cake. Refer to my tutorial for frosting a smooth cake, if needed.
- Press sprinkles into the sides of the cake. Pipe a shell border around the top edge and bottom of the cake. I used Ateco tip 847.
Notes
- Makes 6-8 servings.
- To Store: Store in an airtight container. Cake is best if eaten within 3-4 days.
- To Freeze: To freeze unfrosted layers, wrap each one in two layers of plastic wrap and freeze for up to 3 months. Thaw in the fridge before building cake. To freeze frosted cake, place on a baking sheet and freeze whole thing or individual slices for 1-2 hours, or until icing is hard. Once frosting is hard, wrap cake in two layers of plastic wrap and freeze for up to 3 months. Unwrap and thaw in the fridge before enjoying.
Nutrition
- Serving Size:
- Calories: 912
- Sugar: 99.5 g
- Sodium: 327.8 mg
- Fat: 50.8 g
- Carbohydrates: 118.2 g
- Protein: 5.1 g
- Cholesterol: 117.2 mg
Categories
More Chocolatey Desserts to Try
Craving more chocolate? You don’t want to miss out on the decadent desserts below.






Great recipe! I had to adjust the cook time & temp to my oven but it still came out perfect! I frosted with a peanut butter buttercream. It’s amazing! Definitely will be using again!
So glad you enjoyed it!
This cake is perfect! I made this on Valentine’s Day because my husband loves chocolate cake! Making this for him again today because he wants to try it with the Whipped Cream Frosting that you have in your Strawberry Shortcake Cake recipe, which happens to be absolutely delicious as well! Thank you for sharing such amazing recipes! You site is my go-to site for cakes, cupcakes and all your other perfectly amazing recipes!
Awesome! I’m so glad you’re enjoying everything!
I love this recipe, it makes the most moist cake ! Would this work for cupcakes? If so do you know how long they would need in the oven and what temp? Thank you !
I’m glad you enjoy it! You can find it as chocolate cupcakes here.
I could hardly fill up two 6” pans, is the recipe really for 3 layers 6” or 4”? At 300, it took 30 minutes to cook. What kind of oven are you using? Thank you!
I have a GE profile convection oven that I use the bake setting on. It may not seem like a lot of batter, but should rise properly. This is not a huge, tall 6 inch cake, like some people make. This is a standard cake in a smaller size, so about 3 1/2-4 inches tall total after being frosted. For reference, this is my best chocolate cake recipe that’s been reduced.
I saw this one has buttercream and the full sized version is listing as “Chocolate frosting” with water/milk vs. cream. Is there much of a difference in taste/texture or is one sweeter than the other? I usually prefer a softer, fluffier frosting. Which one do you suggest using?
They are the same. Both are a buttercream frosting. This recipe just makes less of it.
I don’t think the temp is right or the time isn’t right. At 300 F it took almost 30 minutes to cook all the way through
It is correct. There can be variations between ovens.
Am going to try this this weekend
Is the baking temp of 300 correct or should it be 350?
300 is correct. I hope you enjoy it!
I recently asked 2 questions and when I checked for a reply I noticed both questions were no longer posted. Both were valid questions about your recipe so I really don’t understand why they were not answered let alone no longer posted/ removed.
Nothing was removed. Because it was your first time commenting on the site, they had to be approved before they were shown. This comment came in the same day as the other ones. I am not always able to approve and respond to comments the same day they are made. I hope that helps.
I was wondering when making the buttercream, do you sift the powered sugar? If so, do sift first then measure or measure out the correct amount the recipe calls for then sift? Also, do you use the paddle or whisk attachment when making the buttercream?
I don’t sift the powdered sugar because I go through mine quite quickly, and don’t typically need to. But if yours is lumpy, I would recommend sifting it. If you are measuring with a food scale, which is what I do, it doesn’t matter if you measure it before, or after sifting, because the weight will be the same. If you’re measuring by volume with cups, I would sift first. I hope that helps!
I am planning on making your Oreo cake this weekend and was directed here for your 6 in cake recipe. I wanted to make 2 tier tall cake with 3 layers in each tier. I will use cake boards and dowels for support. Would it be better to use a larger sized pan say an 8 inch or would the 6 inch pan be okay to use for a tall cake? I’m just worried about the cakes stability.
Are both tiers going to be 6 inches? So like, a double barrel cake? I don’t really make double barrel cakes, but I believe most of the time they are 6 inch cakes.
Every recipe you have shared is awesomely delicious, besides all of them being show stoppers! Not surprised restaurants are asking you to make your cakes for them! The one that has received the most accolades from my tribe is the peanut butter chocolate cake. Blows them away every time!
Thank you so much! I’m glad the cake has been a hit!
The best chocolate cake recipe I have ever made!
My son asked for chocolate cake with caramel frosting. I used this cake recipe, it was super moist, super yummy everything super! Honestly, I was impressed! I will bake it again
So glad you enjoyed it!
The cake didn’t rise at all, very disappointing. there was also far too much icing for the amount of cake. it tasted good though
This recipe is amazing! It is easy to make, and it tasted very moist. The only minus was the icing, I made it with out the cocoa powder and it didn’t taste very good.
I’m glad you enjoyed the cake! The buttercream is a pretty standard chocolate buttercream. If you leave out the cocoa powder, you want to replace it with some vanilla extract or something to give the frosting some other flavor.
Hello,
If I would like to make a bigger cake with this recipe, how much of each ingredient do i need to use? I mean cake size of 9inch and I would like to use 2 tins but achieve 3 layers. One tin to cut in half and the other leave as is.
Would ypu be able to advise please?
Thank you, Katie
You can find my full-sized chocolate cake here. It’s made for an 8 inch pan. If you’d like a 9 inch cake that is about 4 inches tall, you may want to do 1 1/2 recipes worth.
I think I know why people are struggling with the time on this recipe. When I made it I was just on autopilot and prepped 2x 6″ pans. Right before I put them in the oven I noticed it was for 3 pans and then saw the comments on cooking time. Sure enough those extended cooking times worked perfectly for my 2 pans. The cake turned out great at about 35 minutes at 300. I also didn’t end up making all the frosting, I made about 2/3 of the recipe and it worked fine (which makes sense).
That’s for sharing that! That would definitely make sense.