This post may contain affiliate sales links. Please read my disclosure policy.
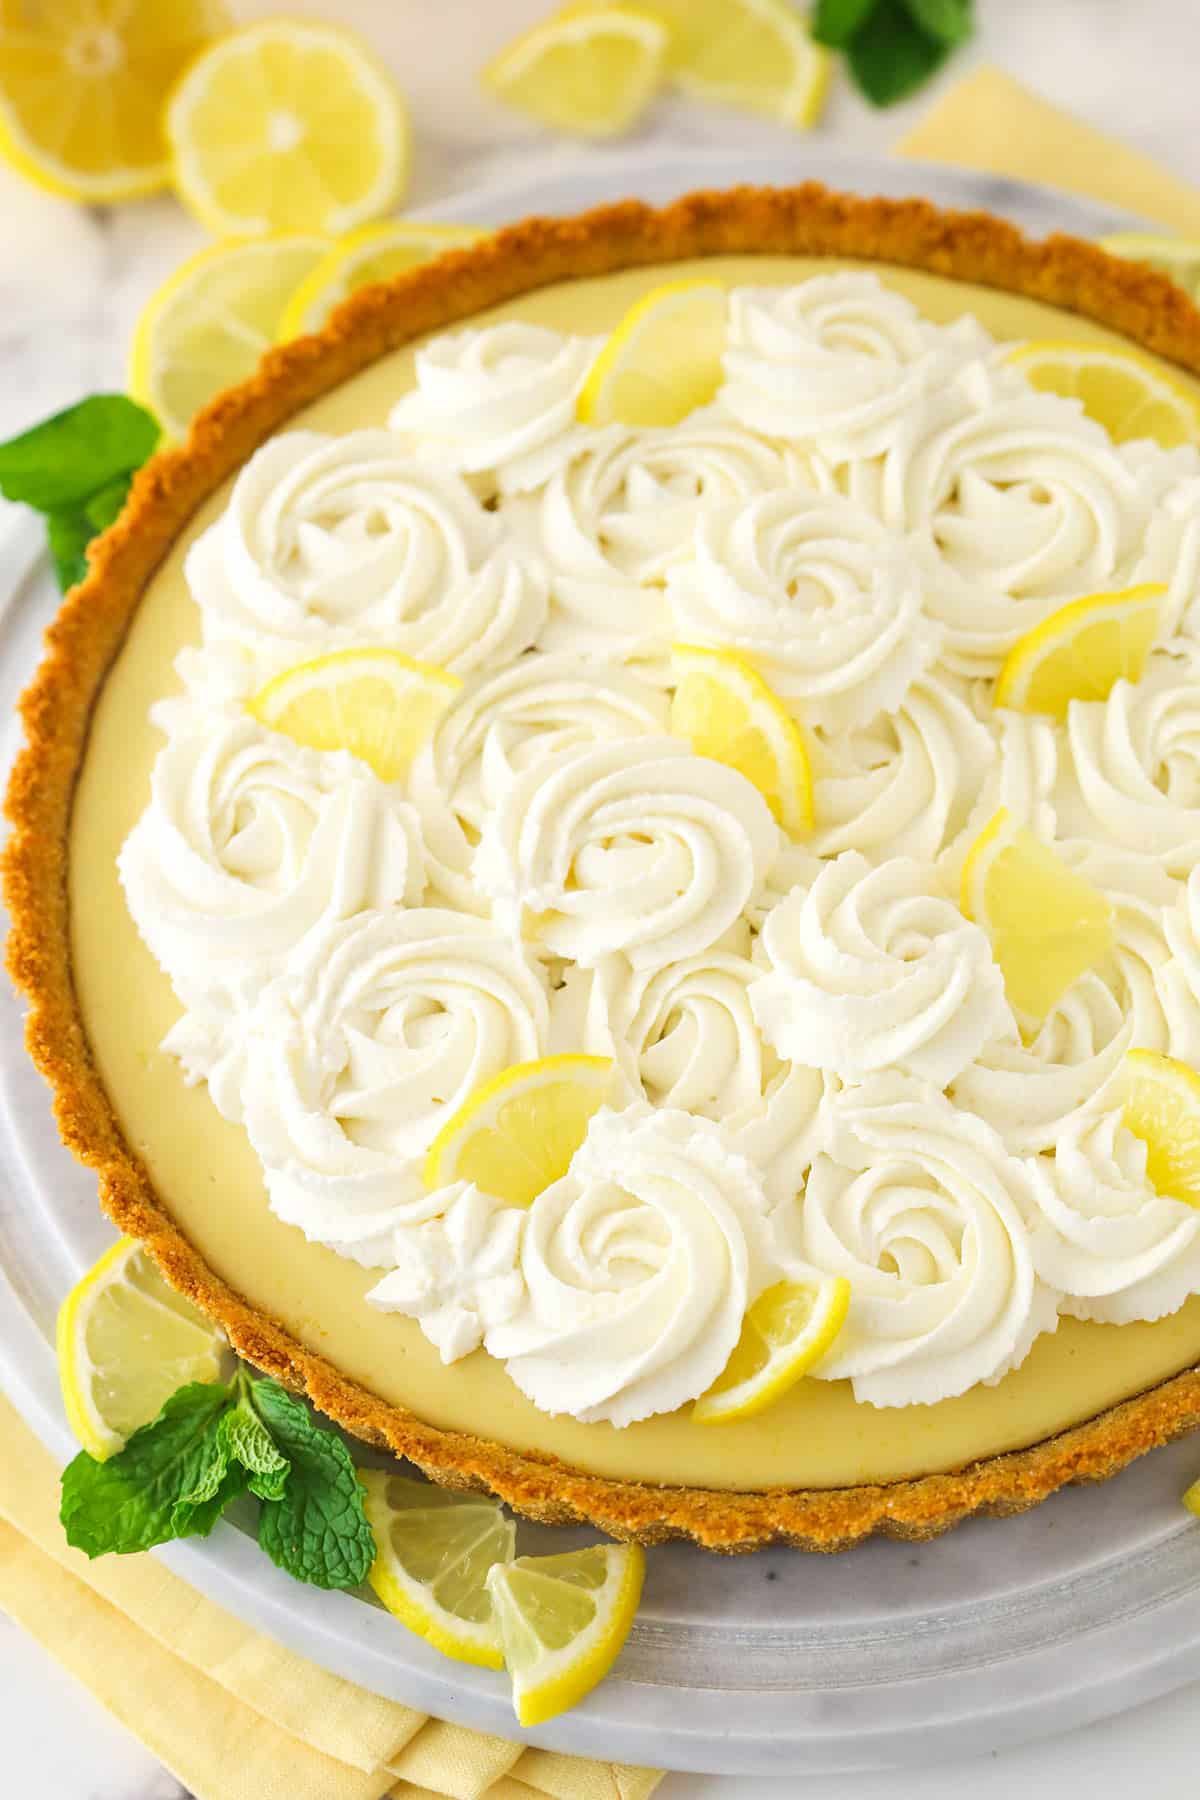
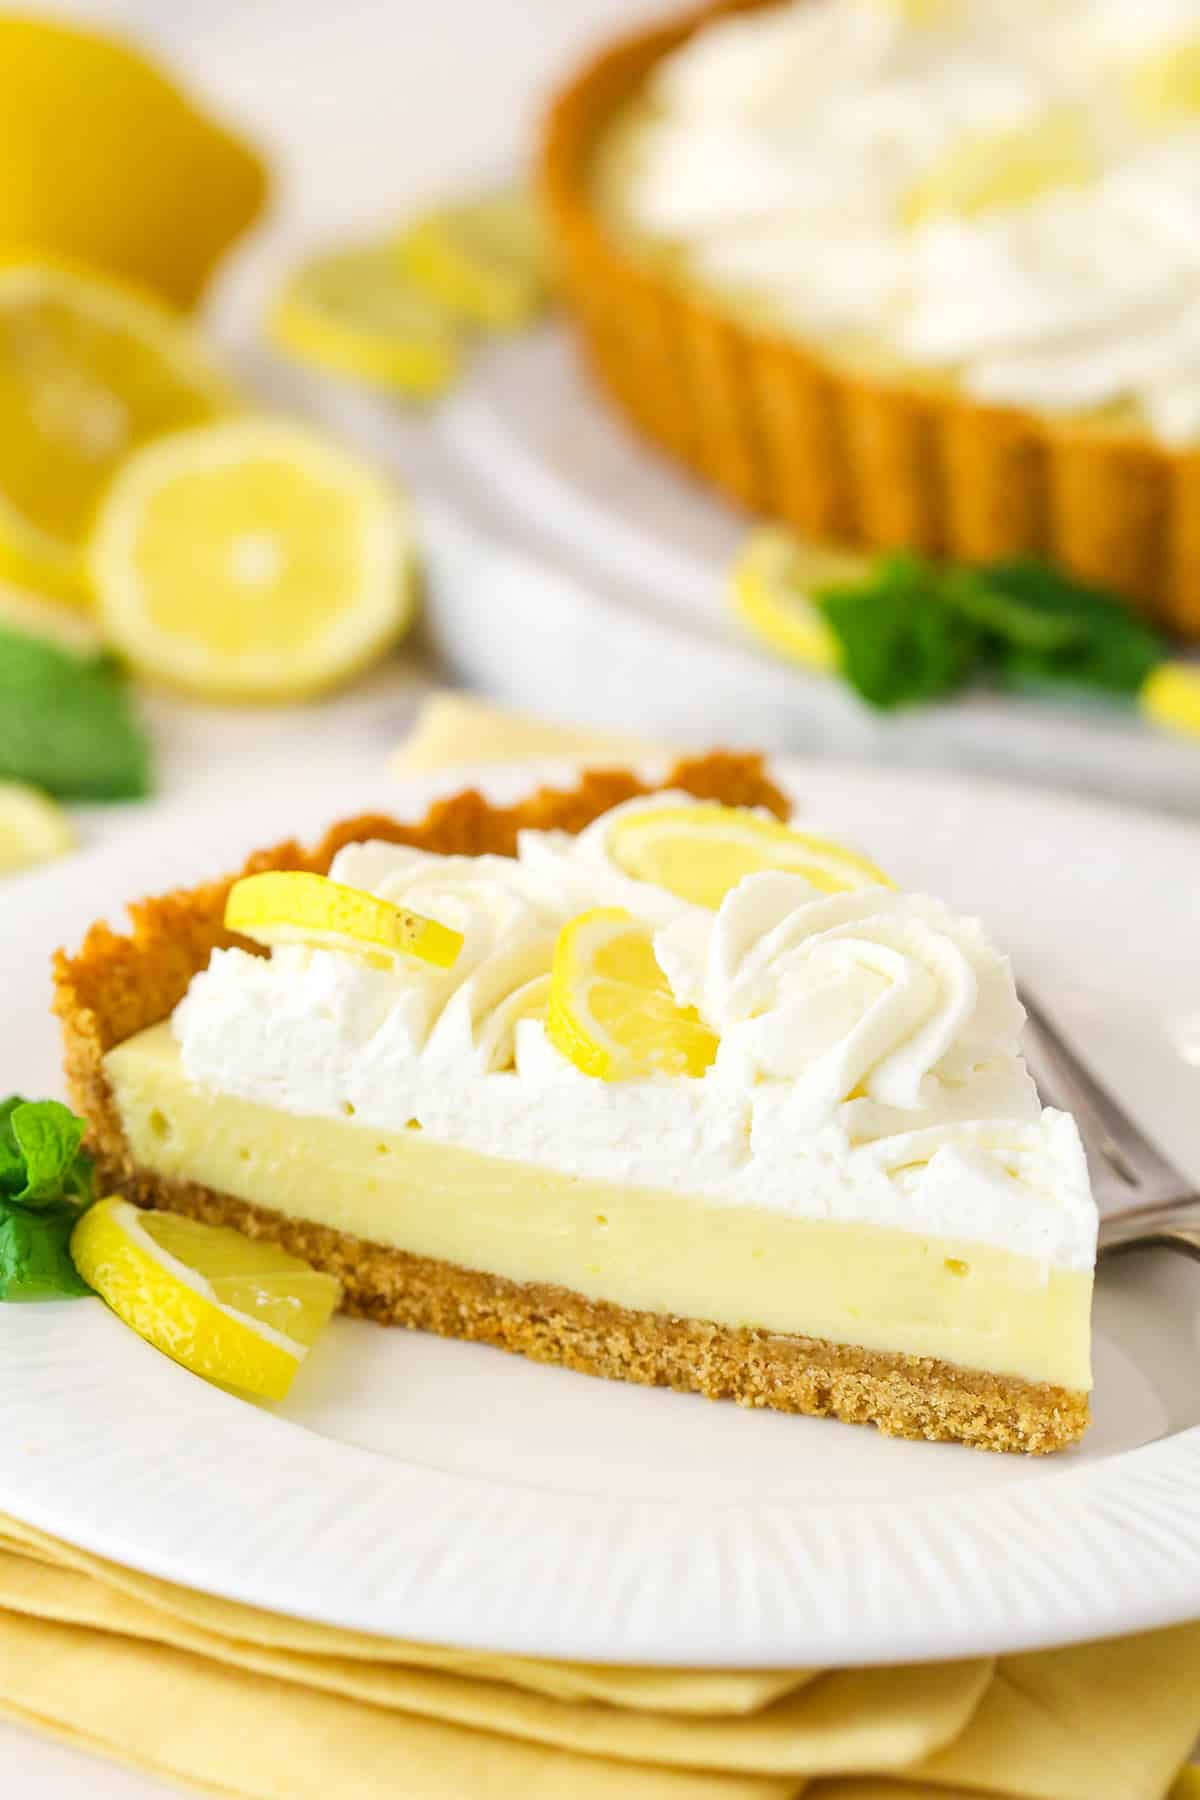
This lemon tart has a sweet, tart and creamy lemon filling, with a fluffy whipped cream topping! It’s perfect for summer and so easy to make! Plus, the presentation is beautiful!
Why You’ll Love This Easy Lemon Tart Recipe
I love lemon desserts so much. The combination of sweet and tart is so fun. Plus, the bright lemon flavor is so cheery! While there are plenty of more complicated desserts options out there, sometimes you just want something simple, yet nice. This tart is perfect because it’s a breeze to put together and still looks like you spent a ton of time on it. Love that! Here are few more reasons to make this amazing lemon tart.
- Real lemon flavor. And lots of it. I used freshly squeezed lemon juice and freshly grated lemon zest in the filling for this bright, summery dessert. It’ll have you coming back for more!
- Creamy texture. I love the lightly creamy texture of the filling for this tart. It’s so silky smooth.
- Easy to make. Just some measuring, whisking, and baking and you’ll have yourself an impressive dessert that people will think you spent hours slaving over. Let them believe it. You don’t have to tell them it only took 25 minutes of active time to prepare.
- Simple ingredients. This tart only uses 4 ingredients to make the filling (so easy!) and 10 ingredients total. And they’re all easy to find at the grocery store!
Ingredients and Substitutions
You don’t need much to make this easy lemon tart recipe. Here’s a list of ingredients for you. Be sure to scroll to the recipe card below for exact measurements.
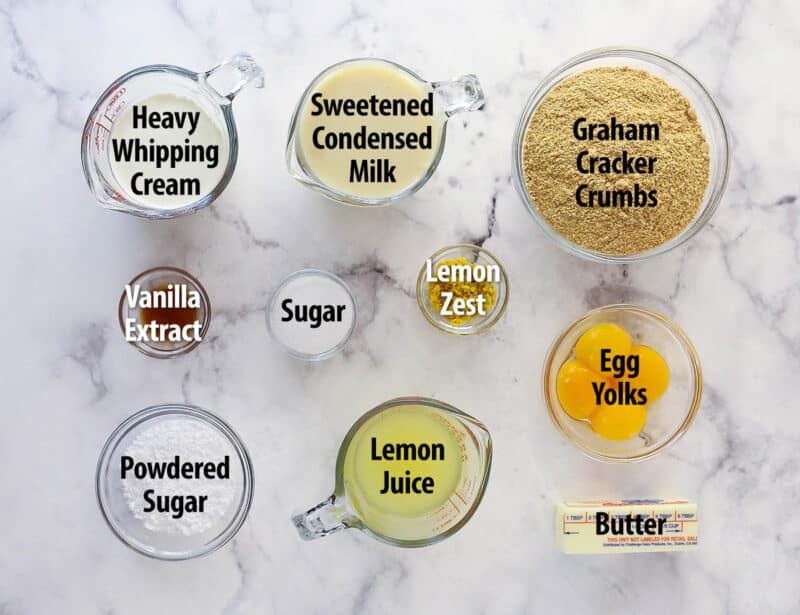
- Graham cracker crumbs – If you prefer vanilla wafers, you can use those instead.
- Unsalted butter – If you only have salted butter on hand, that’s fine too.
- Fresh lemon juice – Definitely use fresh juice! Bottled products won’t even get close to giving you the same bright, vibrant flavor.
- Sweetened condensed milk – This is not the same thing as evaporated milk, so be sure to read the label.
- Finely grated lemon zest – Again, fresh is best here. I like to use a good zester.
- Egg yolks – The egg yolks work to thicken the custard-like filling. Be sure to use large eggs, not medium or extra large.
- Heavy whipping cream – The cream needs to be cold, otherwise, it won’t whip up and hold volume properly.
- Powdered sugar – The powdered sugar not only sweetens the whipped cream, but it also helps to stabilize it so that it won’t wilt. Ever.
How To Make a Lemon Tart
Here’s a quick look at how to make lemon tart. For more detailed instructions, scroll to the recipe card below.
- Prep. Grease a 9-inch tart pan and preheat oven to 350°F.
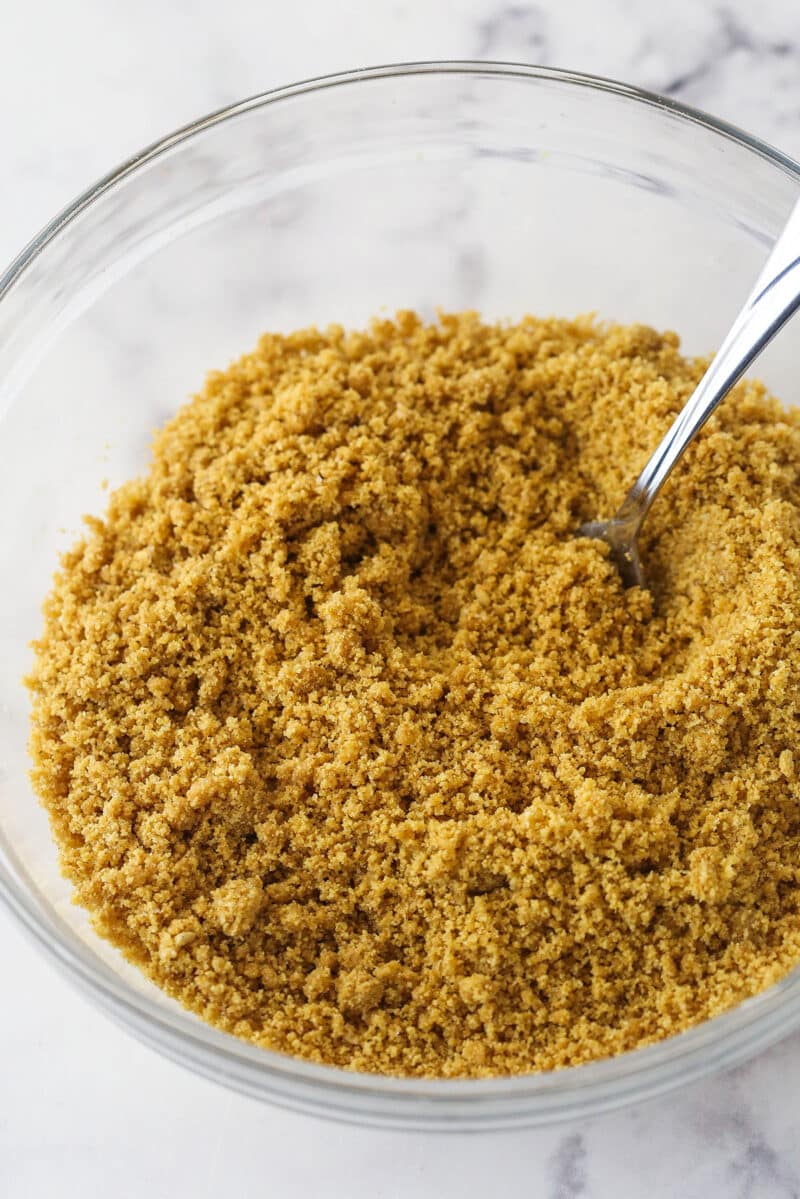
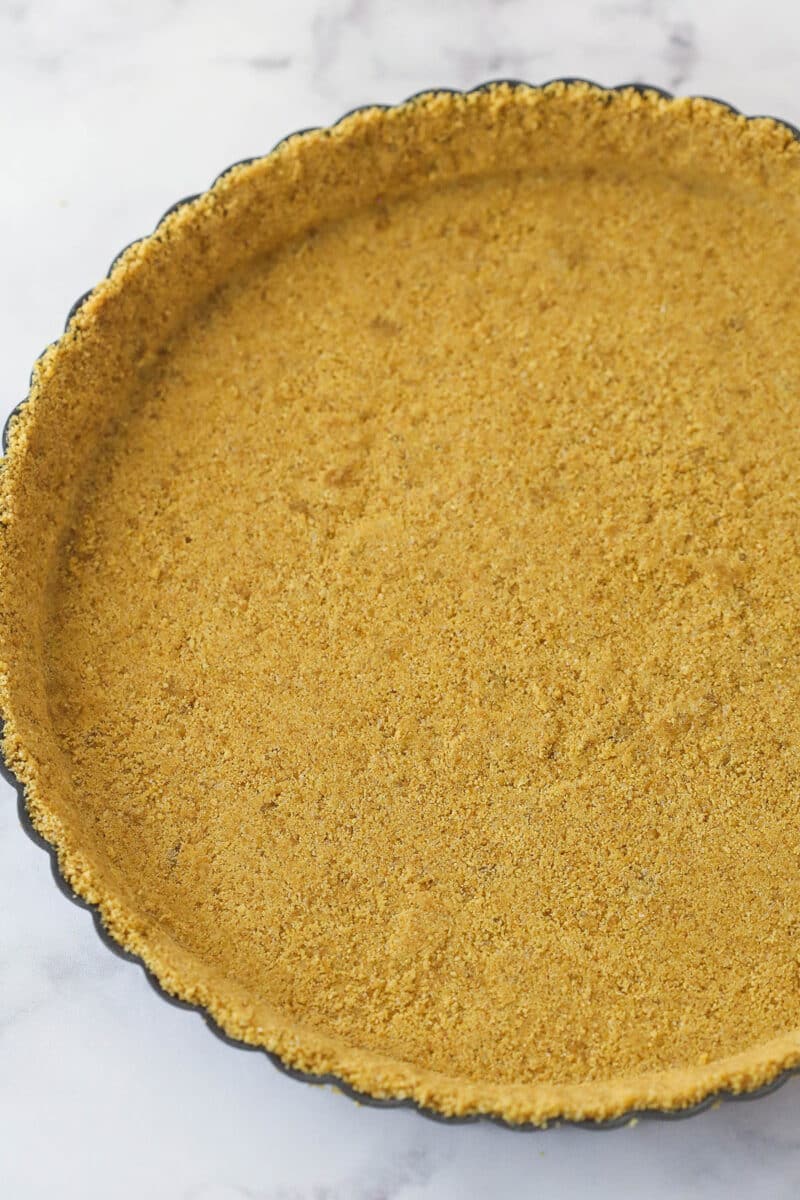
- Make the crust. Mix together the graham cracker crumbs, sugar, and melted butter and press the mixture into the bottom and up the sides of the tart pan.
- Bake. Bake for 7 minutes. Allow the crust to cool while you make the filling.
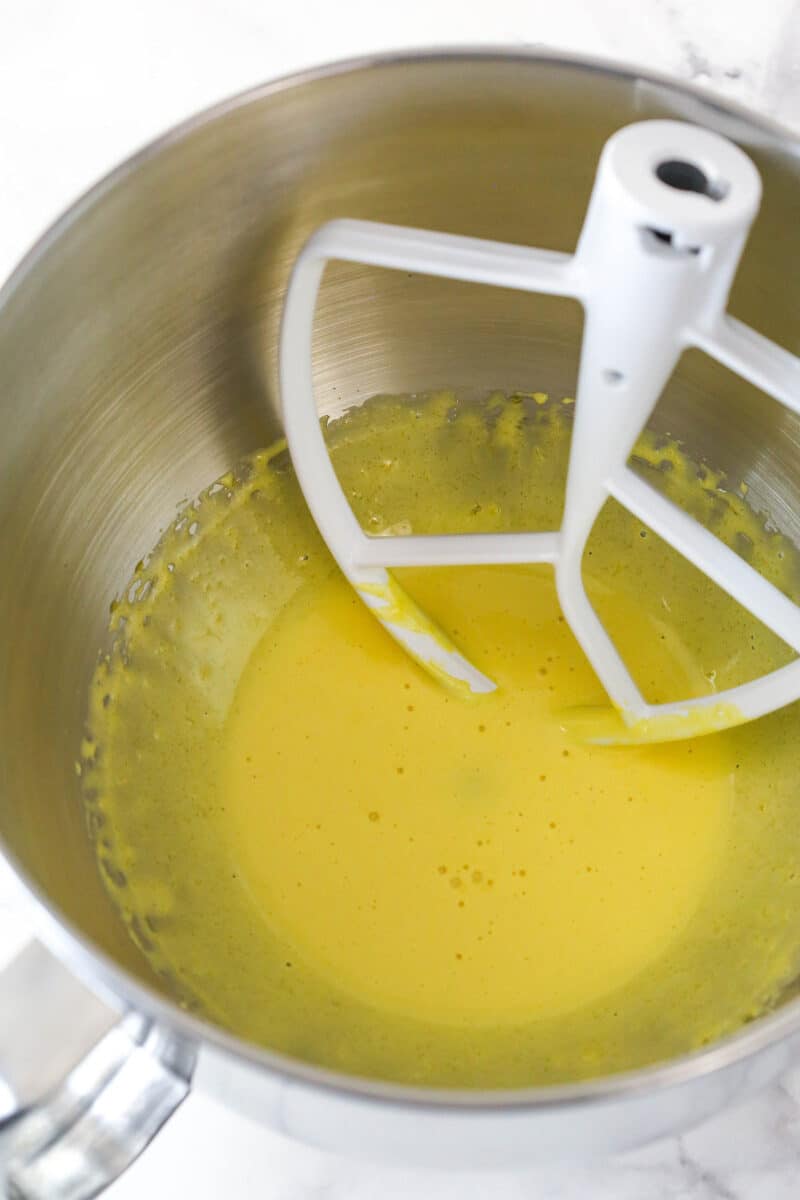
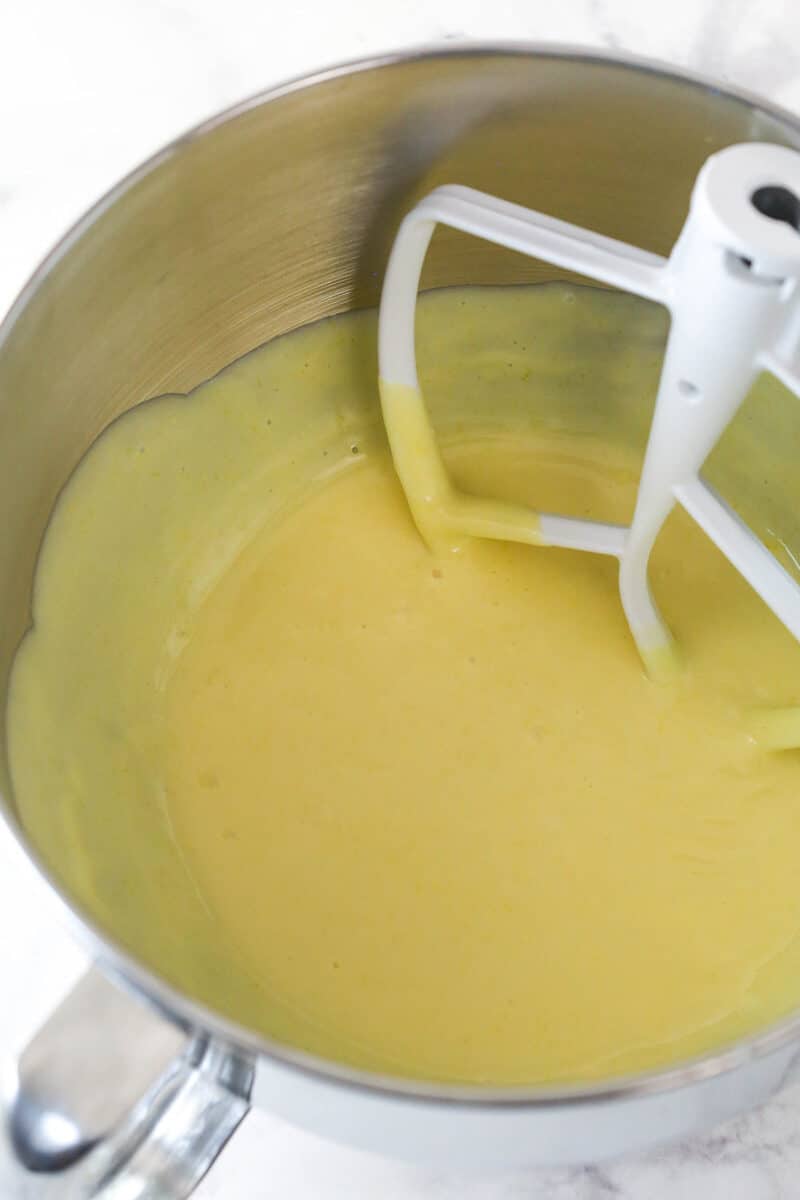
- Make the filling. Whisk together the lemon juice and sweetened condensed milk. Set aside. Beat the lemon zest and egg yolks on high speed until pale yellow and then mix the sweetened condensed milk mixture into the egg yolk mixture.
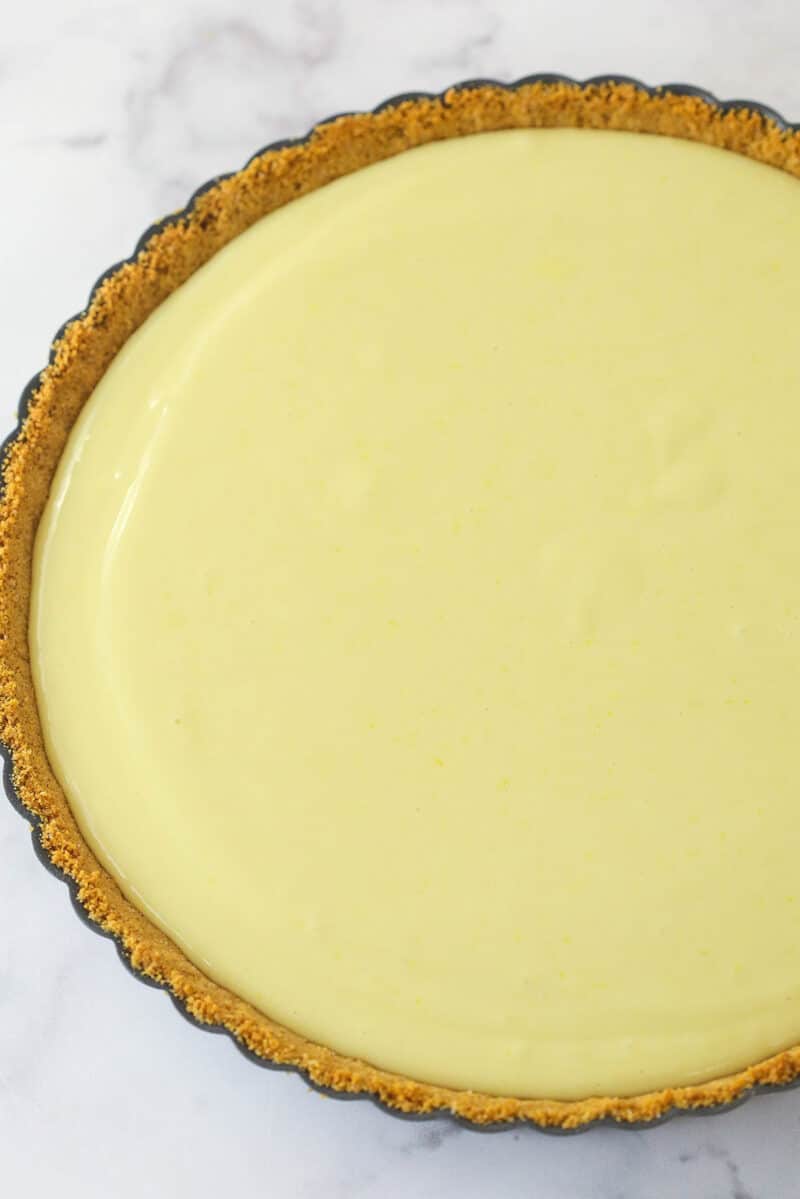
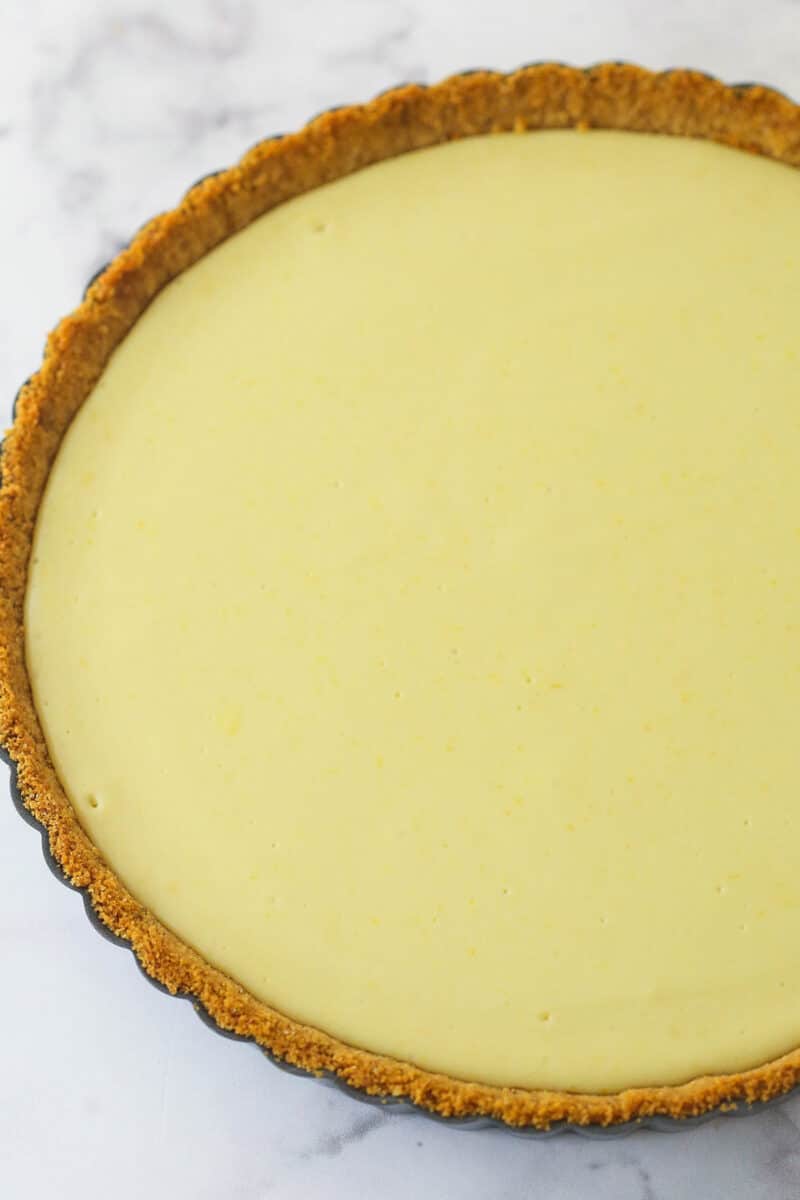
- Bake. Pour the filling into the crust and bake for 15-17 minutes.
- Cool and chill. Cool at room temperature for 30 minutes, then refrigerate for 4-6 hours.
- Make the whipped cream. Beat the heavy whipping cream, powdered sugar, and vanilla extract on high speed until stiff peaks form.
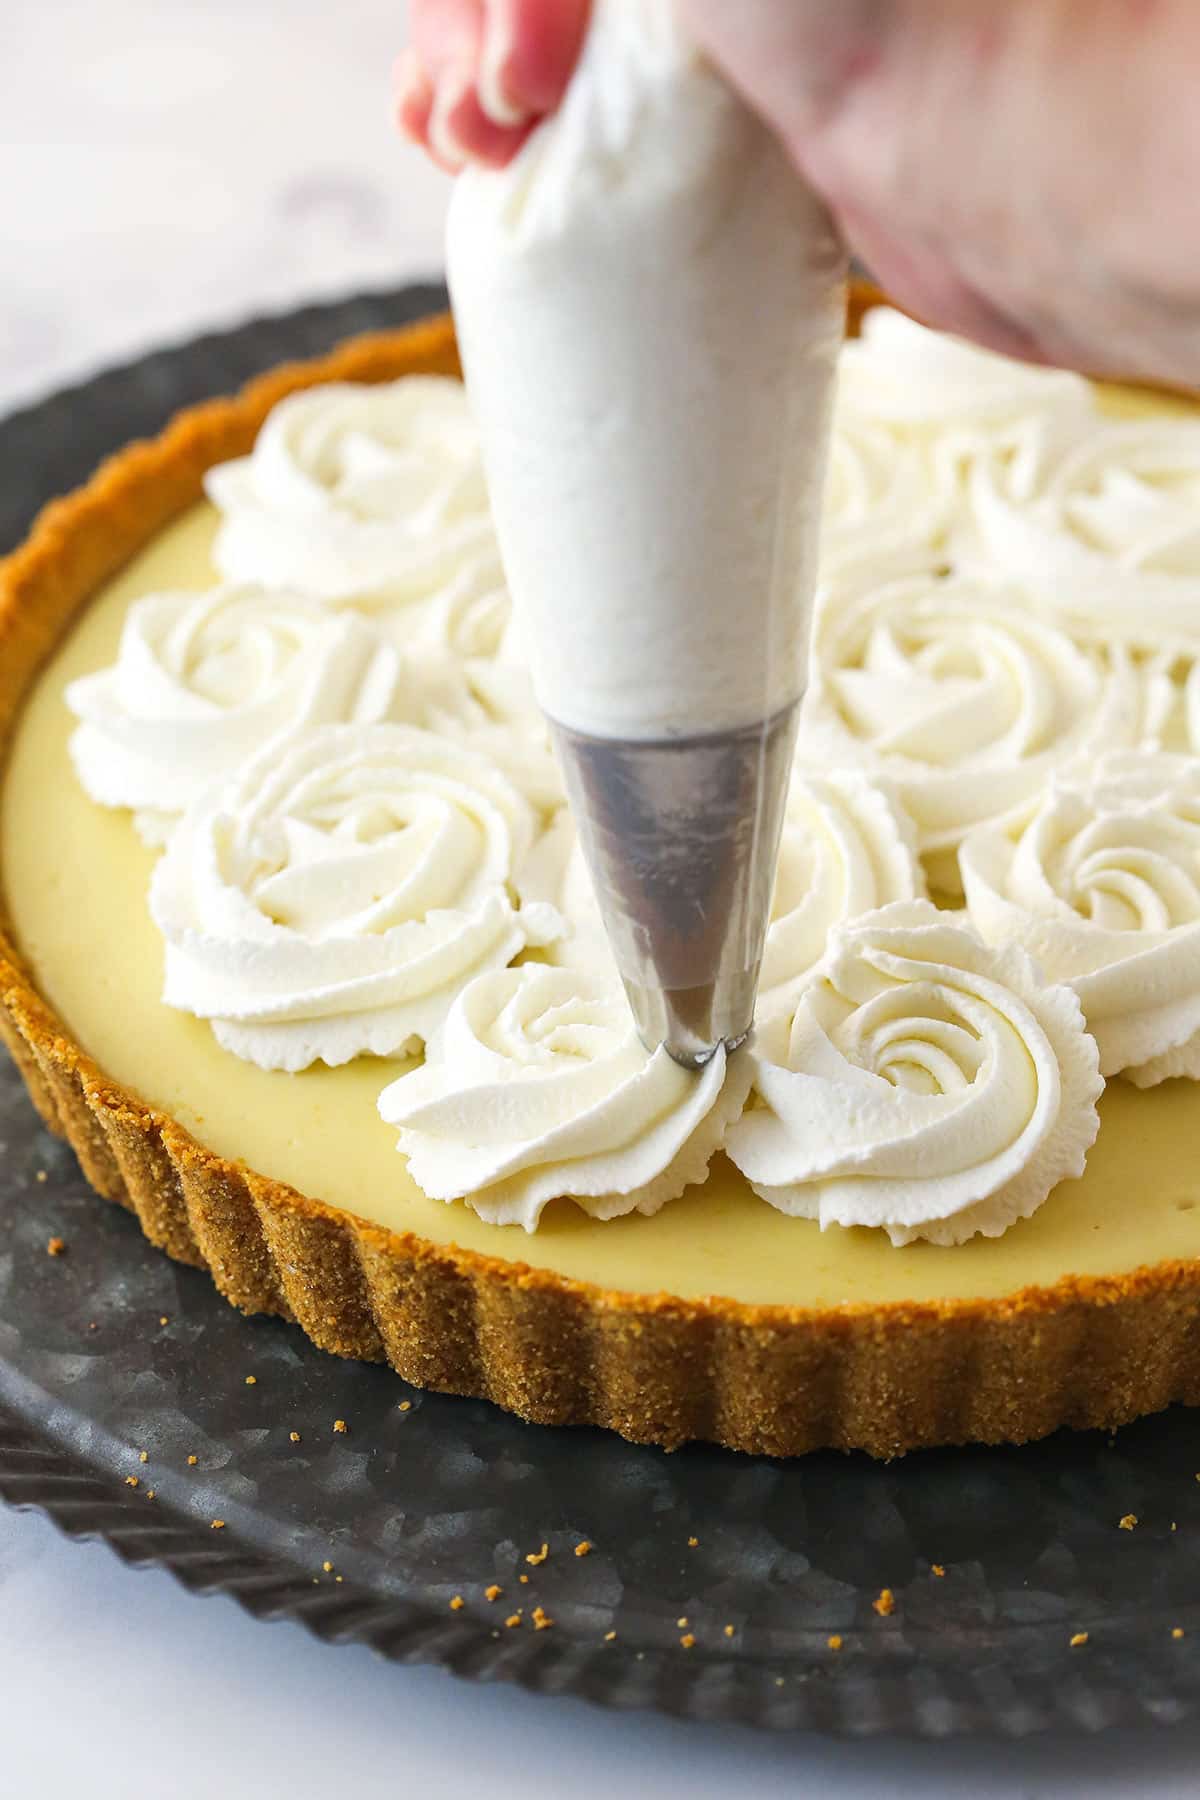
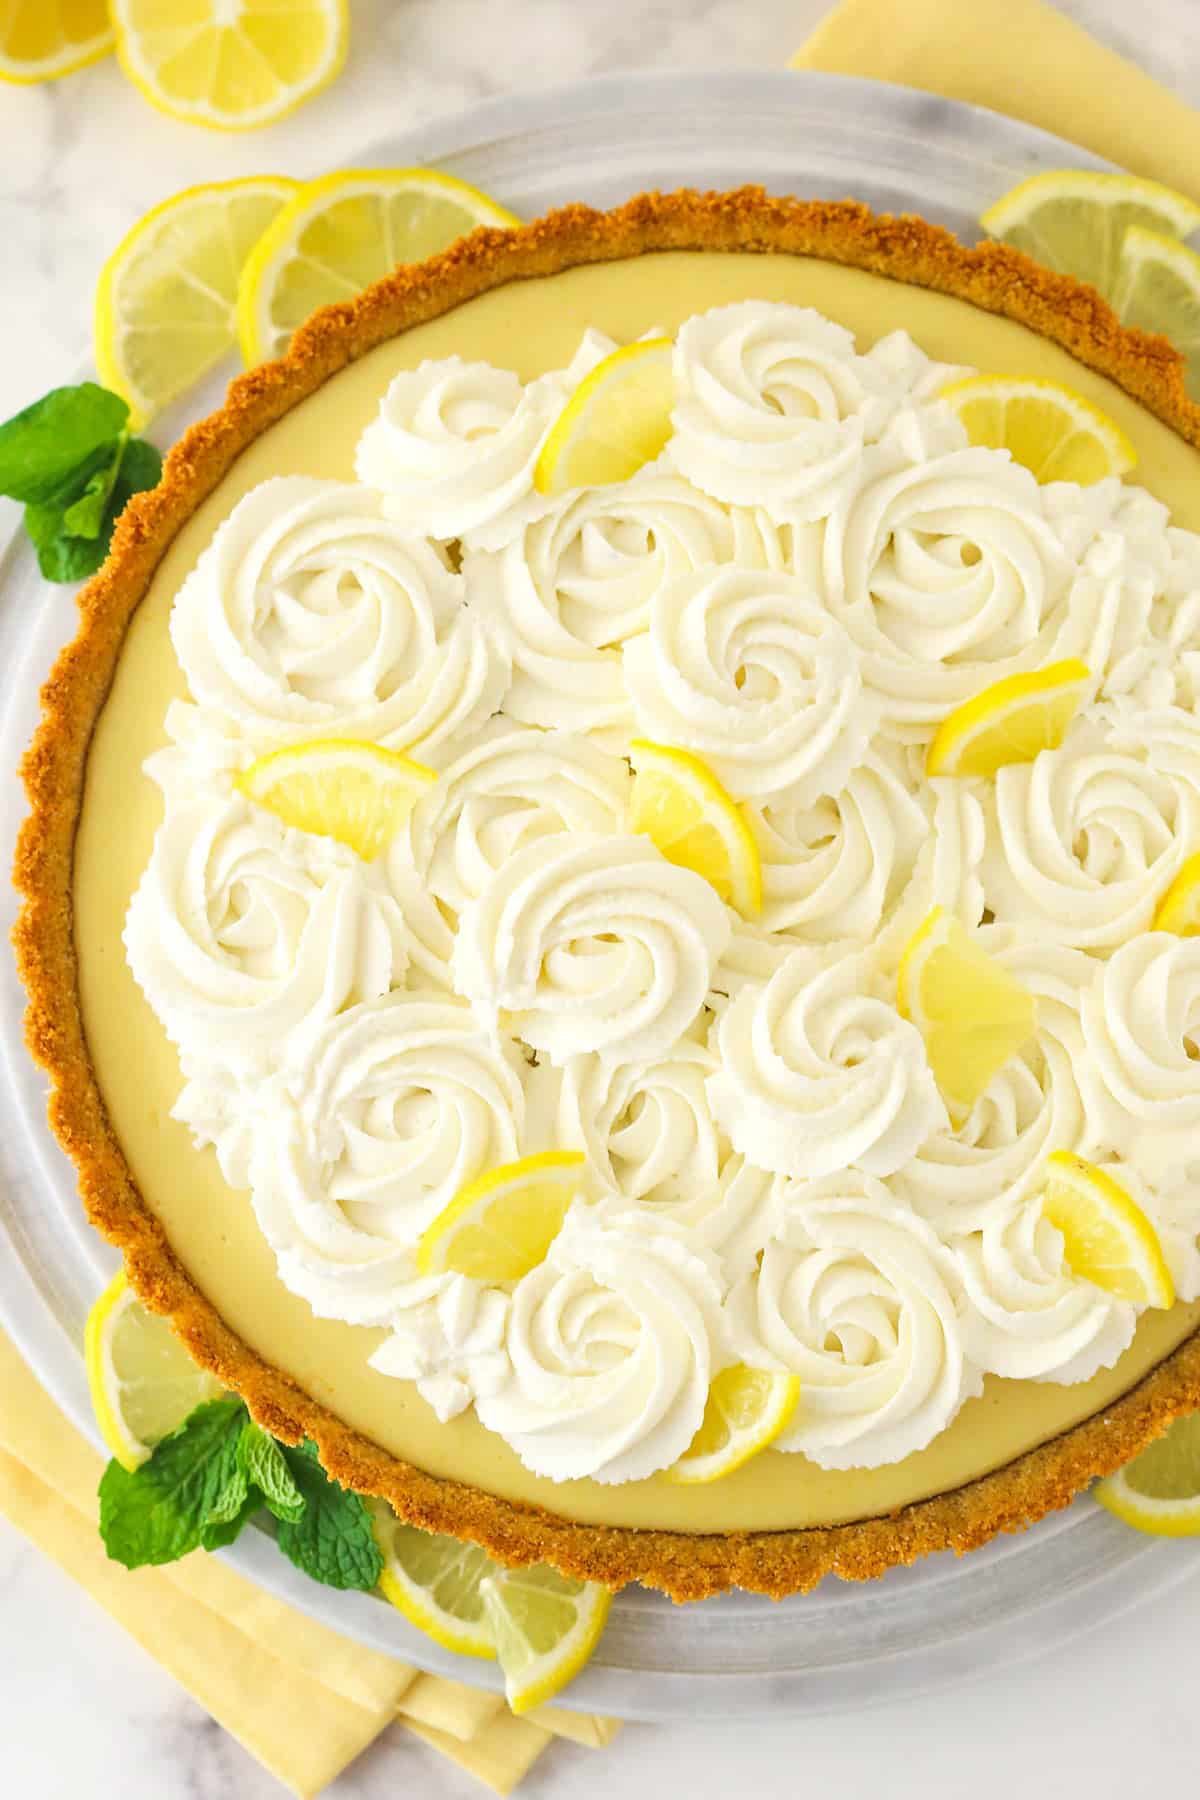
- Decorate. Pipe the whipped cream on top of the tart.
Tips for Success
- Fresh is best. When it comes to the lemon juice and lemon zest, you should really use fresh products. Squeeze your own lemon juice and zest your own lemons. The bottled/jarred stuff just won’t give you the same bright, vibrant flavor.
- Pre-bake the crust. While you can opt not to bake the graham cracker crust, I really recommend baking it. Baking firms the crust up and helps it hold together. Plus, since the filling is somewhat soft, it’s nice to have a more solid crust.
- Don’t over-bake. The edges should be set and the center should jiggle a little when the tart is removed from the oven. It will set fully as it cools/chills.
- Don’t skip on chilling time. When the tart comes out of the oven, the filling will still be jiggly. It needs time in the fridge to set completely. Give it at least 4 hours, ideally 6 or more. Otherwise, you’ll find yourself with a runny tart.
- Cold heavy cream. The heavy cream for the whipped cream topping must be cold. If it is too warm, it won’t whip up and hold volume properly. So keep it in the fridge until you are ready to whip it up.
Serving Suggestions
I love serving this lemon tart with some fresh berries. If you have the extra time, whip up one of my easy fruity sauces to drizzle on top. My Raspberry Sauce, Blueberry Sauce, or this Strawberry Sauce would be amazing. You could even go all-in on the lemon and add some lemon curd.
Can I make this as a pie?
Yes, you can! Check out my Lemon Icebox Pie. It’s pretty much this tart in pie form and it’s delicious, with double the filling.
Proper Storage
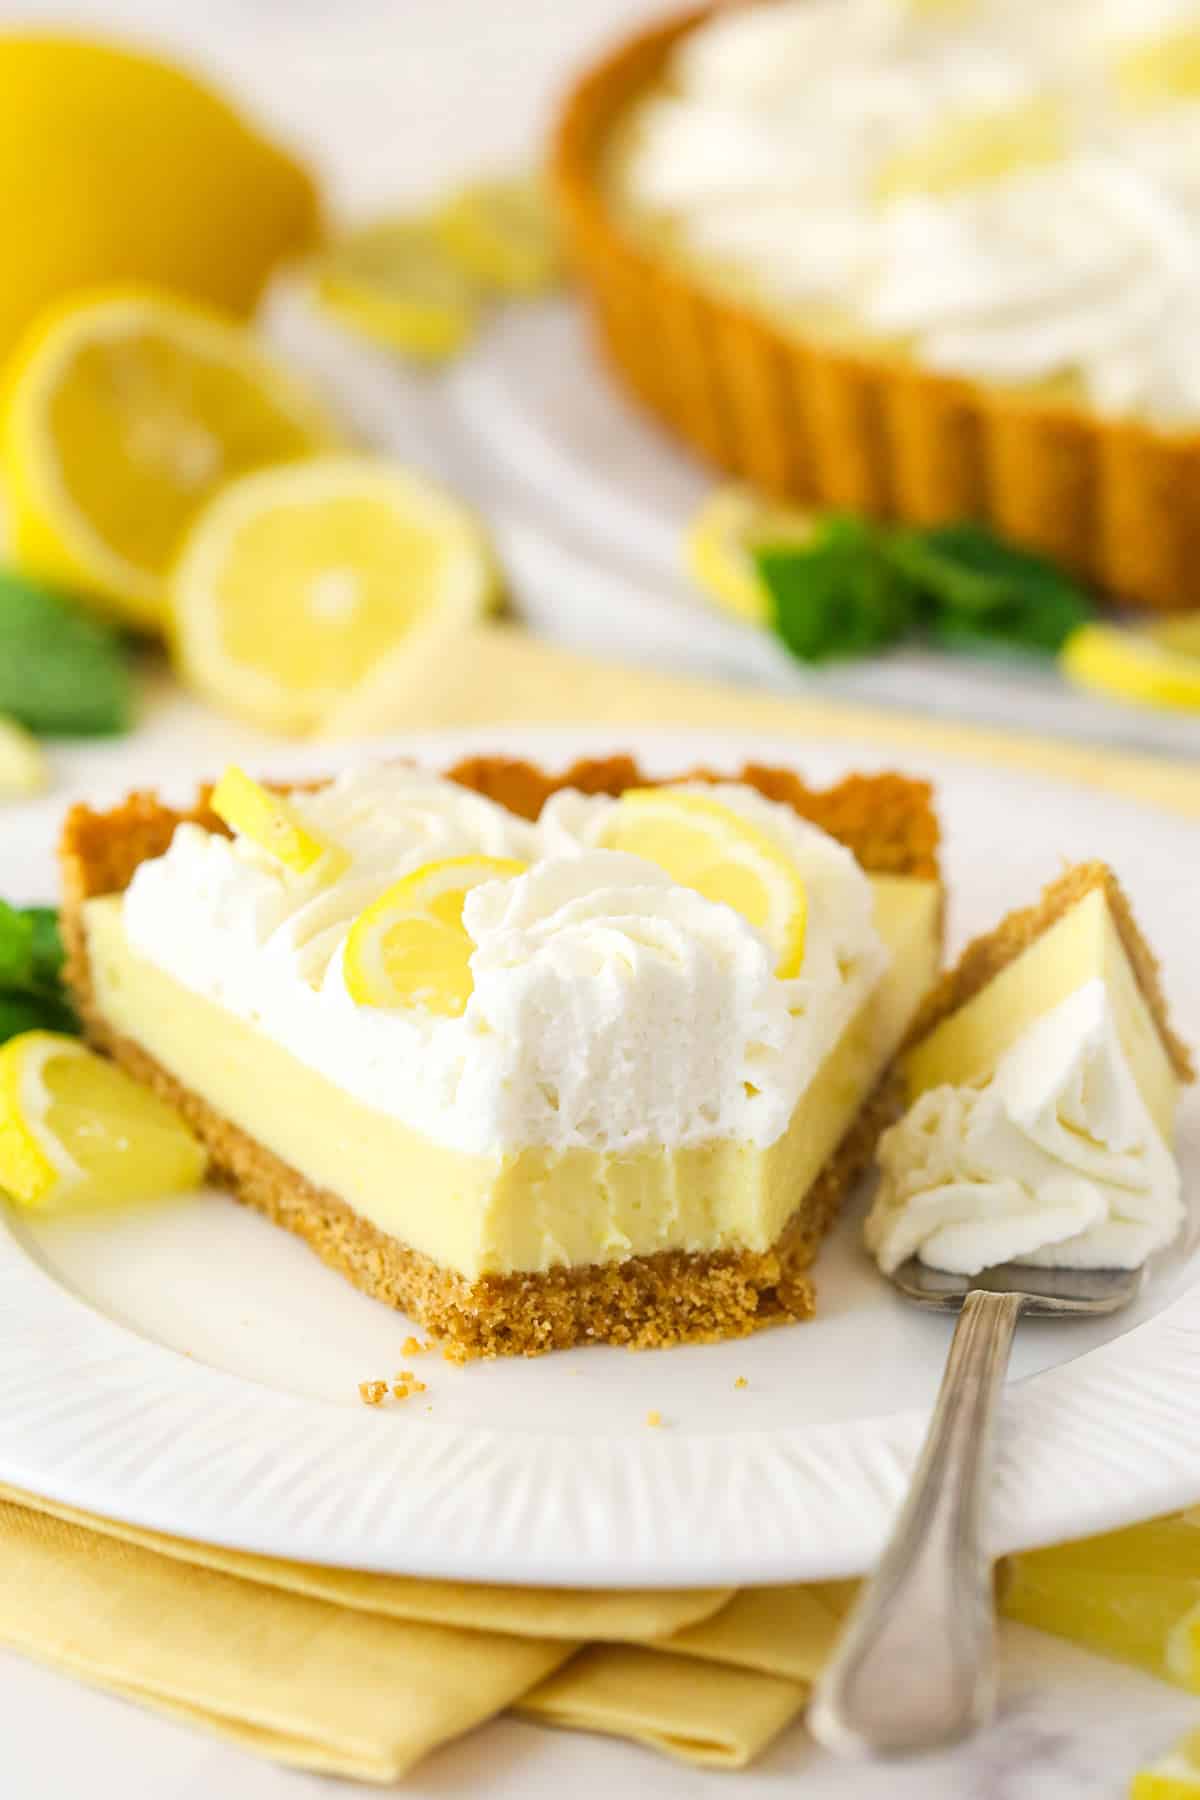
- Refrigerator. Store the tart in a cake carrier or wrap it in plastic wrap (I like using toothpicks to prop the plastic away from the whipped cream topping) or arrange slices in a single layer in an airtight container. It will stay good in the fridge for up to 4-5 days.
- Freezer. Pop the lemon tart in the freezer for a couple of hours to firm up. Then wrap it in a double layer of plastic wrap. You can also arrange slices in a single layer in an airtight container. Store the leftovers in the freezer for up to 3 months.
More Lemon Desserts
I love a good lemon dessert for summer. If this lemon tart doesn’t quite tickle your fancy, try one of these other unmissable lemony sweet treats.
- Lemon Poppyseed Cake
- Easy Lemon Bars Recipe
- No Bake Lemon Cheesecake
- Lemon Icebox Pie
- Mini Lemon Cheesecakes
- Lemon Loaf Cake
Lemon Tart
- Prep Time: 25 minutes
- Cook Time: 22 minutes
- Total Time: 47 minutes
- Yield: 8-10 slices
- Category: Dessert
- Method: Oven
- Cuisine: American
Description
This lemon tart is just in time for summer. It’s made up of a graham cracker crust, a sweet and tangy, creamy lemon filling, and a fluffy whipped cream topping. It really is such a treat and it’s so easy to make!
Ingredients
Crust
- 1 1/2 cups (201g) graham cracker crumbs
- 2 tbsp (26g) sugar
- 6 tbsp (84g) unsalted butter, melted
Filling
- 1/2 cup (120ml) fresh lemon juice (about 3–4 lemons)
- 14 oz can sweetened condensed milk
- 2 tsp finely grated lemon zest
- 4 large egg yolks
Whipped Cream
- 2/3 cup (160g) heavy whipping cream, cold
- 1/3 cup (38g) powdered sugar
- 1/2 tsp vanilla extract
Instructions
Make the crust
- Spray a 9-inch tart pan with non-stick baking spray and preheat oven to 350°F (176°C).
- Add the graham cracker crumbs and sugar to a medium sized bowl and stir to combine. Add the melted butter and stir until well combined.
- Pour the mixture into the tart pan and press the crumbs into the bottom and up the sides of the pan. Pack it firmly. Use a measuring cup or glass with sharp corners and straight edges to help and use your fingers for the sides of the pan.
- Bake for 7 minutes, then remove from oven and set aside.
Make the filling
- Add the lemon juice and sweetened condensed milk to a medium sized bowl and stir until well combined. Set aside.
- In a large mixer bowl, beat the lemon zest and egg yolks on high speed until pale yellow.
- Add the sweetened condensed milk mixture to the egg mixture and mix until well combined.
- Pour the filling into the crust and bake for 15-17 minutes. The edges should be set and the center should jiggle a little when the tart is moved.
- Cool at room temperature for about 30 minutes, then refrigerate for 4-6 hours, or until completely cool and firm.
Finish it off
- To make the whipped cream, add the heavy whipping cream, powdered sugar and vanilla extract and whip on high speed until stiff peaks form.
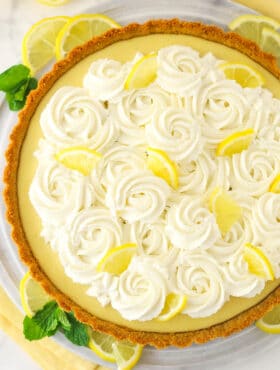
- Pipe the whipped cream on top of the tart. I used Ateco tip 844 to create a rosette design. Cover and refrigerate tart until ready to serve. Best if eaten within 3-4 days.
Nutrition
- Serving Size: 1 Slice
- Calories: 196
- Sugar: 9.9 g
- Sodium: 46.6 mg
- Fat: 15.1 g
- Carbohydrates: 13.6 g
- Protein: 2.3 g
- Cholesterol: 111.3 mg


Can’t rate until I’ve made. Looks very good & the ingredients taste wonderful. I see that an Ice Box version can be made, but the ingredients are not the same. Why can’t you put this recipe into a pie pan.
So the icebox recipe is a pie and the ingredients are all the same ingredients, but slightly different amounts for the crust and whipped cream based on being a pie and the filling is doubled, since a pie pan is much deeper than a tart. I hope that helps!
What did you use for the lemon slices? I would love to find some for cakes as well.
They are just quartered lemon slices. 🙂
Can you freeze this?
I think that would be fine.