This post may contain affiliate sales links. Please read my disclosure policy.
Dipped and drizzled with chocolate and topped with crushed peppermint, these tender Peppermint Chocolate Shortbread Cookies are a fun and festive addition to any holiday cookie tray. They’re easy to make too!
Want another delicious peppermint dessert? You’ll fall in love with my Peppermint Pretzel Crunch!

A Christmas Classic
There are so many cookies that I love at Christmas time – easy sugar cookies, cut out sugar cookies, gingerbread cookies – the list could go on and on. But there’s no doubt that one of the biggest classics is shortbread – in all varieties. From classic shortbread cookies, to whipped shortbread cookies, and flavored ones, like cranberry orange shortbread, they are a hit. Well, today is all about chocolate shortbread. Bring on the chocolate!
- Great flavor combo. These cookies offer a delicious pairing of chocolate and peppermint, with cocoa powder and peppermint extract in the dough and melted chocolate and crushed peppermint on top. It’s just the right amount of both flavors!
- Perfect for Christmas. I love adding these chocolate peppermint shortbread cookies to my holiday cookie trays. They are just so Christmas-y and perfectly festive.
- Quick & easy to make. While the dough for these cookies does need to chill, it’s only for an hour (or you can even make it up to 3 days in advance) and the hands-on time is less than 20 minutes. All you need is a mixer!
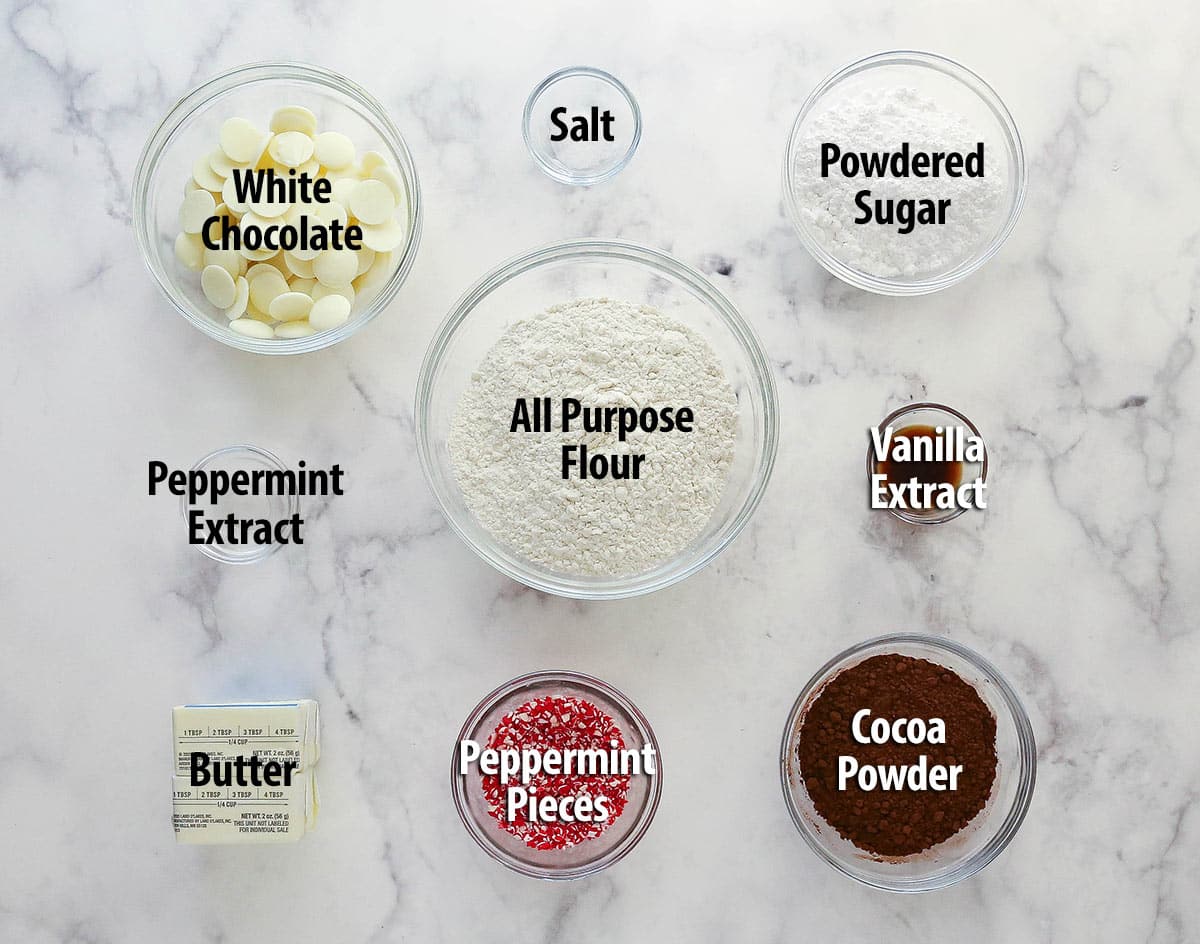
What You’ll Need
These chocolate shortbread cookies with peppermint are made with a handful of very simple ingredients as well as peppermint extract and chocolate. Scroll down to the recipe card below for the exact measurements.
- All-purpose flour – Be sure to measure the flour correctly to avoid overly dry cookies. I always recommend a food scale, but the spoon and level method also works fine.
- Cocoa powder – I used Dutch-process cocoa powder because I think it’s a little less bitter, but you can also use regular unsweetened cocoa powder. I like Hershey’s Special Dark Cocoa.
- Salt
- Unsalted butter – I like to use unsalted butter to control the amount of salt added. If you need to use salted butter, omit or reduce the salt added.
- Powdered sugar
- Vanilla extract
- Peppermint extract – This adds a little peppermint to the cookie itself. The other peppermint flavor comes from the peppermint pieces sprinkled on top.
- Melting wafers – I used white chocolate and chocolate melting wafers to decorate these cookies. Both are optional. I like to use Ghirardelli melting wafers, but almond bark and baking bars would also work.
- Peppermint pieces – You can buy these already crushed, or crush up your own candy canes.
Here’s an overview of how to make these chocolate peppermint shortbread cookies. You can find the printable version of the instructions in the recipe card below.
- Make the dough. Combine the dry ingredients in a bowl. In a separate bowl, beat the butter and powdered sugar until nice and creamy. Mix in the extracts then add in the dry ingredients. Mix until the dough is well combined.
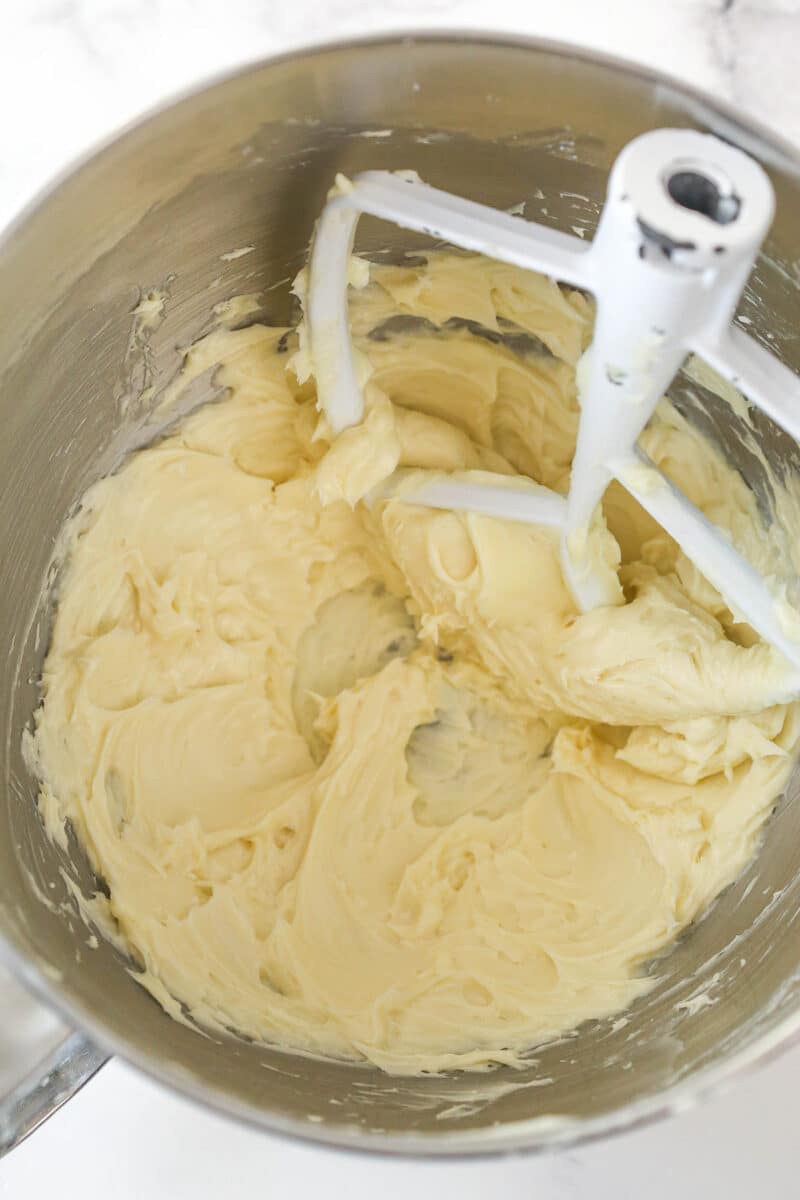
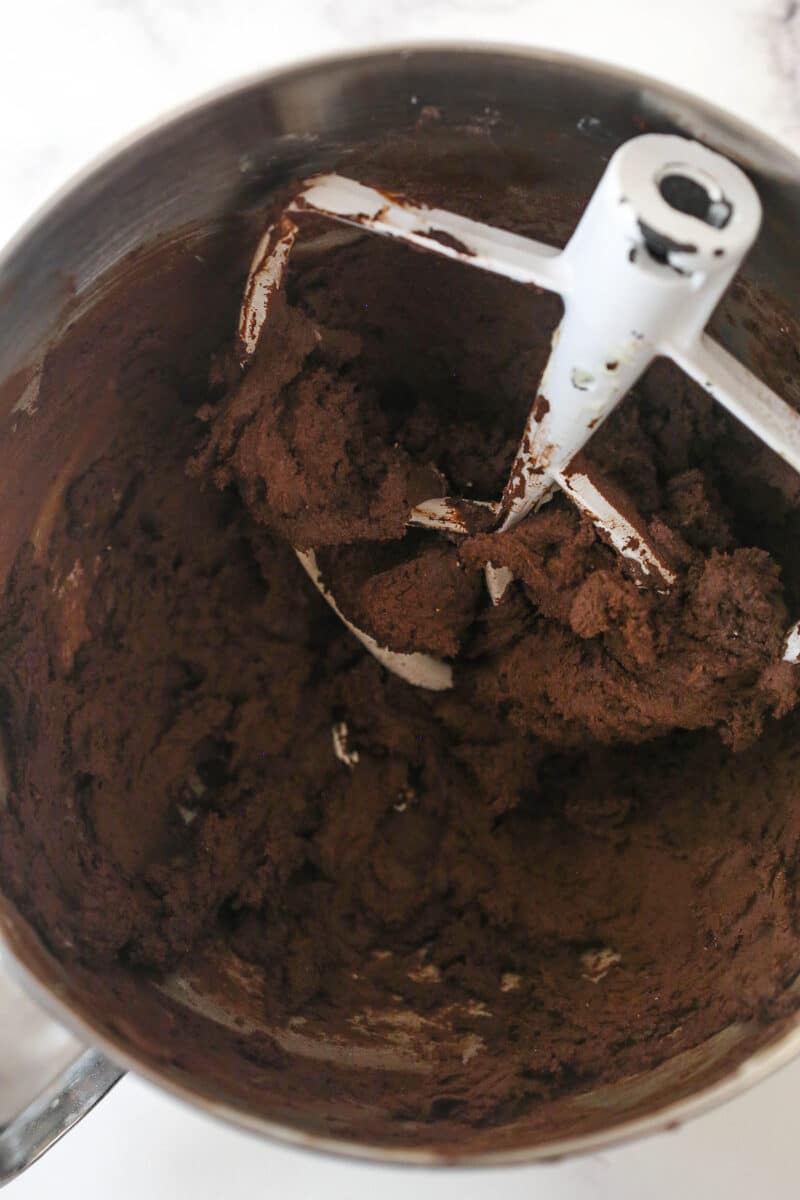
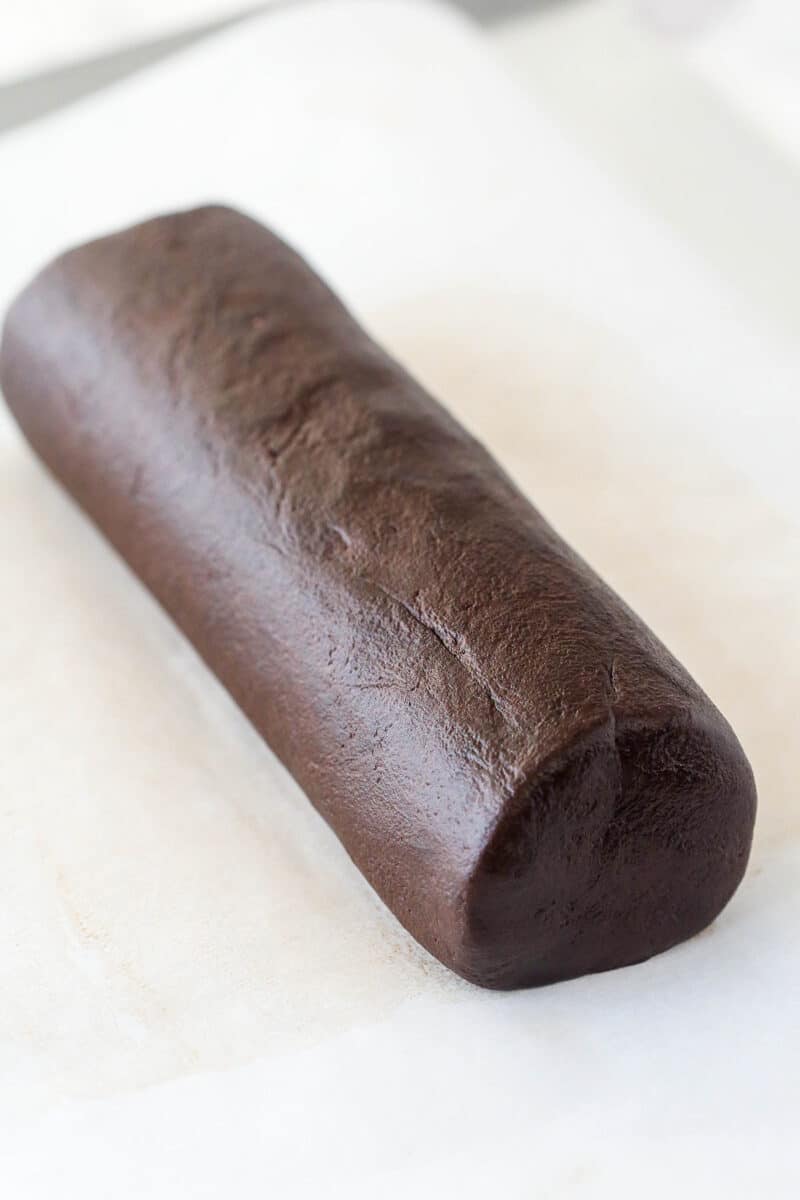
- Chill. Turn the dough out onto the counter. Shape into a log and wrap in plastic wrap. Refrigerate for at least an hour or up to 2-3 days.
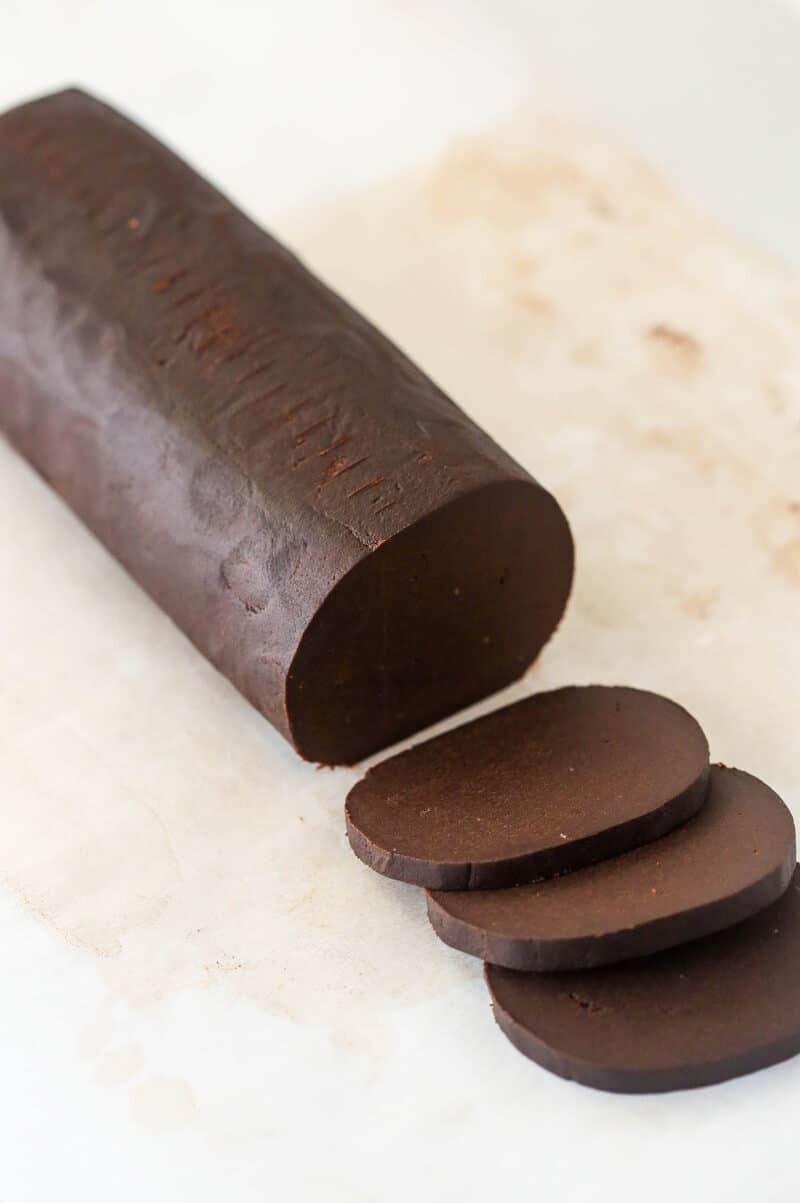
- Slice the cookies. Cut the log into 1/4 to 1/2-inch thick slices.
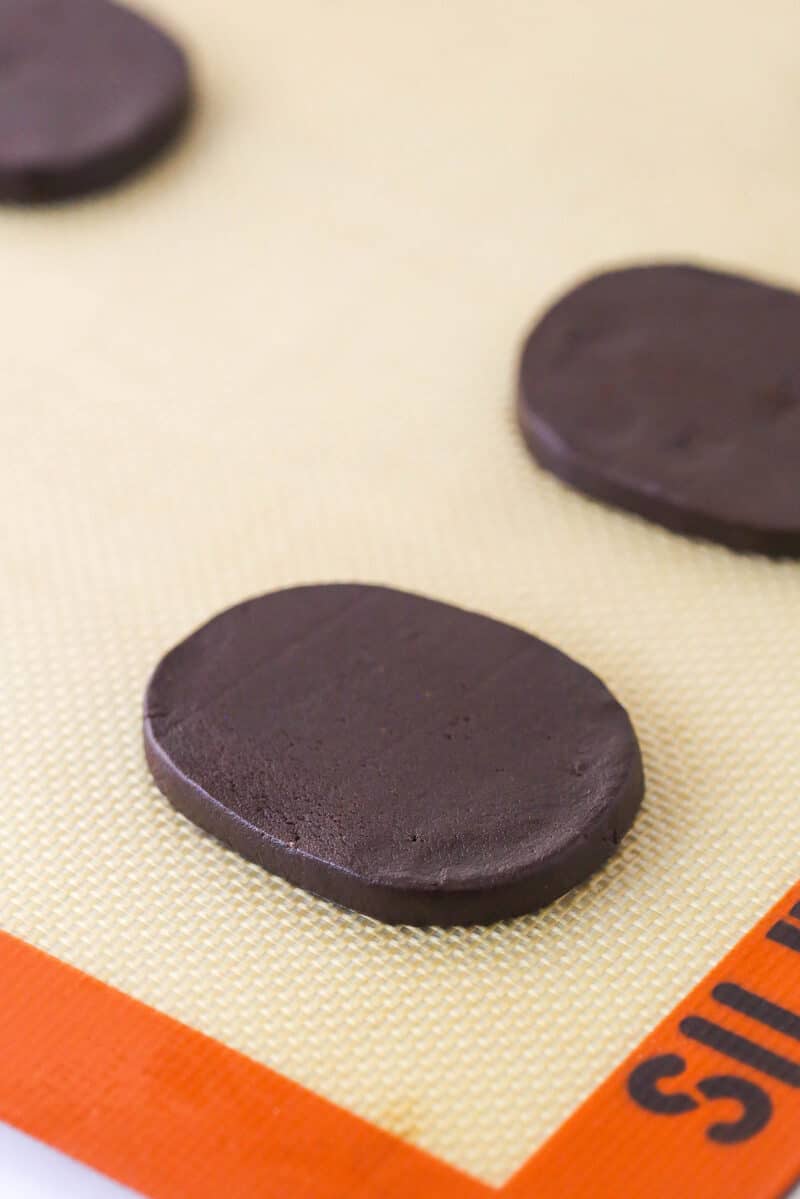
- Bake. Place the cookies on the baking sheets about two inches apart. Bake for 8-11 minutes just until no longer glossy on top.
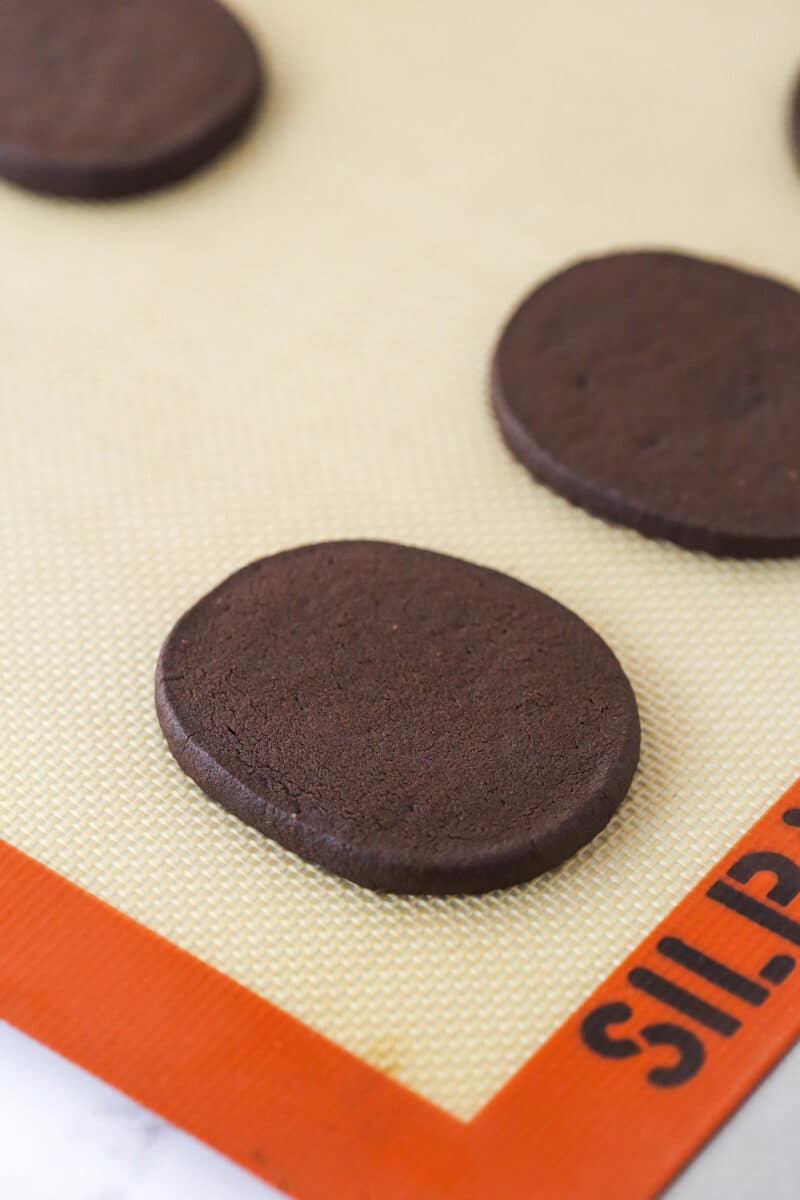
- Cool. Cool on the baking sheets for 3-5 minutes then transfer to a cooling rack.
- Melt the chocolate. Melt the white chocolate in the microwave for 15-30 seconds at a time until melted and smooth. Repeat with the chocolate. Transfer the regular chocolate to a piping bag fitting with a small round tip (like Wilton 3 or 4).
- Decorate the cookies. Dip each cookie into the white chocolate, shaking off any excess. Place on the parchment paper then drizzle the chocolate on the other side. Sprinkle with the crushed peppermint pieces.

- Do not over mix. After you combine the wet and dry ingredients, mix just until everything is combined and there are no streaks of flour.
- How thick should the cookies be? I like to cut them just under ½ inch thick. But somewhere between 3/8 inch and ½ inch is the sweet spot, I think. You can cut them as thin as ¼ inch, if you’d like to get more cookies, but I think they are more tender and stay that way longer when they’re a bit thicker.
- Measure the cookies if needed. You may get more or less cookies, depending on the width of the log and how thick you cut them. If there’s a particular number of cookies you want, measure out the thickness of the cookies on the side of the log and mark where to cut the dough prior to cutting them all so that you make sure you have that number. If you look at the step-by-step pictures, you can see that I did that.
- Avoid over baking. These cookies are nice and tender, just don’t over bake them. Pull them from the oven just after they are no longer glossy.
- Add the peppermint quickly. After you drizzle the chocolate over the cookies, you want to work quickly to add the peppermint. If the chocolate sets first, it won’t stick to the cookies.

Proper Storage
- Room temperature. Chocolate peppermint shortbread cookies can be stored in an airtight container for 4-5 days. Just be sure to let the chocolate fully set and dry before stacking and storing them.
- Freezer. These can also be frozen for up to 3 months. Flash freeze in a single layer on a baking sheet then transfer to a Ziploc bag or freezer-safe container with parchment paper between layers.
More Shortbread Recipes To Try
- Shortbread Cookies
- Raspberry Orange Shortbread Bars
- Millionaire’s Shortbread
- Carrot Cake Shortbread Bars

- Prep Time: 1 hour
- Chill Time: 1 hour
- Cook Time: 8 minutes
- Total Time: 2 hours 8 minutes
- Yield: 20-27 cookies
- Category: Dessert
- Method: Oven
- Cuisine: American
Description
Dipped and drizzled with chocolate and topped with crushed peppermint, these tender Peppermint Chocolate Shortbread Cookies are a fun and festive addition to any holiday cookie tray. They’re easy to make too!
Ingredients
- 1 3/4 cups (228g) all-purpose flour
- 1/2 cup (57g) Dutch-process cocoa powder
- 1/4 tsp salt
- 1 cup (224g) unsalted butter, room temperature
- 3/4 cup (86g) powdered sugar
- 1 1/2 tsp vanilla extract
- 1/2 tsp peppermint extract
- 8–9 oz white chocolate melting wafers, for decorating, optional
- 2 oz chocolate melting wafers, for decorating, optional
- Peppermint pieces, for decorating, optional
Instructions
- Combine the flour, cocoa powder and salt in a medium sized bowl and set aside.
- Beat the butter and powdered sugar in a large mixing bowl until the mixture is nice and creamy, 2-3 minutes.
- Add the vanilla extract and peppermint extract and mix until well combined.
- Add the dry ingredients and mix until the dough is well combined. Don’t over mix.
- Turn the cookie dough out onto the counter or a piece of parchment paper. Shape the dough into a log and wrap it in plastic wrap. Refrigerate it for at least 1 hour, until firm, or until you’re ready to bake. The cookie dough can be refrigerated for 2-3 days prior to baking.
- When you’re ready to bake the cookies, preheat the oven to 350°F. Prepare a cookie sheet with parchment paper or a silicone baking mat.
- Cut each log into about ¼ to ½ inch thick slices, depending on how thick you want them to be. Keep in mind that the thicker you make them, the less cookies you’ll get. If there’s a certain number of cookies you want, use a ruler to measure them out and mark the side of the log with the correct number before you slice them. You should be able to get roughly 20-27 cookies.
- Place the cookies onto the prepared baking sheets about 2 inches apart and bake for 8-11 minutes. The time will vary based on how thick you cut the cookies and your oven. Thinner cookies won’t need to bake as long. You want to bake them just until they are no longer glossy on top.
- Remove from oven and allow to cool on the baking sheets for about 3-5 minutes, then remove to a cooling rack to cool completely.
- If you are decorating with the chocolates, melt the white chocolate in the microwave for 15-30 seconds at a time, mixing after each interval, until melted and smooth. Melt the chocolate in the microwave for 15-30 seconds at a time, mixing after each interval, until melted and smooth. Add the chocolate to a piping bag fitted with a small round tip (like Wilton 3 or 4).
- Dip each cookie into the white chocolate and gently wipe some of the excess off by brushing the bottom of the cookie along the top side of the bowl, or just gently shake the excess off. Place on a piece of parchment paper. Drizzle the chocolate onto the other side of the cookies, then sprinkle on some peppermint pieces. You want to add the peppermint pieces before the chocolates dry, do that it sticks well.
- Allow the chocolate to dry fully, then store cookies in an air-tight container. Cookies are best if eaten with 4-5 days.
Notes
- Cocoa powder – I use Hershey’s Special Dark Cocoa, but feel free to use regular unsweetened cocoa powder.
- Melting wafers – I used white chocolate and chocolate melting wafers to decorate these cookies. Both are optional. I like to use Ghirardelli melting wafers, but almond bark and baking bars would also work.
- Peppermint pieces – You can buy these already crushed, or crush up your own candy canes.
Nutrition
- Serving Size: 1 Cookie
- Calories: 171
- Sugar: 4.3 g
- Sodium: 4 mg
- Fat: 11.7 g
- Carbohydrates: 14.9 g
- Protein: 2.4 g
- Cholesterol: 20.5 mg
Categories
Enjoy!


I used regular unsweetened cocoa powder, and used 1/2 tsp peppermint extract, 1/2 tsp coffee extract, and 1 tsp vanilla. Delicious, easy cookie dough! I love that it’s a slice and bake too!! I shaped dough into rectangular log before refrigerating. Texture and taste of these are perfect! This one is a keeper.
I’m so glad you enjoyed them!